

Computer software called a content management system (CMS) is used to control the creation and modification of digital content (content management). Enterprise content management (ECM) and web content management (WCM) are typical applications for a CMS.
ECM typically integrates document management, digital asset management, and record retention to support multiple users in a collaborative setting.
In contrast, WCM is a collaborative process for creating websites that allows for the inclusion of text as well as embedded graphics, photos, video, audio, maps, and program code that interacts with users and displays content.
In this article, we’ll learn about how to create custom CMS pages layout for our cms pages.
We’ll create a custom layout named Knowband Layout.
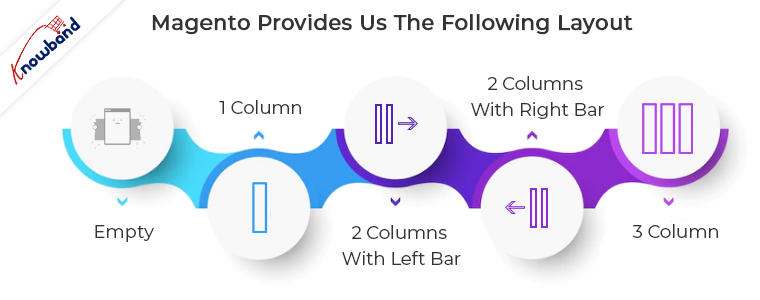
Magento provides us with the following layout:
-> Empty
-> 1 column
-> 2 columns with left bar
-> 2 columns with right bar
-> 3 columns
If you want to create your own customized layout for the cms pages or some specific pages then you need to focus on the following steps:
Step 1:
Create <Vendor_Name>/<Module_Name>/view/frontend/page_layout/kb_layout.xml file. This file will define the design of your custom layout.
<?xml version="1.0" encoding="UTF-8"?>

<layout xmlns:xsi="https://www.w3.org/2001/XMLSchema-instance" xsi:noNamespaceSchemaLocation="urn:magento:framework:View/Layout/etc/page_layout.xsd">

<update handle="empty"/><!-- you can change the handle like 2columns-left or 3columns etc-->

<referenceContainer name="page.wrapper">

<container name="header.container" as="header_container" label="Page Header Container"  htmlTag="header" htmlClass="page-header" before="main.content"/>

<container name="page.top" as="page_top" label="After Page Header" after="header.container"/>

<container name="footer-container" as="footer" after="-" label="Page Footer Container" htmlTag="footer" htmlClass="page-footer" />

</referenceContainer>

</layout>
Step 2:
Create <Vendor_Name>/<Module_Name>/view/frontend/layouts.xml. This file will register the custom layout.

<?xml version="1.0" encoding="UTF-8"?>

<page_layouts xmlns:xsi="https://www.w3.org/2001/XMLSchema-instance" xsi:noNamespaceSchemaLocation="urn:magento:framework:View/PageLayout/etc/layouts.xsd">

<layout id="kb_layout">

<label translate="true">Knowband Layout</label>

</layout>

</page_layouts>
After creating these two files, clear the cache and your custom layout will be added to the layout list.
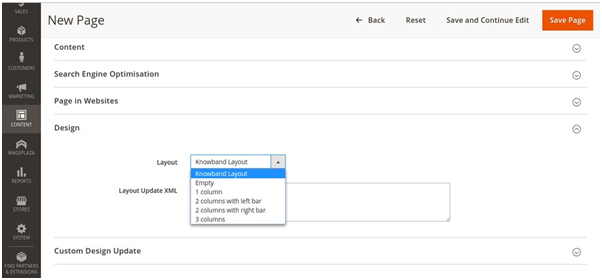
You can check your custom layout in the admin side at Content-> Pages -> Add New Page -> Design
Thanks for reading this. Please feel free to reach us at support@knowband.com for any issues.
Knowband also provides many great extensions for major CMS platforms like Prestashop, Opencart, Magento, Magento 2, and Woocommerce.
Take a look at our No Code Mobile App solution for all major CMS platforms here.
Know more:

