
Objective of the blog:
The objective of this blog is to help you know how the setting of any custom plugin is created. Nowadays, most of the plugins contain settings to allow users to alter the functionality of the plugin according to their choice.
In this blog, we are creating the custom plugin for your reference. The basic requirements to add the setting of the plugin are:
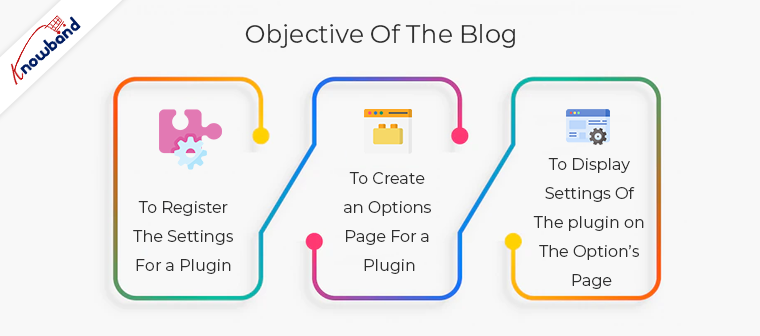
- To register the settings for a Plugin
- To create an Options Page for a plugin
- To display Settings of the plugin on the Option’s Page
Steps to add the plugin setting:
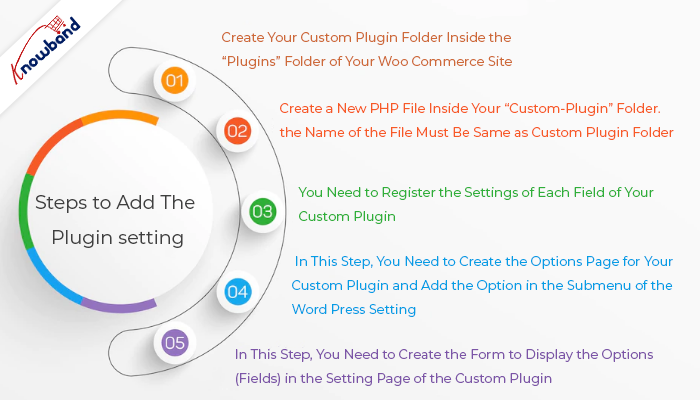
1. Create your custom plugin folder inside the “plugins” folder of your Woo Commerce site.
In the sample code, we have created a folder “custom-plugin”.
2. Create a new PHP file inside your “custom-plugin” folder. The name of the file must be same as custom plugin folder. In the sample code, we have created a file “custom-plugin.php”.
3. You need to register the settings of each field of your custom plugin. This step whitelist your plugin setting options (fields) that are used to save the plugin setting data in the wp_options table. Here, I have registered the setting for my custom-plugin as shown below and added that code to the “custom-plugin.php” file.
/*
* Plugin Name: Custom Plugin
* Description: This plugin is the custom plugin and created by velsof
* Version : 1.0.0
* Author: Velsof
*/
function custom_plugin_register_settings() {

register_setting(‘custom_plugin_options_group’, ‘first_field_name’);

register_setting(‘custom_plugin_options_group’, ‘second_field_name’);

register_setting(‘custom_plugin_options_group’, ‘third_field_name’);

}
add_action(‘admin_init’, ‘custom_plugin_register_settings’);
To learn more about “register_setting” you can check the document
“https://developer.wordpress.org/reference/functions/register_setting/”
4. In this step, you need to create the options page for your custom plugin and add the option in the submenu of the Word Press setting. In the sample code, we have written the code of options page below and added the same to the “custom-plugin.php” file.
function custom_plugin_setting_page() {

// add_options_page( string $page_title, string $menu_title, string $capability, string $menu_slug, callable $function = '' )

add_options_page('Custom Plugin', 'Custom Plugin Setting', 'manage_options', 'custom-plugin-setting-url', 'custom_page_html_form');

// custom_page_html_form is the function in which I have written the HTML for my custom plugin form.
}
add_action('admin_menu', 'custom_plugin_setting_page');
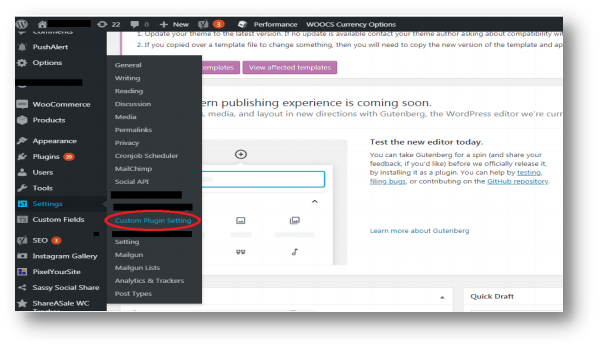
After completing this step you will be able to see the option of your custom plugin in the Word press setting as shown in the image below:
5. In this step, you need to create the form to display the options (fields) in the setting page of the custom plugin. Here, I have created a function “custom_page_html_form” as shown below and added the same to the “custom-plugin.php” file.
function custom_page_html_form() { ?>
    <div class="wrap">
        <h2>Custom Plugin Setting Page Heading</h2>
        <form method="post" action="options.php">
            <?php settings_fields('custom_plugin_options_group'); ?>

        <table class="form-table">

            <tr>
                <th><label for="first_field_id">First Field Name:</label></th>

                <td>
<input type = 'text' class="regular-text" id="first_field_id" name="first_field_name" value="<?php echo get_option('first_field_name'); ?>">
                </td>
            </tr>

            <tr>
                <th><label for="second_field_id">Second Field Name:</label></th>
                <td>
<input type = 'text' class="regular-text" id="second_field_id" name="second_field_name" value="<?php echo get_option('second_field_name'); ?>">
                </td>
            </tr>

            <tr>
                <th><label for="third_field_id">Third Field Name:</label></th>
   <td>
<input type = 'text' class="regular-text" id="third_field_id" name="third_field_name" value="<?php echo get_option('third_field_name'); ?>">
                </td>
            </tr>
        </table>

        <?php submit_button(); ?>

    </div>
<?php } ?>
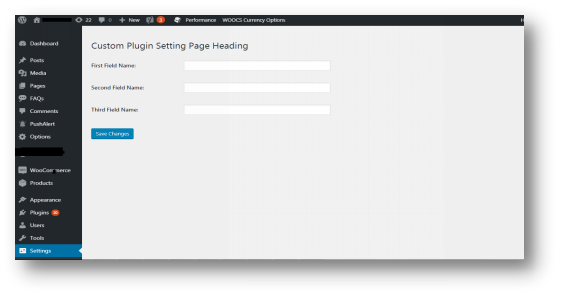
After completing this step the form of your custom plugin will be created and the data will be saved in the database on clicking the button “Save Changes” as shown below:
Note: If you get the error “options page not found” on saving the setting of the custom plugin. Then you need to follow the below steps:
1.Open “options.php” file (File Location: wp\wp-admin\options.php).
2.Add the custom plugin option group in the $whitelist_options array.
Example:
$whitelist_options['custom_plugin_options_group’] = array('first_field_name’, ‘second_field_name’, ‘third_field_name’);
You can download the sample code here.
Summary
After reading this document you will be able to add the setting of your custom plugin in the WordPress setting menu.
Knowband also provides the best in class modules for Prestashop, Opencart, Magento, Magento 2, and Woocommerce.
We are providing a No Code Mobile App Solution for Woocommerce that every store needs to have. Know more here.

