Introduction
The Prestashop Helpdesk Module by Knowband acts as a Ticket Management System for a particular store that makes easier for the merchant to manage the ticket which will be raised for his store by the customer.
The Prestashop customer helpdesk module is very useful for both the ends i.e for the merchant and the customer because it lets the customer raise the ticket in a very convenient way and at the other end lets the merchant manage the ticket in a very efficient way. This extension also shows the merchant the details of the customer those who have raised the ticket on his/her store.
Steps for Installation of Prestashop Deskoid Module Addon
To install this Prestashop addon, please follow the following steps:
1. Add addon folder under modules folder of your system.
2. After adding this addon folder, system will list the addon on module page under front office feature category as given below:
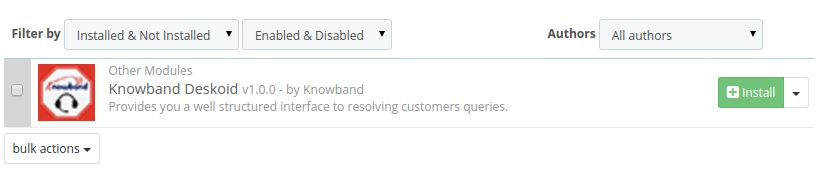
3. Click install to install Prestashop desktop helpdesk plugin.
Administration Module
After the Prestashop module is installed a new entry in the menu bar of the shop starts appearing in the back end with the name DESKOID. This menu will be containing a sub menu which further will be containing following options.
1. Tickets.
2. Ticket Topics.
3. Customers.
4. Configuration.
Each section of the Prestashop customer helpdesk is described in details below.
Tickets
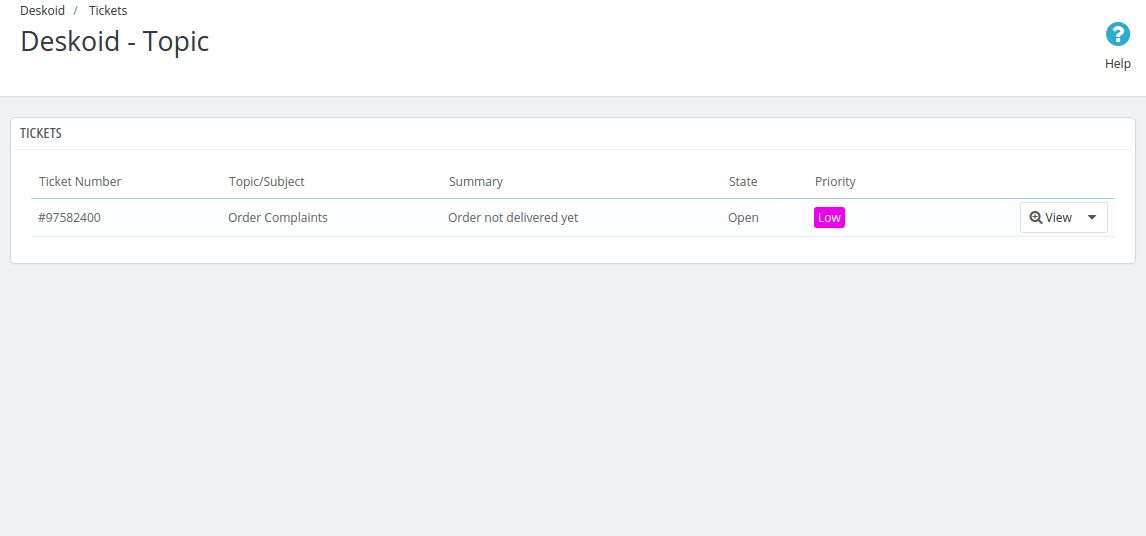
After the admin will click on this option of the sub menu of the Prestashop customer contact addon, a new page will appear which will be containing all the tickets raised by the customers
1. Ticket Number: This field of the Prestashop ticket system will be having a number value which will represent each of the ticket uniquely i.e each ticket will be having a unique ticket number.
2. Topic/Subject: This field of the Prestashop contact us addon will be having the topic to which a ticket has been raised. These fields will be already described in the back end and will be discussed later in the manual.
3. Summary: Here the summary of the ticket will be present which will be entered by the customer when he/she will be raising the ticket in the front end of the Prestashop desktop helpdesk.
4. State: This field of the Prestashop customer helpdesk will show the current state of the ticket. It may be open,closed,on hold,Progress, Waiting for reply, unknown.
5. Priority: The priority of the ticket will be represented in this field of Prestashop customer contact. It will be having the options like: Low, normal, urgent , high, unknown.
6. Actions: Their will be many action for each ticket-
a) Change State: This action of the Prestashop ticket system will let the admin to change the state of the ticket to what he wants.
b) Change Priority: On clicking on this action the admin can change the priority level of a particular ticket.
c) View State Changes: This option of the Prestashop contact us addon will show the admin that how the state of a particular ticket has changed from the item it has been raised.
d) View Priority Changes: This field of the Prestashop desktop helpdesk will do the same as the view state changes action but will show the changes done in the priority of the ticket.
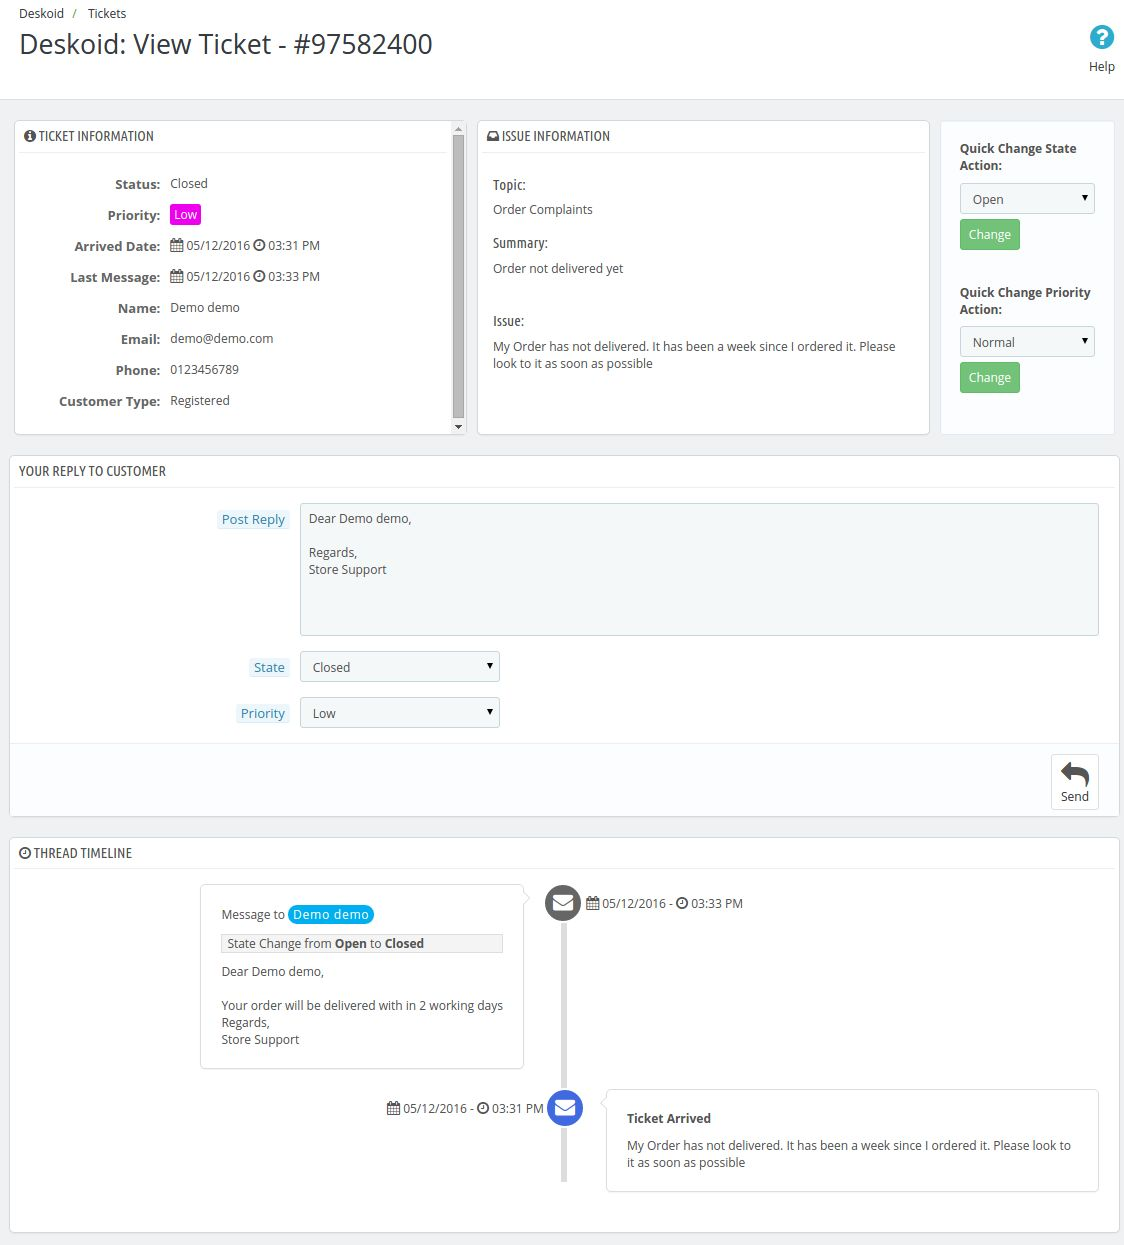
7. View Ticket: When the admin will click on the view ticket action then it will link the admin to an another page in which all the details with the conversation thread of the ticket will be mentioned. Admin can view all the details of the ticket here and can change the state and priority of the ticket. Admin can also reply to the customer from this page and all the details will be mentioned in the conversation thread given below the page.
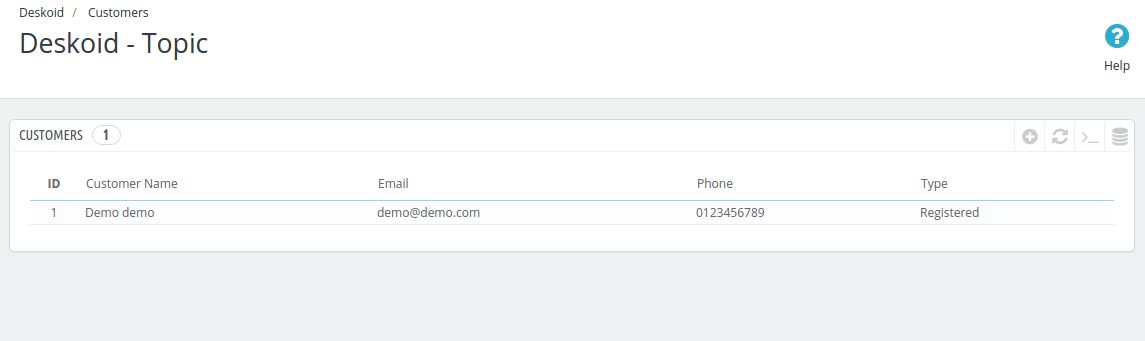
Customers
In this menu of the Prestashop customer helpdesk the admin can view all the customer those who have raised the tickets on the store. The admin can also view their email id, phone number , customer name and which type of customer has raised the ticked i.i it is a registered customer or a guest customer.
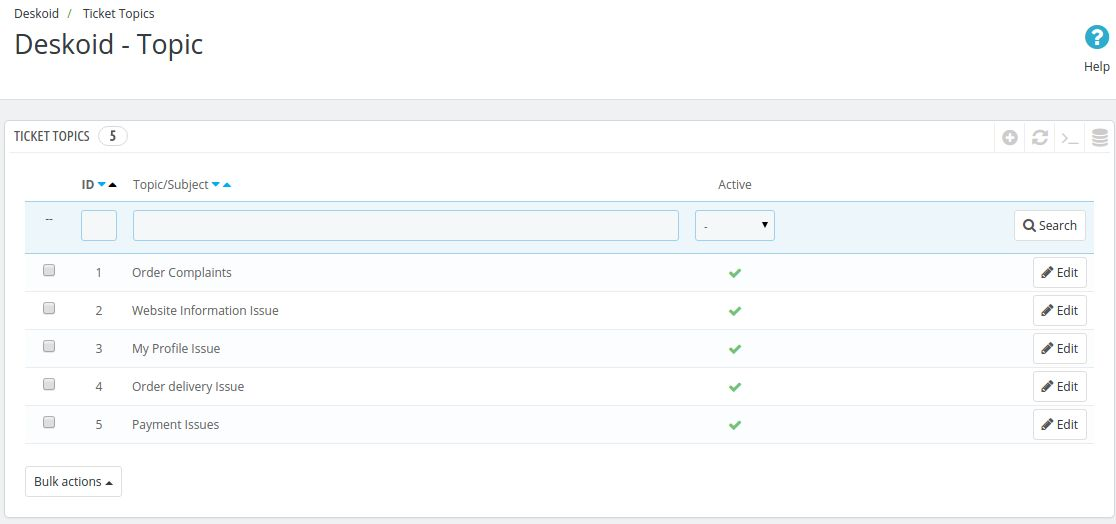
Ticket Topics
This sub menu of Prestashop customer contact plugin will be having all the topics which will show up in the front while the customer will raise the tickets. The customers can raise the tickets below these topics only.
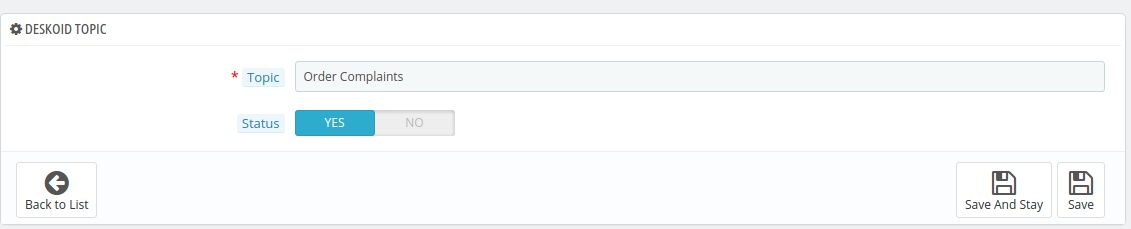
The status of each topics can also be changed by just clicking in the active link in the row of each topics respectively. If the topic is not active then it will not appear in the front end of the customer drop down menu when they will raise the ticket.
Each topic can also be edited and can be stored in different languages in the back end. So the topic name of this Prestashop plugin which will be appearing in the front will be according to the language of the store and the settings done for each topic name.
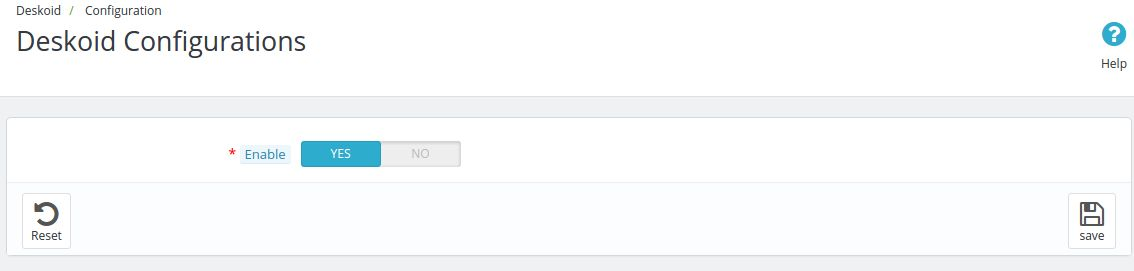
Configuration
In this sub menu of the Prestashop plugin by Knowband a button will be present which will be used to enable or disable the module in the front. If this setting of the Prestashop module is disabled than the Prestashop ticket system module will not work in the front end.
Front End Module
After enabling the Prestashop module from the back end a button starts appearing in the left hand side of the screen.

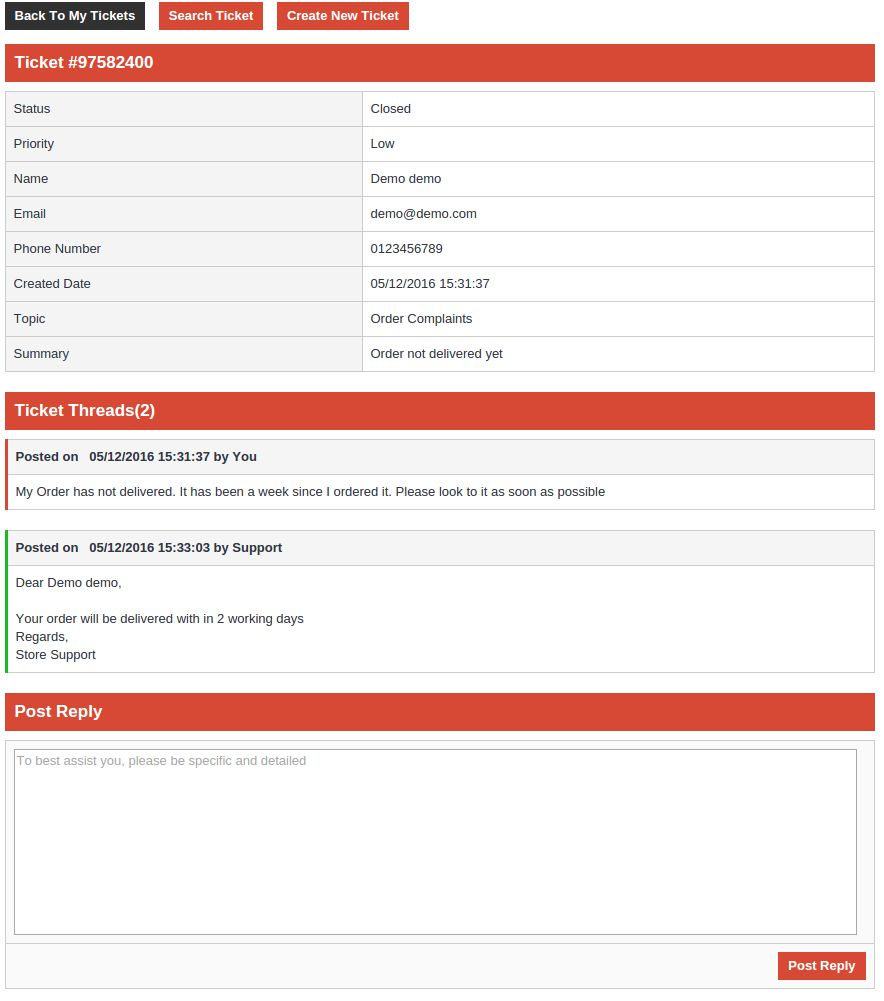
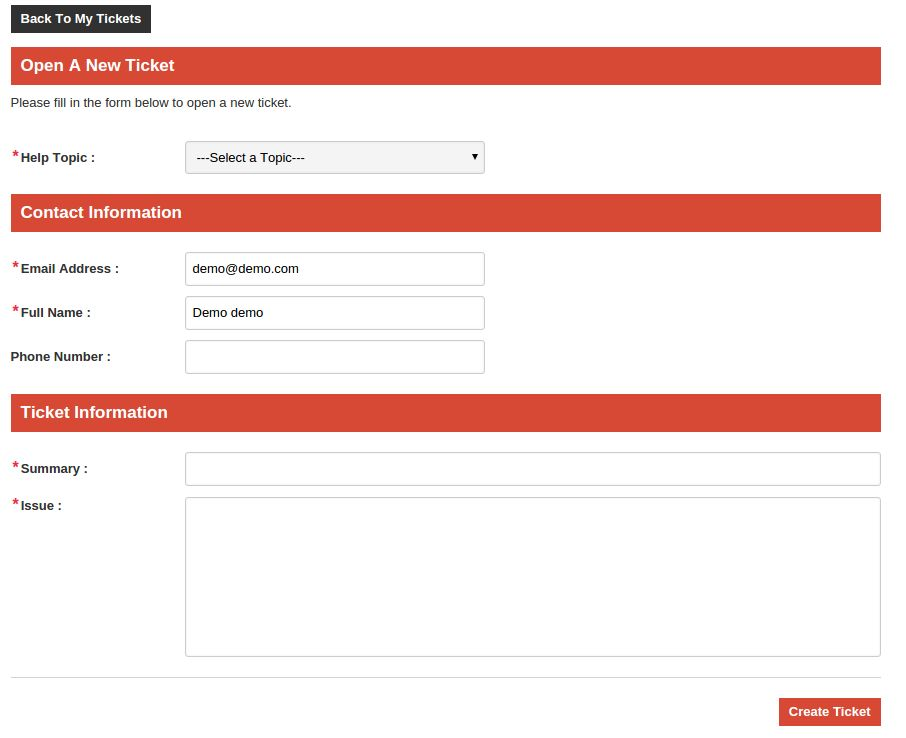
After clicking on this button of the Prestashop plugin, the user is redirected to the ticket system page where he can search a ticket and view it or he can create a new ticket.
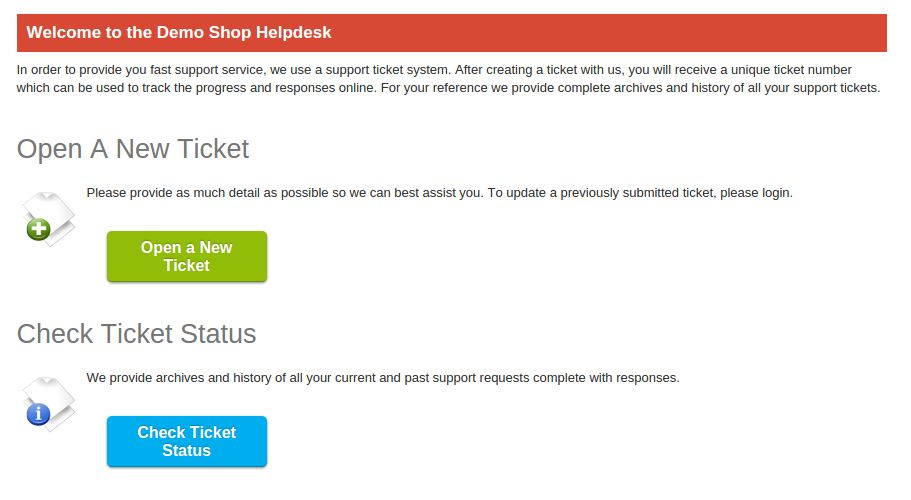
The customer can create the ticket by using the topics which are given by admin in the back end of the Prestashop contact us addon by Knowband.
The customer can also view the conversation between him/her and admin when he views his ticket.