How to install OpenCart Review Incentive plugin on your server
1. Folder structure of the Review Incentive plug-in folder.

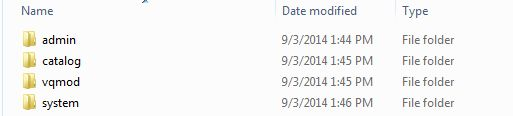
2. Open the upload folder and you will find the following folder structure:
You must have VQMOD installed for this plug-in to work. If VQMOD is not installed please download and install from the URL below:
https://code.google.com/p/vqmod/
3. Select all the folder and drag and drop them to the root directory of your OpenCart store through FTP.
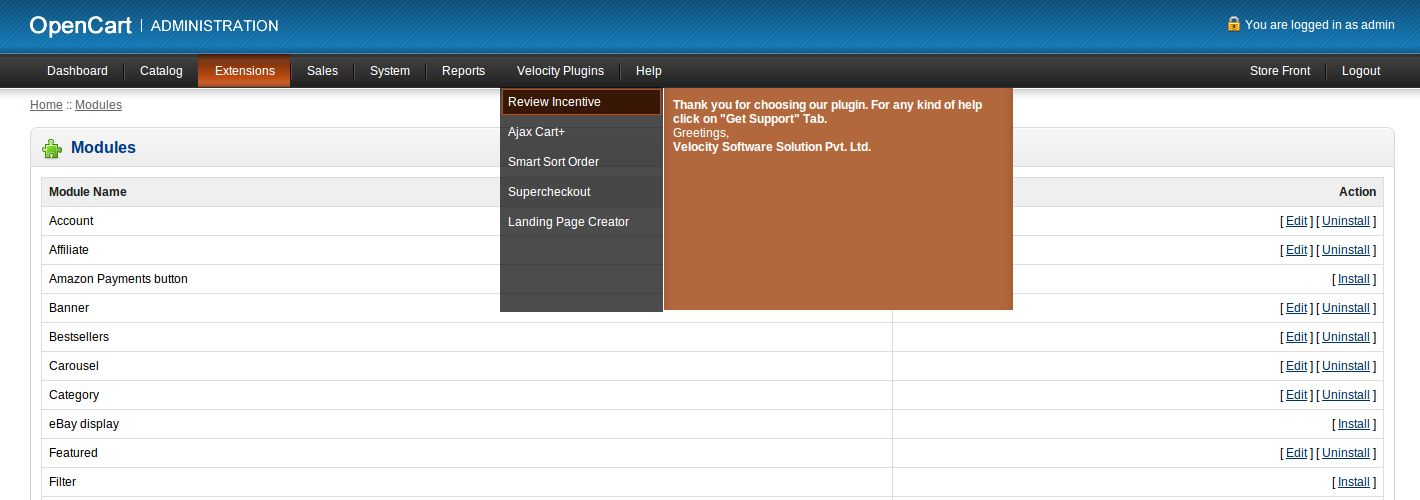
4. You will be able find the plug-in ready to be installed in the Modules in your OpenCart store as shown below.

5. Click on the Install link to install the plug-in. This will also add a drop down option in your menu bar which will list all plug-ins by Velocity installed on your store for fast navigation. This drop down also has a message box, using which we can inform you about new launched plug-in or new update.
6. Delete the Vqcache files from the vqmod/vqcache folder.
7. To access Review Incentive plug-in click on edit button in module section as shown below:

8.On clicking edit button the module for plug-in will open. It contains navigational bar at top, menu at left
 and main content at center as shown below.
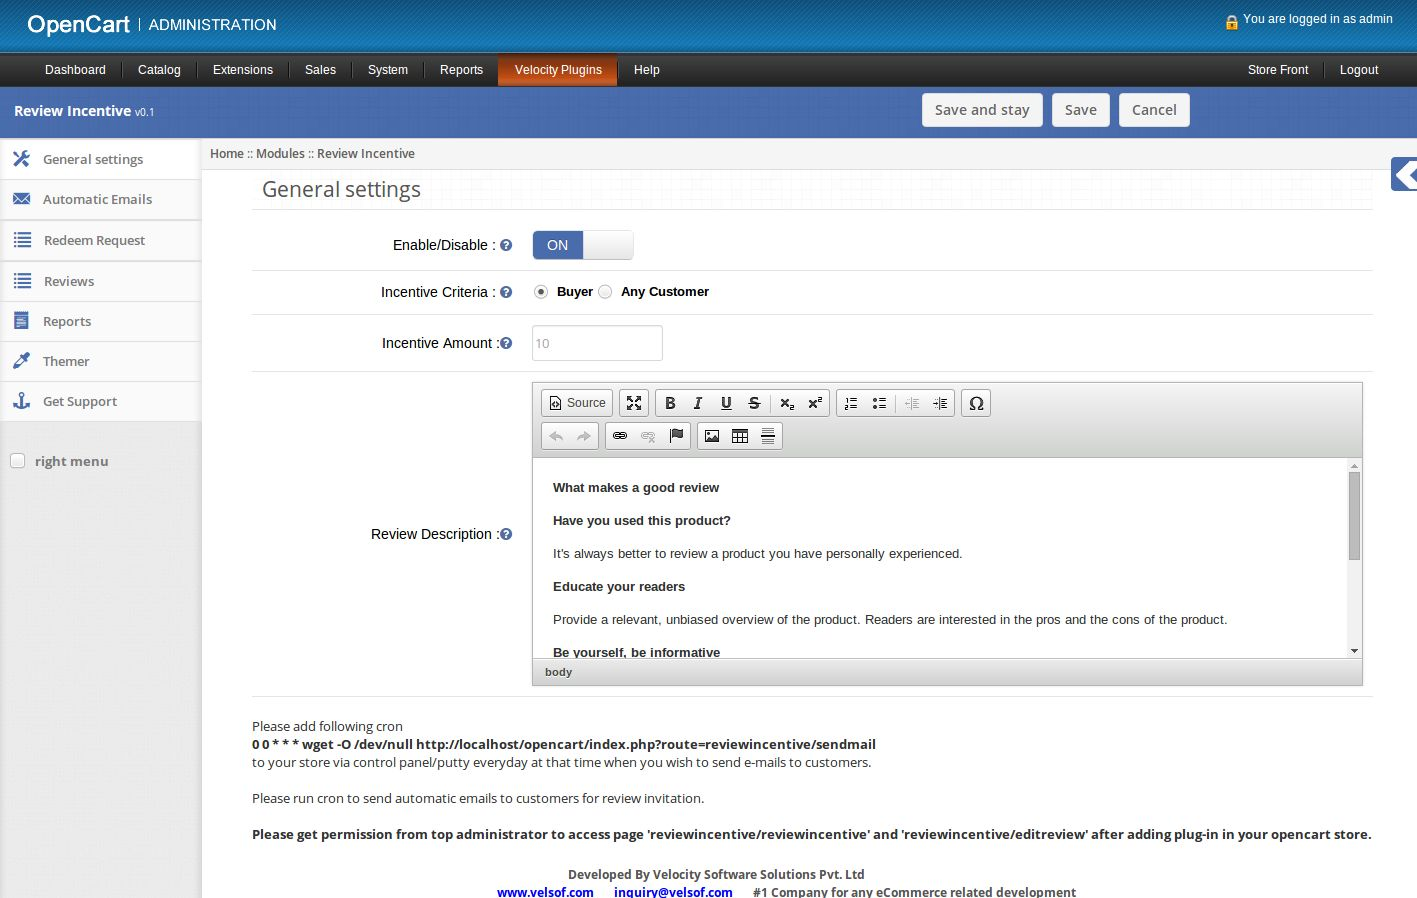
1. General Settings
1. To enable/disable plug-in, Switch the enable button OFF to ON / ON to OFF this is just to the right of
Enable/Disable label.
2. Incentive Criteria – Select Buyer if you wish to give incentive to only those customers who purchased the product he/she reviewed. If you wish to give incentives to all customers who reviewed the product then select Any Customer.
3. Incentive Amount – Set the amount to give as incentive to customers on writing a review.
4. Review Description – Set content to show on left column in Write Review page.
2. Automatic Emails tab
1. Here admin can set values for sending automatic emails to customer for inviting them to write review.
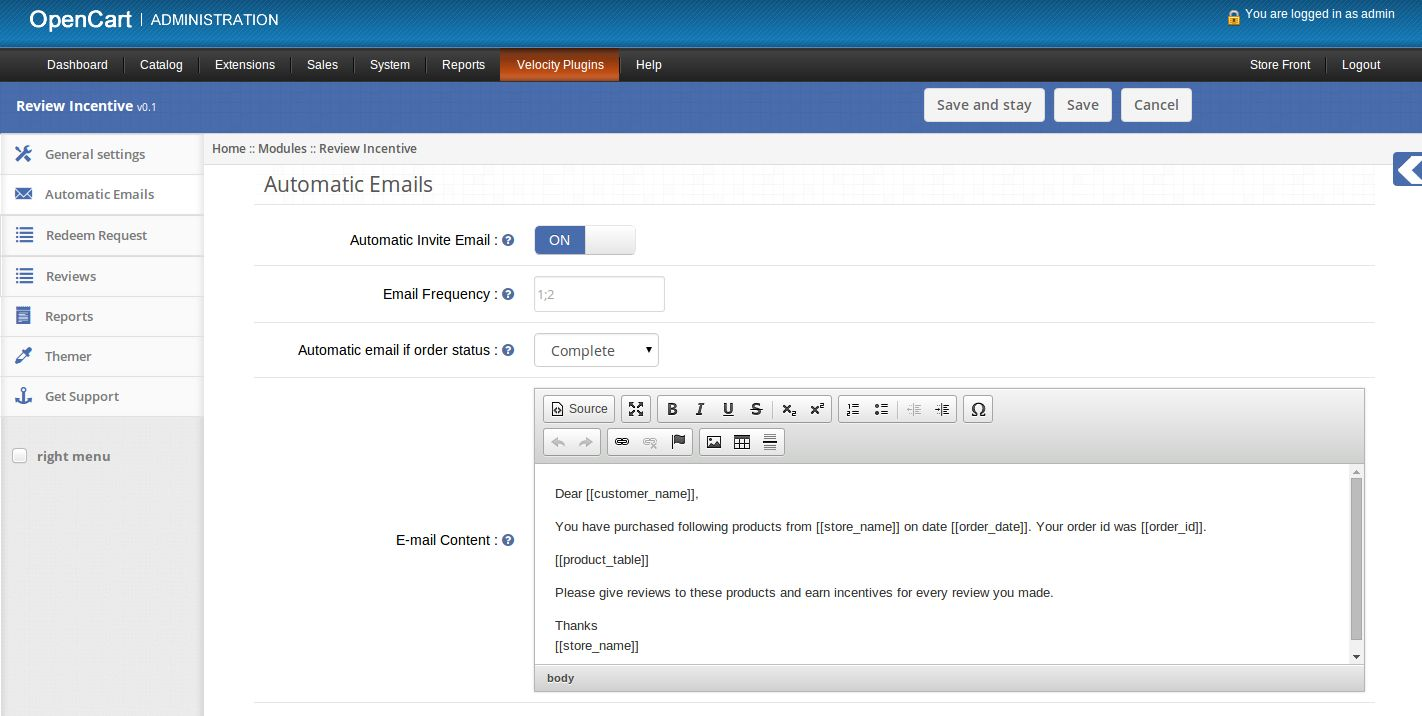
2. Automatic Invite Email – Enable or Disable sending of automatic emails to customers.
3. Email frequency – Set the number of days after which the automatic email will be sent to customers.
Admin can set multiple reminders (in days) using semicolon(;) as separator. If admin wish to send reminder after 2 and 3 days then he should set email frequency as 2;3.
4. Automatic email if order status – Set order status after which automatic email will be sent to customer.
5. Email Content – Set the content of email to be sent to customer .
6. Admin can use following variables in email content.
[[store_name]] — To write name of store.
[[customer_name]] –To write name of customer.
[[order_date]] — To write date on which order was made.
[[order_id]] — To write order id of order.
[[product_table]] — To show all products of order in tabular form.
7. If admin sets Email frequency as 2 and Order Status as Complete then automatic email.
will be sent to customer 2 days after his/ her order status is Complete.
8. If admin sets Email frequency as 2;3 and Order Status as Complete then automatic email will be sent to customer 2 days and 3 days after his/ her order status is Complete.
3. Redeem Requests tab
1. Here admin can see list of requests made by customers to get coupon as exchange of their incentives.
2. If their are no pending requests then this tab will look as follows:

3. If their are some requests then this tab will look as follows:
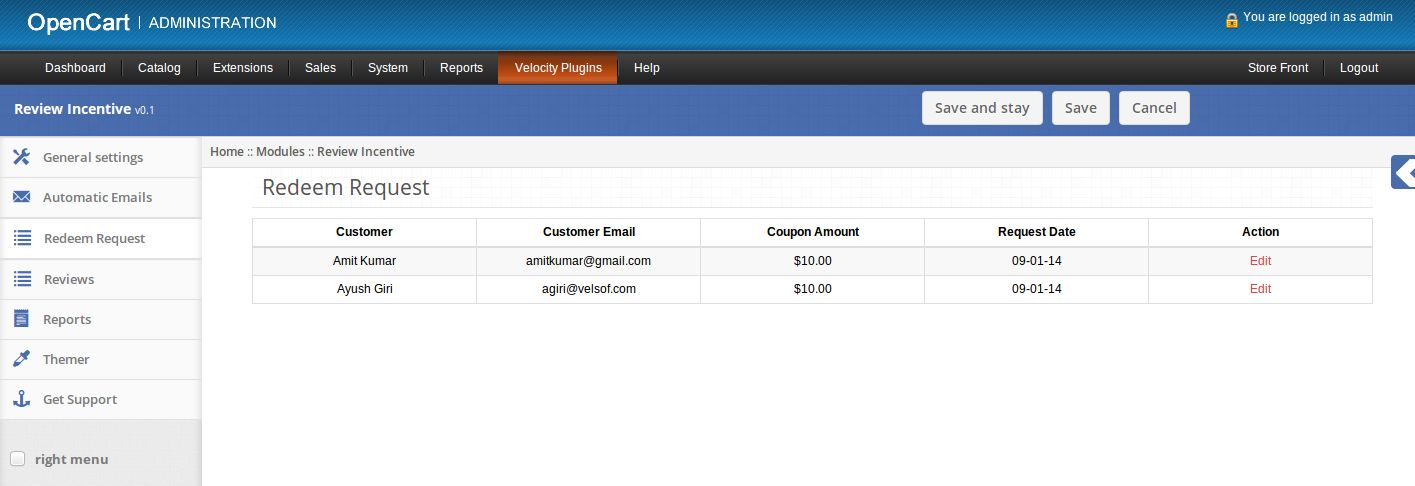
4. Click on edit link provided in front of each request to generate a coupon for the customer.
5. On clicking the edit link a new page will open to add coupon for the customer.
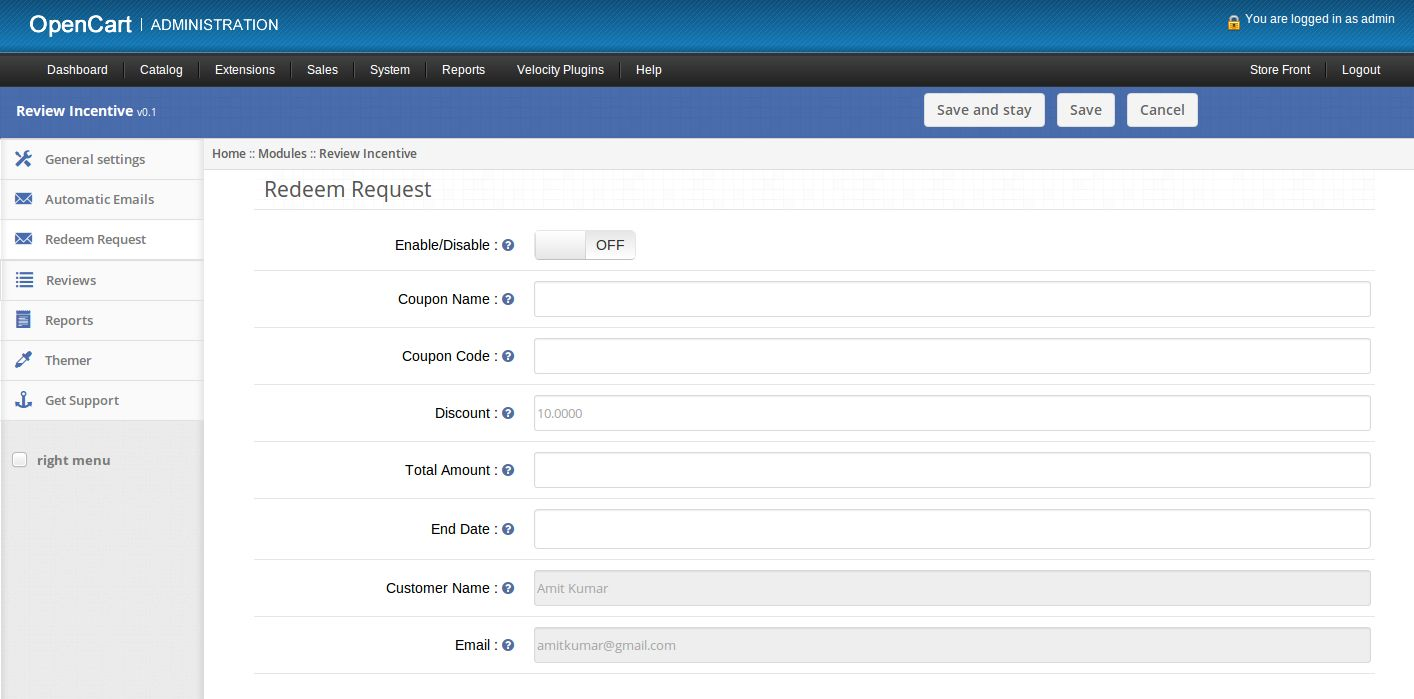
6. Enable/Disable: Enable or disable new coupon.
7. Coupon Name: Set name of new coupon.
8. Coupon Code: Set unique coupon code.
9. Discount: Fixed discount to give on coupon. This value should be same as requested by customer,but admin can change this value.
10. Total amount: The total amount that should reach before the coupon is valid.
11. End Date: Expiry date for coupon. Start date will be the date of enabling the coupon.
12. An email will be sent to give coupon code when new coupon is set enabled and saved.
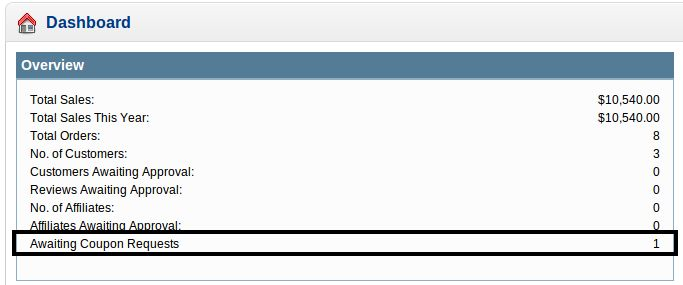
13. Total number of awaiting coupon requests is also displayed in dashboard of admin.
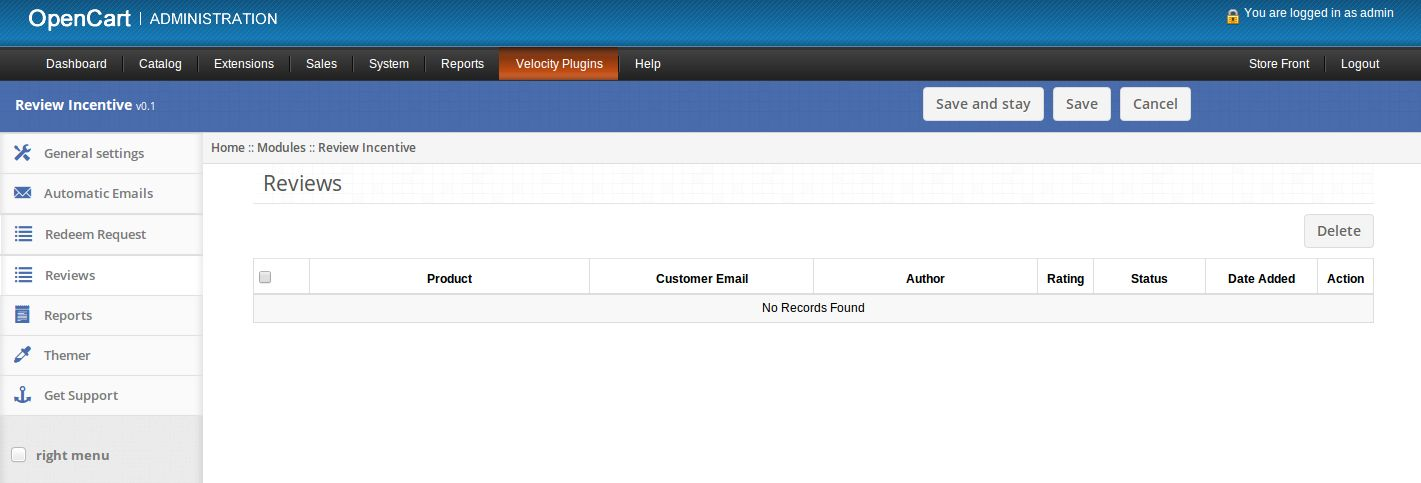
4. Reviews tab
1. Here admin can see list of reviews made by customers and can edit those reviews.
2. If their are no reviews then this tab will look as follows:
3. If there are some reviews then this tab will look as follows:
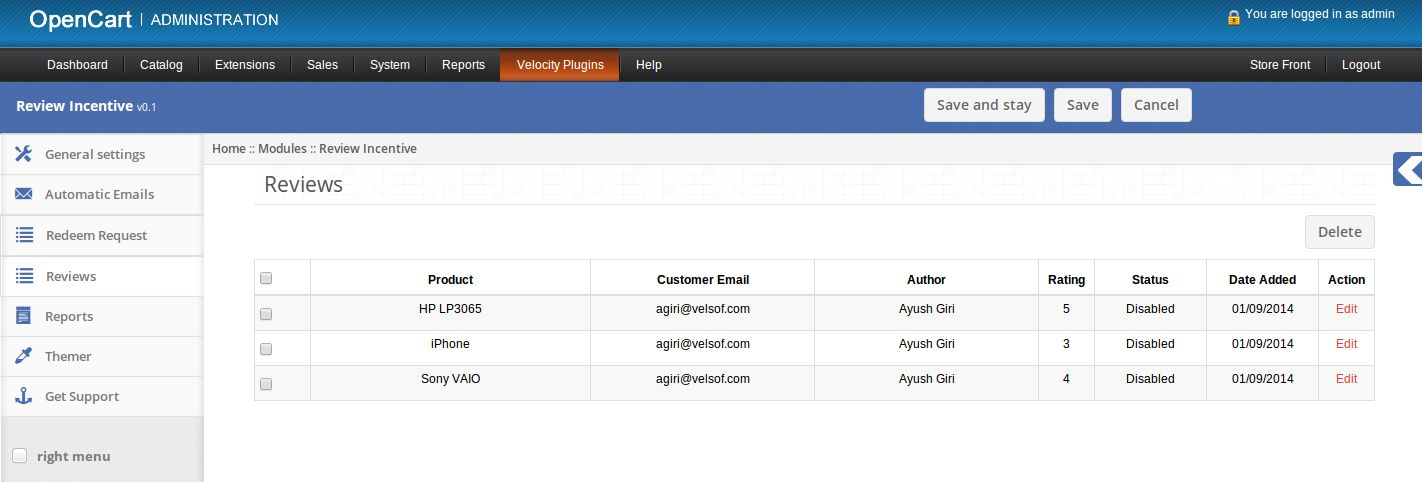
4. Click on edit link provided in front of each review to edit/approve that review.
5. On clicking the edit link a new page will open to edit review.
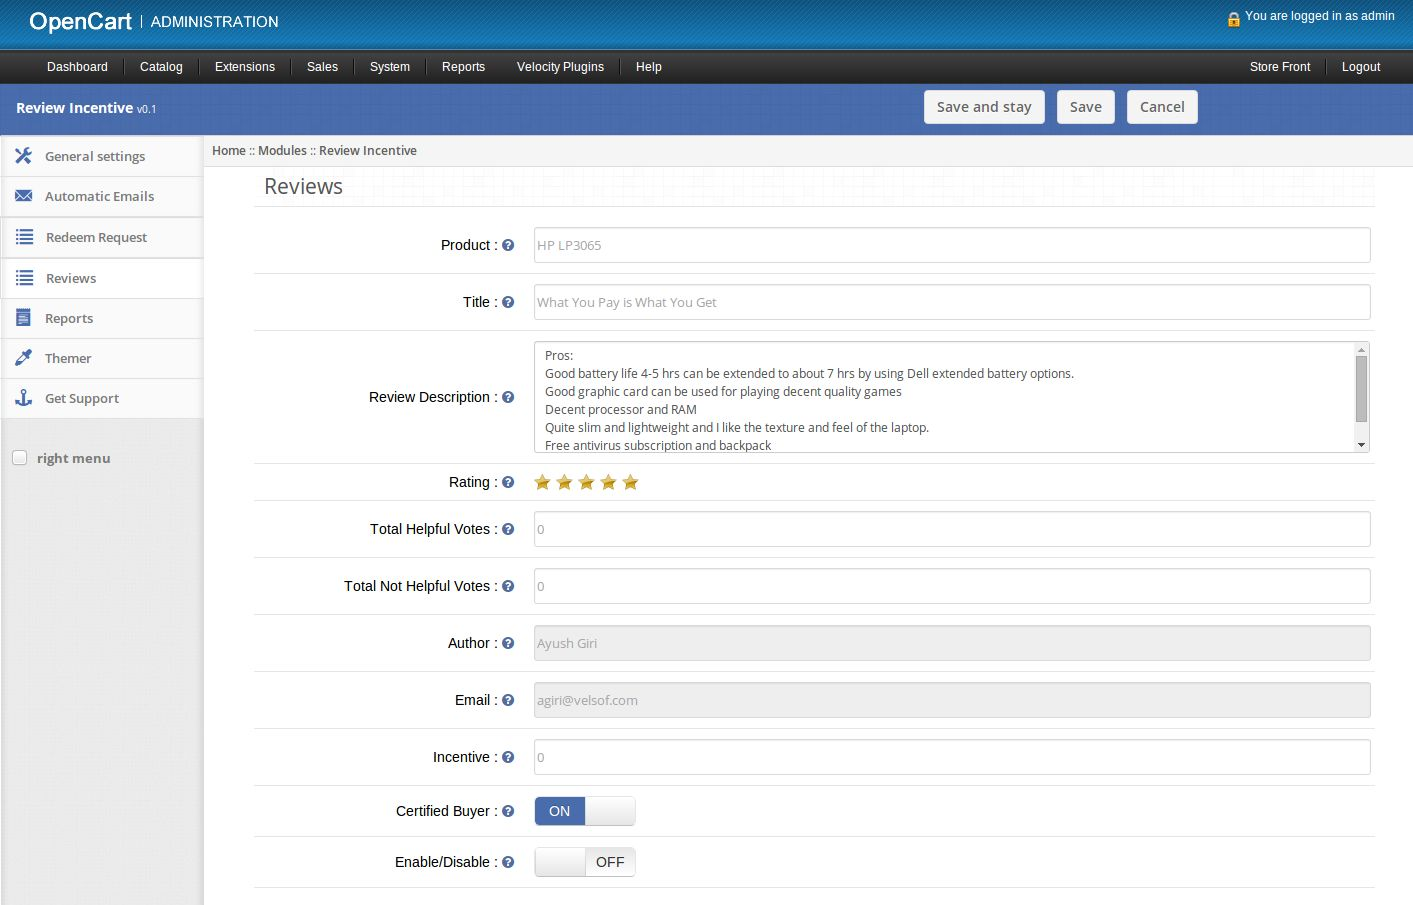
6. Product: Set name of product.
7. Title: Set title of review.
8. Review Description: Set main text of review.
9. Rating: Set rating points for the product.
10. Total Helpful votes: Set the total number of users who found this review helpful.
11. Total Not Helpful votes: Set the total number of users who found this review not helpful.
12. Author: See the name of Author who wrote the review.
13. Email: Email of customer/author who wrote the review.
14. Incentive: Set incentive given to customer for writing the review.
15. Certified Buyer: Add or remove badge of certified buyer from the review for the customer.
16. Enable/Disable: Enable or Disable the review.
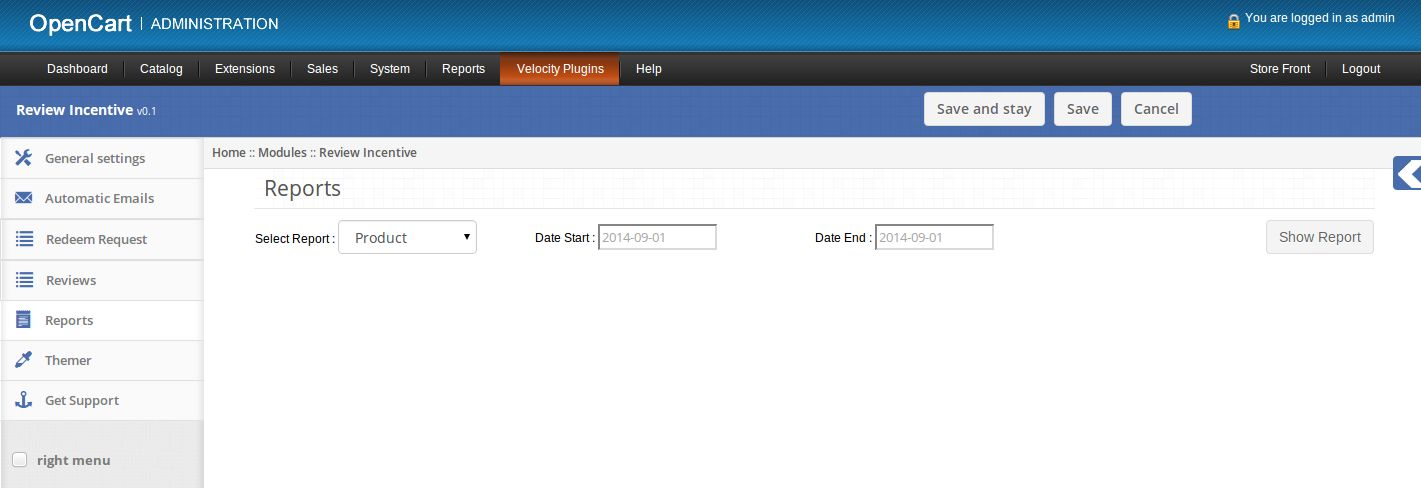
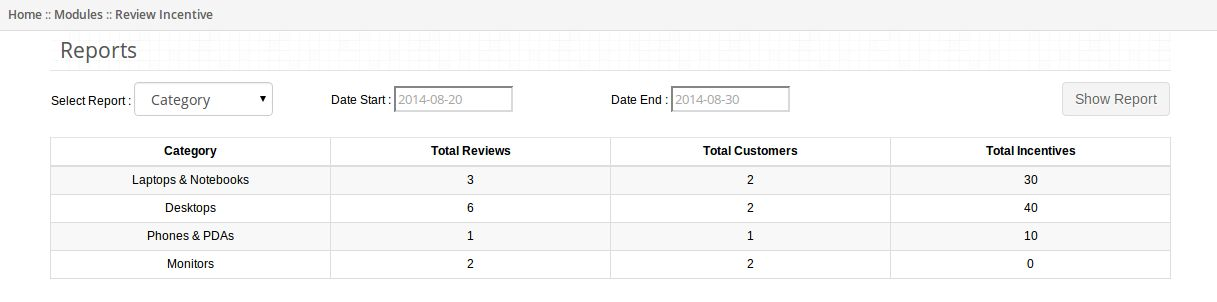
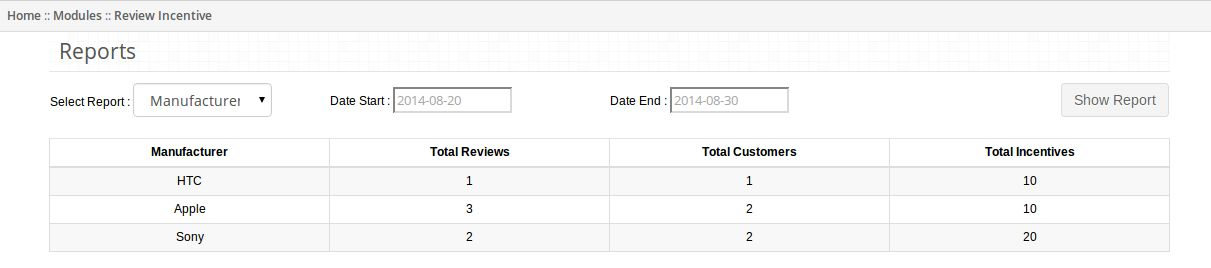
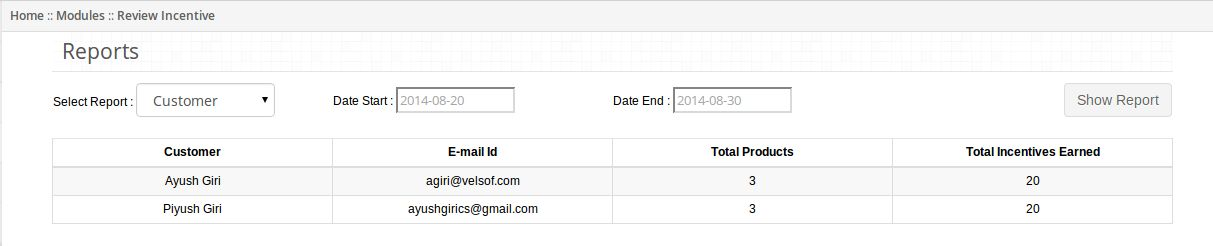
5. Reports tab
1. Here admin can see different reports related to review incentives.
2. Admin can select the type of report, start date and end date.
3. On clicking Show Report button, selected report will appear on screen.
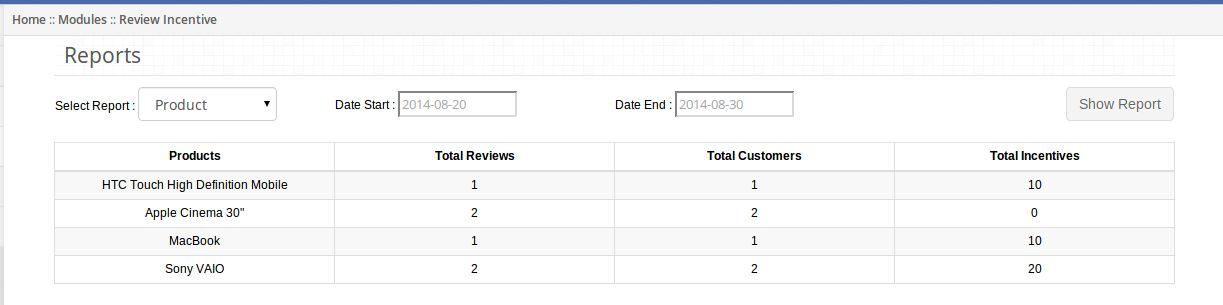
4. If admin selects Product report then product wise report will appear.
5. If admin selects Category report then category wise report will appear.
6. If admin selects Manufacturer report then manufacturer wise report will appear.
7. If admin selects Customer report then customer wise report will appear.
6. Themer tab
1. By clicking on themer tab, you will have an option to change the theme of Review Incentive admin panel .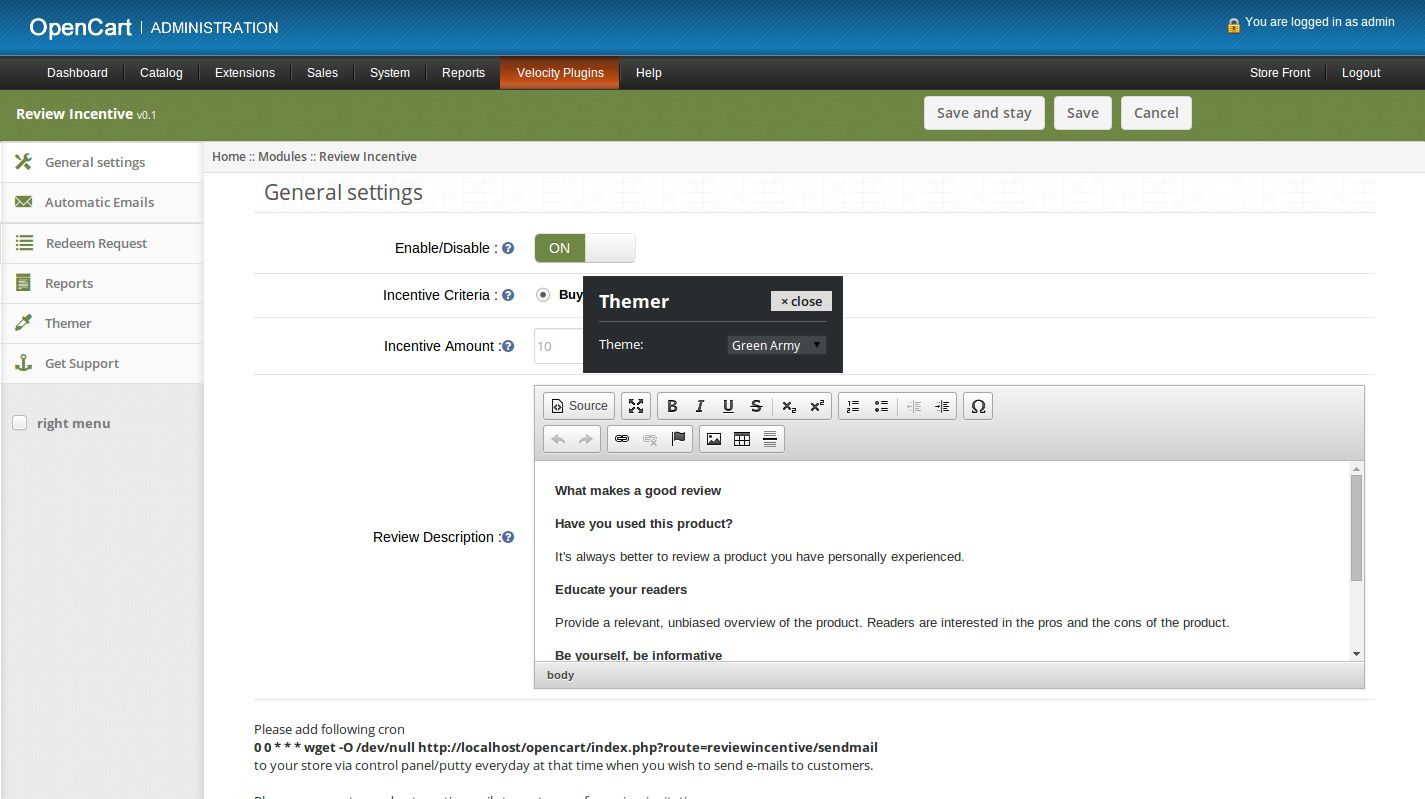
7. Get Support
1. By clicking on Get Support tab, you will be redirected to our support website, where you can contact our support for help. Use this tab in case you some query/issue or found some bug.
8. Short hand Code
1. Admin can show average rating of product at any position on web page by calling a function in tpl file.
2. Admin should call function show Rating(product_id, store_id) as
3. Here first argument is the id of product whose rating is to be displayed and second argument is id of the store.
4. This function will show average product rating at the place where it is called.
5. Average rating is displayed in black box in following image: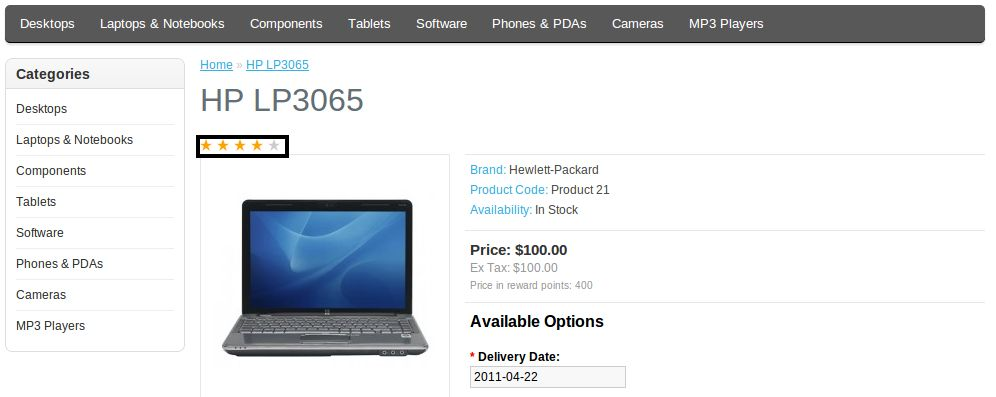
Screenshots
Review tab in product page showing reviews of product.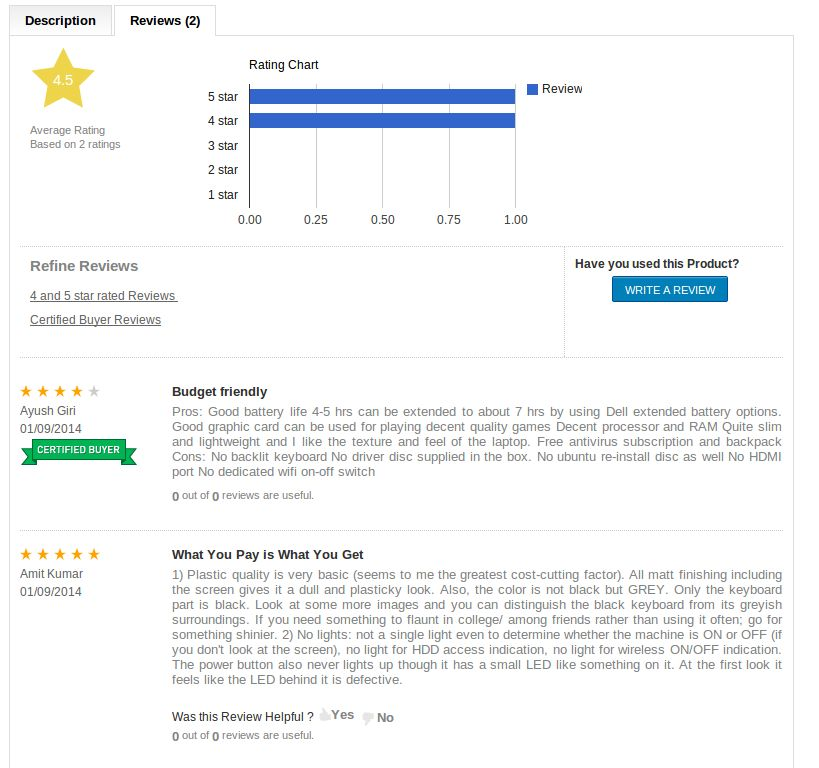
Certified Buyer badge is added to those customers who purchased the product from your store.
Screenshot of Write Review page.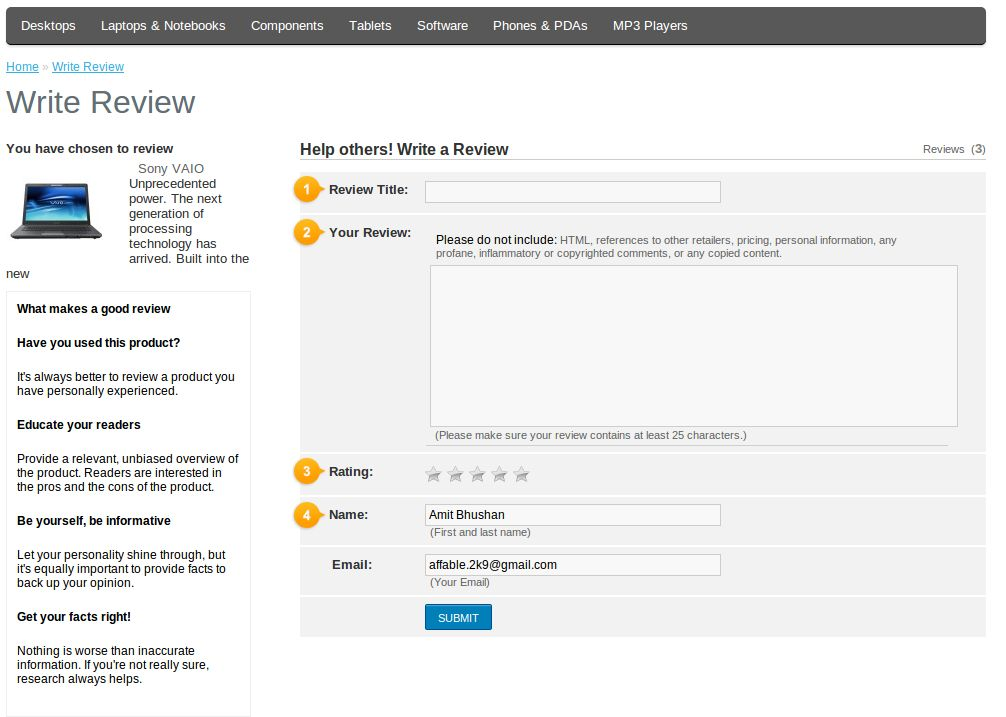
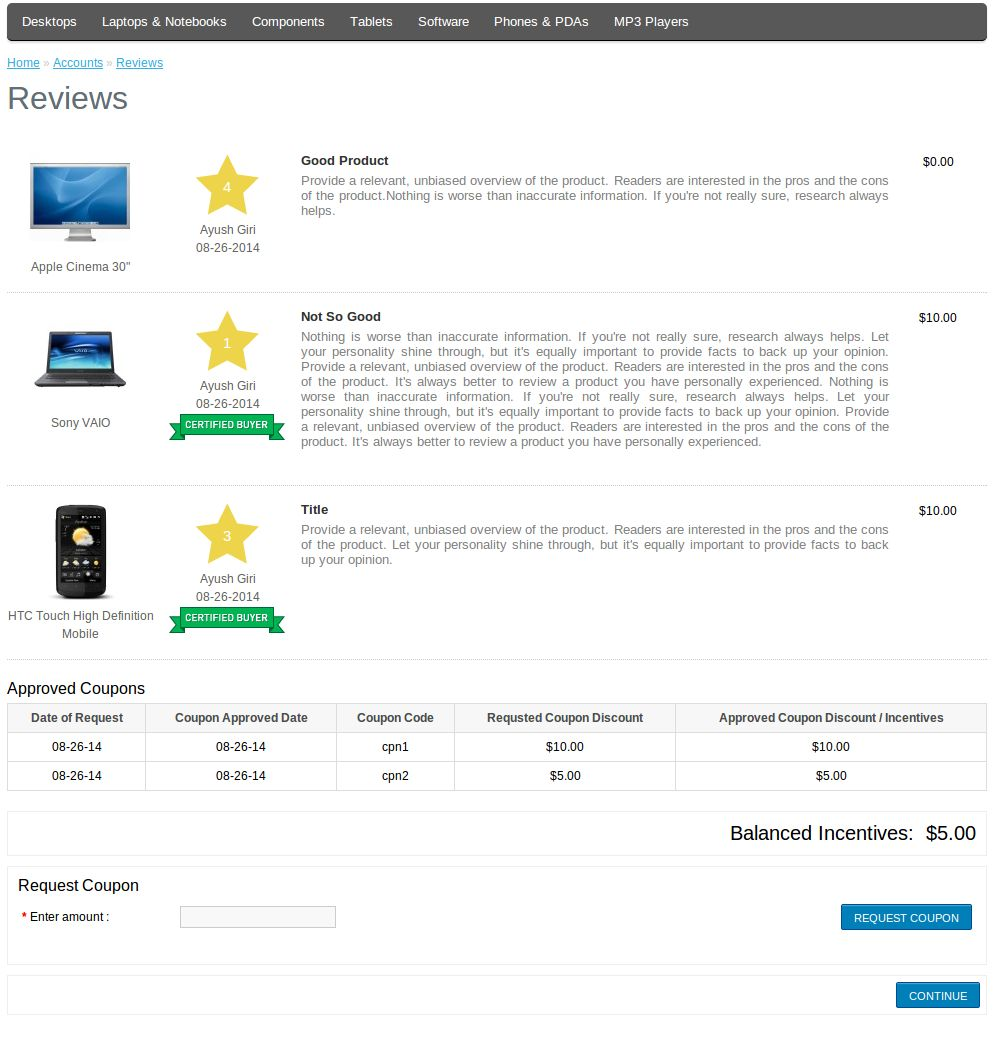
Screenshot of Reviews page
Recommendations
1. Top administrator should give permissions to access page reviewincentive/reviewincentive after moving the plug-in to root folder of your store.
2. Set cron file to run everyday.
Related Stories:
