
1.0 Introduction
As a shopper, you must have seen many of the online stores now don’t allow you to browse through the website or do any purchases unless you create an account with them. This is the way to make your website secure and safe from anonymous users. So, there are several tools out there to provide login security but most of them are like they only apply the login security to the complete site. But with the Knowband OpenCart Private Shop Extension, you can even customize the way you want to secure the website. You can either secure the complete store or you can select from the list of Categories, Products, Pages, and IPs to secure separately instead of securing the complete storefront.
2.0 Salient Features of OpenCart Private Shop Module
- Using this module admin can force the users to login to visit the webstore.
- Admin can update the login/Signup page element changes as per requirement, he/she can add title and show hide the store logo.
- The admin can set if he wants to enable the signup process from the secured page or not..
- OpenCart admin can set if the newly registered customer can view the store directly or he/she must be approved first.
- Store admin can change the content of the thank you page which will be only visible if the verify new customers option is enabled.
- Admin can set the position of the forms on the secure pages, like, left, right, or center.
- Store owner can add custom CSS and JS to add on the secure pages.
- Private Shop Admin can either secure the complete web store or he/she can set the categories, products, and pages on which he wants to add security.
- OpenCart shop admin can add IP to allow them to view everything on the web store with logging in.
- Private shop admin can change the opacity of the forms on the secure pages.
- Admin can change the background of the forms as per his/her requirement, he/she can choose from the plain color background, image background, or video background.
What’s New in the Recent Enhancements!
Customer Listing:
With Knowband’s Opencart Private Shop Extension, store admins can enable a private login pop-up for specific sections, restricting access to products, categories, and CMS pages for general customers. This new enhancement lists customers who are registered through the private shop login pop-up in a separate tab, providing admins with control to approve, disapprove, or delete private customer accounts as needed.
Email Templates:
The email template section in Knowband’s Opencart Private Shop Extension allows admins to customize private account registration emails. Admins can set the subject line in the template subject text field and modify email content with text or HTML. This ensures personalized and professional communication with registered customers.

3.0 Installation Guide
- Before starting the installation process, you have to buy the Private Shop by the Knowband store. Once purchased, you will receive the following files in your registered email.
- Source code of OpenCart Private Shop extension in zipped file format.
- User Manual of OpenCart Private Shop extension.
- Now in order to install this on your online shop, follow the given steps:
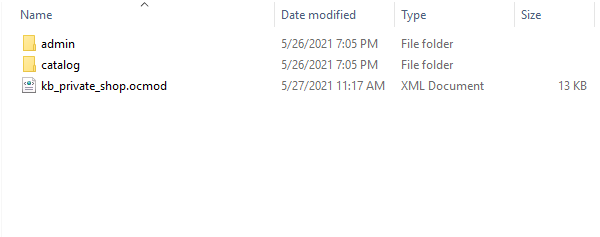
Step 1:
Unzip the zip file. You will get the folders as shown in the image below

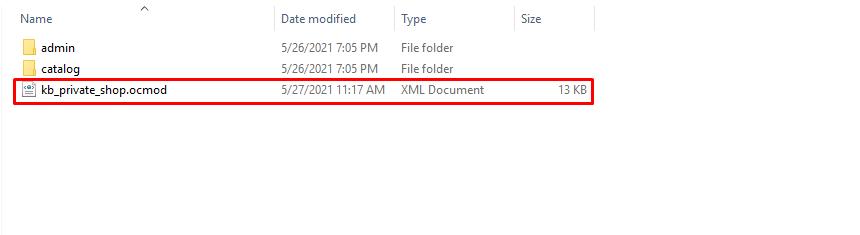
Step 2:
Copy the content of one of the folders as per your OpenCart version as shown in the below image
 Step 3:
You can copy these folders to the root folder of your website.
Step 4:
After copying this go to your admin panel and install the module with the modification file.
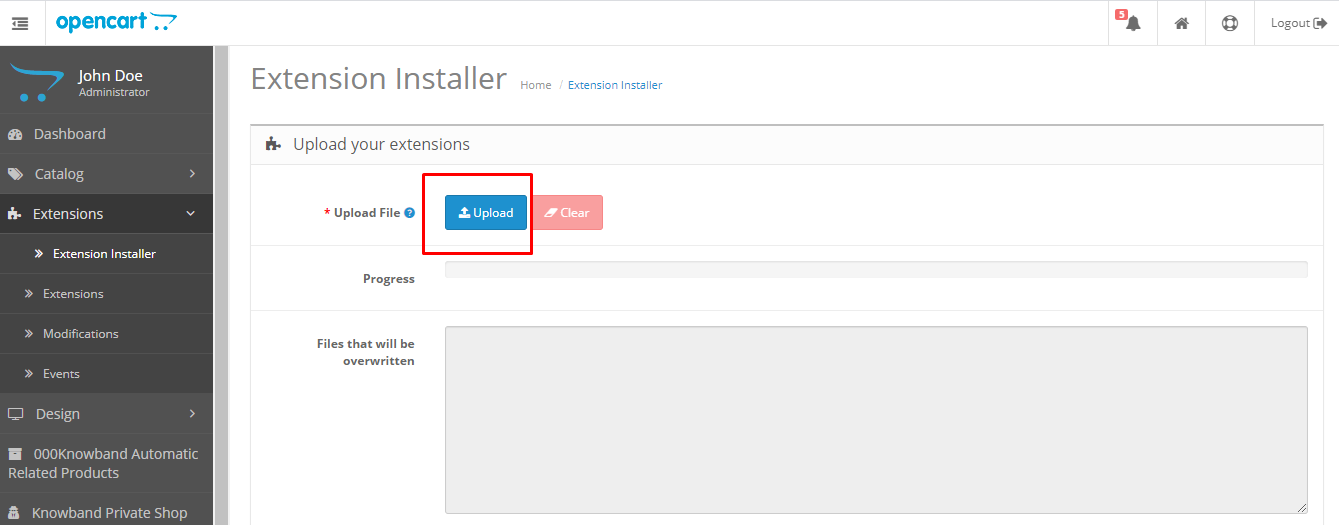
Step 5:
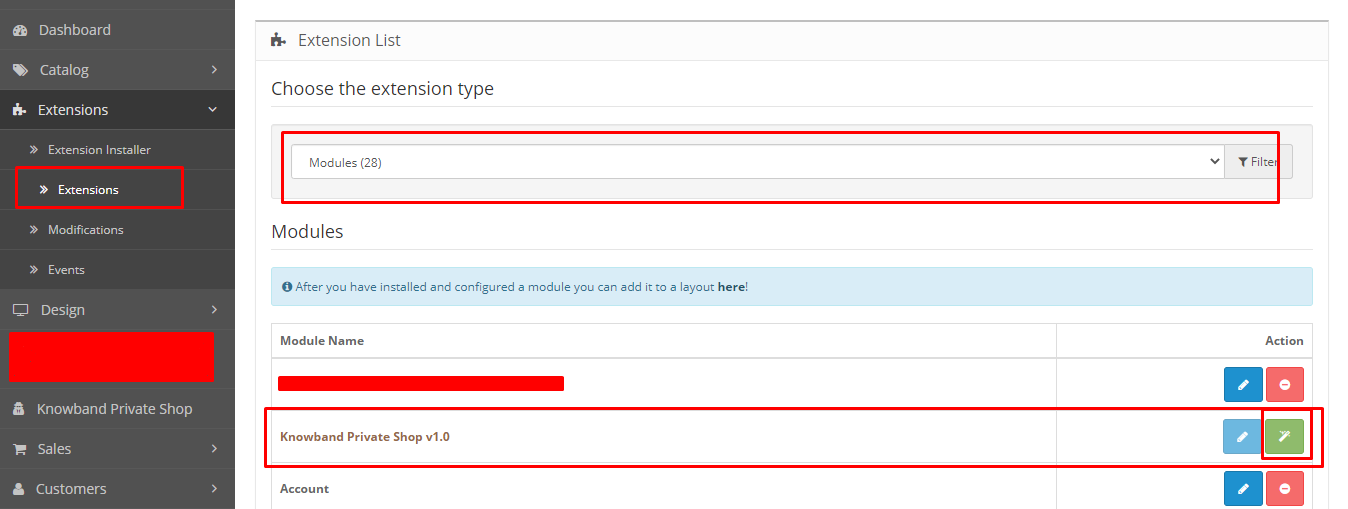
After uploading the OCMOD file your module will be ready to use. You can go to the extensions and install and configure the module as per your need.
4.0 Admin Interface of OpenCart Private Shop Extension
To configure the OpenCart Private Shop extension you can navigate to the module configuration page either by clicking on the Knowband Private Shop link in the side menu.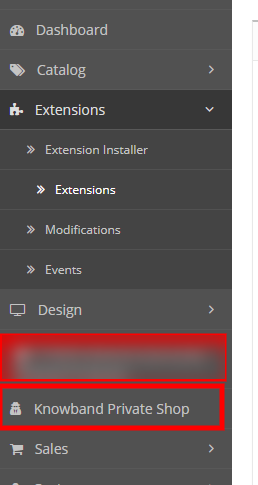
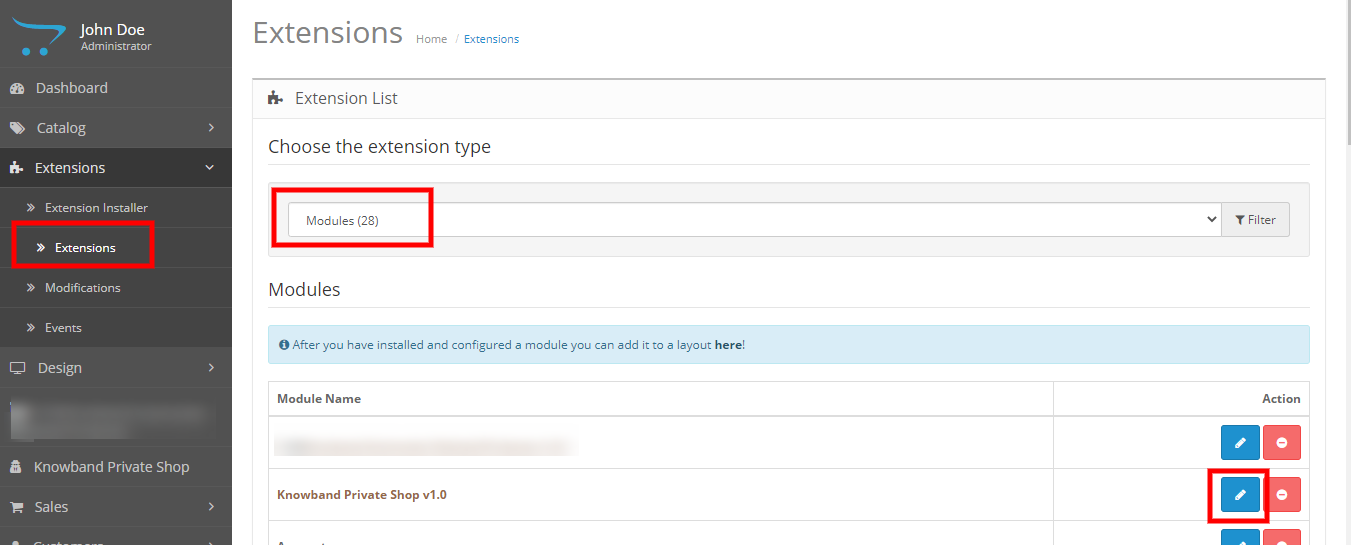
Or you can go to the Extensions > Modules > Knowband Private Shop.
In the admin you will see the following main settings tabs those are:
- General Settings
- Access Settings
4.1 General Settings
These are the basic settings that you can apply on the front-end forms and views. Here you have the option to enable or disable the module and much more:


- Status: Enable/Disable this module.
- Login/Signup Forms Position: Select the position where you want to display the login/signup form on the front-end store.
- Login/Signup Forms Theme: Select the theme which you want to apply on the login/signup form. The default theme will use your store theme.
- Login/Signup Form Opacity: Enter the form opacity value for login/signup form. Values should be between 0 and 1 For example 0.5 or 0.75
- Enable Signup: Enable this to allow the customer to register a new account.
- Login Page Title Text: Input login page title text which will be displayed on the frontend login page. Only work if the theme is selected as modern.
- Signup Page Title Text: Input signup page title text which will be displayed on the frontend signup page. Only work if the theme is selected as modern.
- Display Logo on Login/Signup page: Enable this setting if you want to display the logo on the Login/Signup page. Only work if a theme is selected as modern.
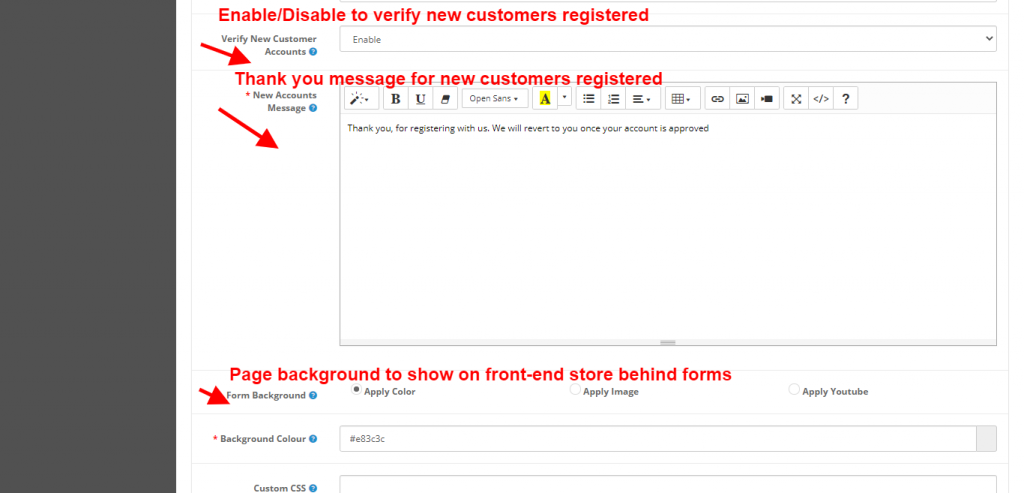
- Verify new customer accounts: Enable this setting if you want to validate new accounts.
- New Accounts Message: This message will be displayed after the registration of restricted customers. Only visible if the verify new customer accounts is enabled, if disabled default functionality of OpenCart will get triggered.

- Custom CSS: You can add custom CSS to render it on the front end. Further, from the forms that are visible on the secure pages of the front-end.
- Custom JS: You can add custom JS to render it on the front end. Furthermore, from the forms that are visible on the secure pages of the front-end. Do not add script tags.
- Form Background: Select the background type which you want to apply on the Login/Signup form. In this you the option of three types.

- Solid color: Choose a color to display on the front end.
- Image: This image will display as the background image of the Login/Signup page. Only .png or .jpg file format accepted.
- YouTube video: Copy and paste the YouTube video URL here Which you want to display on the front end. Note: YouTube video link needs to be changed to embedded.
4.2 Access Settings
These are the access settings that the admin can use to secure the front-end store. Further, to save it from unauthorized users.


- Privatize Shop Type: Admin can select the type of privatization, either the admin wants to secure the complete webstore or the admin wants to secure the selected part of the webstore.
- Allow IP Addresses: Admin can add the public IP’s of the users to whom the user wants to give access to the front-end store without creating an account.
- Allow Google to Crawl Your Store: Admin can enable or disable the google crawling option to apply settings on google crawling.
- Choose Private Products: Admin can select the products individually by searching for their name and add them to the list of private products which will add security to those products on the front-end store. This only works when the admin selects the “Only Selected” option in privatize type.
- Select Private Categories: Admin can select the categories individually by searching for their name and add them to the list of private categories which will add security to those categories on front-end store.This only works when the admin selects the “Only Selected” option in privatize type.
- Choose Private Pages: Admin can select the pages individually by searching for their name and add them to the list of private pages which will add security to those pages on the front-end store.This only works when the admin selects the “Only Selected” option in privatize type.
4.3 Private Customers:

With the help of Knowband’s Opencart Private Shop Extension, the store admin can enable the private login pop-up on particular sections of the shop. For example, you can restrict products, categories, and CMS pages from the general customers.
In this section, the module shows the list of customers who have registered via the private shop login pop-up. Furthermore, the module provides complete control to the admin by providing approve/disapprove or deleting the private customers’ accounts in this section.
4.4 Email Templates:

The email template section allows the admin to customize the private account registration email.
Template Subject: You can add the email subject for the customer registration email in the template subject text field.
Email Template: The email template section allows the store admin to modify the email content by providing the option to add text/HTML content to the emails.
5.0 Front End Interface for the OpenCart Private Shop Module
On the front end, you will see the design changes and content on the basis of options selected in the admin basic settings configurations.

- If the admin applies the Default theme, the background image is visible without the logo and login from the title.

- When form position set as left.

- If the admin applies the Default theme, the background image is visible without the logo and login from the title.
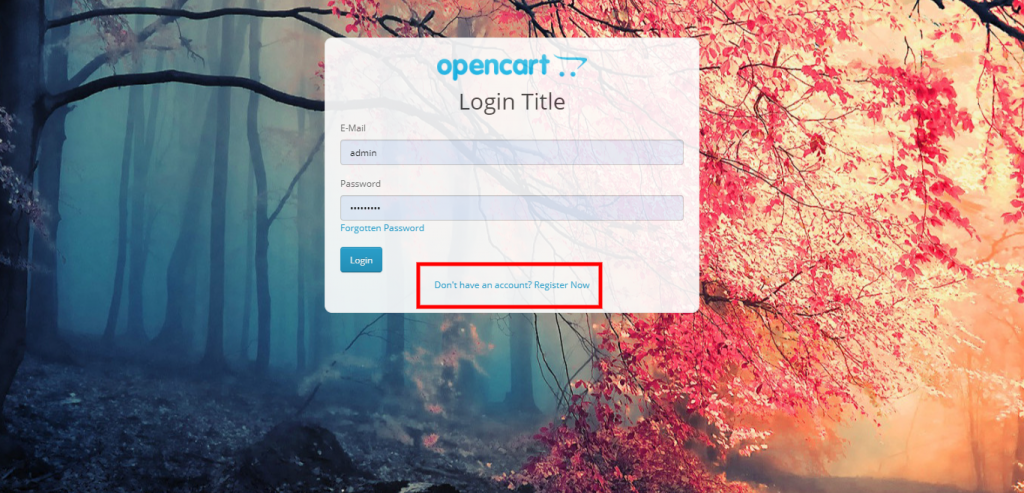
- The admin can enable new customer signup. Furthermore, the opacity of the form sets to 1 from the admin panel.

- A thank you message screen appears after the verification of the new customer account.


Buy OpenCart Private Shop Module: https://www.knowband.com/opencart-private-shop
Admin Demo: https://opencartdemo.knowband.com/3.0/privateshop/admin/
Front Demo: https://opencartdemo.knowband.com/3.0/privateshop/
Recommended Read: Why Do Businesses need a ‘Private Shop’?
