Introduction Prestashop Marketplace Seller Admin Ticket System
This plugin will unable seller and admin to contact with each other by raising a ticket. Seller can generate a ticket for any query to admin and get response by admin, in the same way admin also can generate a ticket to seller and also has the right to change the status and priority of raised tickets.
This plugin will be configured If and only if the Prestashop Marketplace module is installed on your store.
Steps for Installation
To install this ad-don, please follow the following steps:
1. Add ad-don folder under modules folder of your system.
2. After adding this ad-don folder, system will list the ad-don on module page under front office featurecategory as given below:
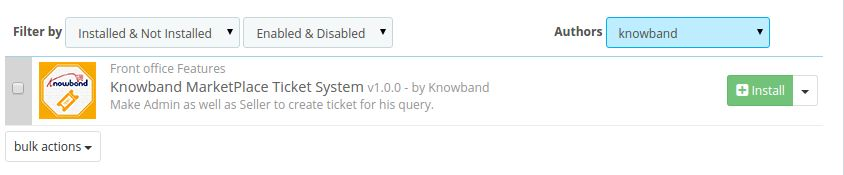
3. Click install to install plugin.
Administration Module Implementation
In admin module, there will be following options to configure this plug-in.
1. Settings (In Knowband Marketplace Menu).
2. Tickets System (In Knowband Marketplace Menu).
Each section is described in details below.
Settings
This section of Knowband Marketplace will be having following options to configure the module
1. Enable/Disable: This option will be having a toggle button with two specific values ON and OFF. This option will come under marketplace setting tab.. If this is set to OFF then none of the feature will be working and not even impacting any other section of website. By default, this option will be OFF.

Ticket System
This section of Knowband Marketplace will have a table with following columns-
Ticket Number: This Column consist the unique id or reference number of generated ticket.
Raised By: This column will show whether the ticket is raised by seller or admin.
Seller Info: Shows the email address of seller.
Store Name: Shows the name of store of seller.
Ticket Title: Shows the title of the query.
Last update: Shows the Last update date of ticket.
Status: Shows the current state of ticket.
Priority: Shows the priority of the ticket.
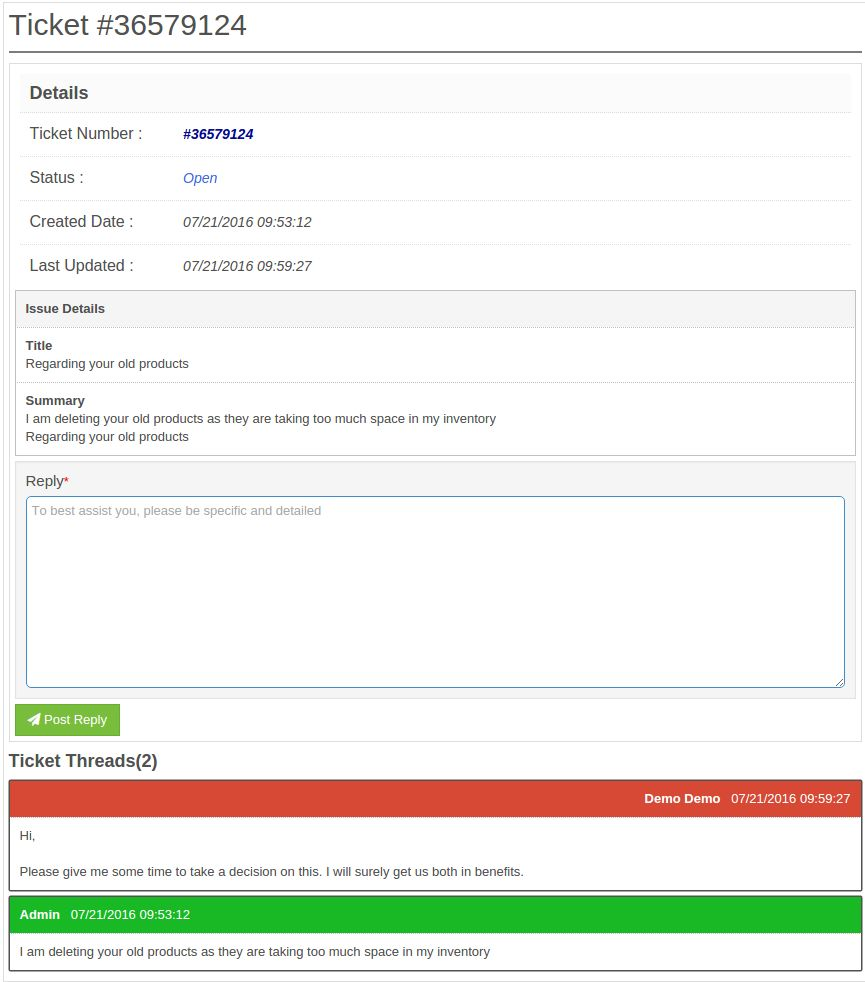
View : Redirect to the new page where all the information is available about the ticket.
Change State: Directly change the state of the ticket.
Change Priority: Directly change the priority of the ticket. View State Changes: Display the list of state changes for that particular ticket.
View Priority Changes: Display the list of priority changes for that particular ticket.
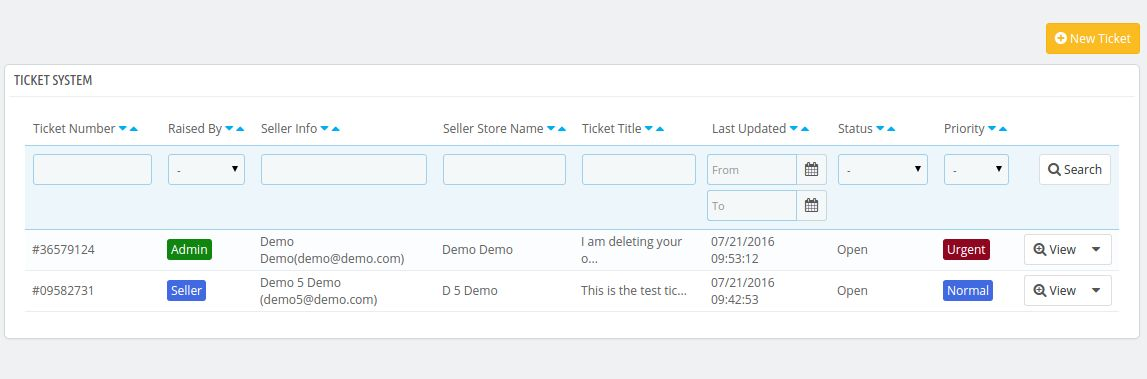
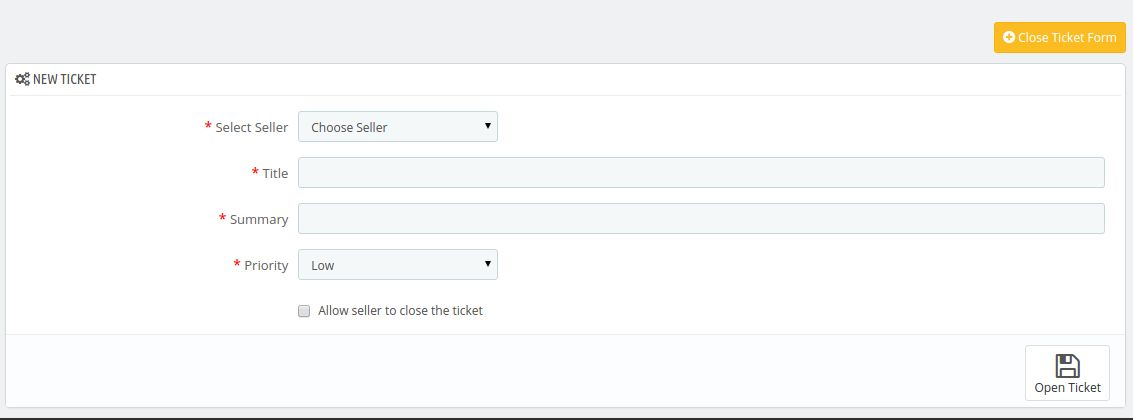
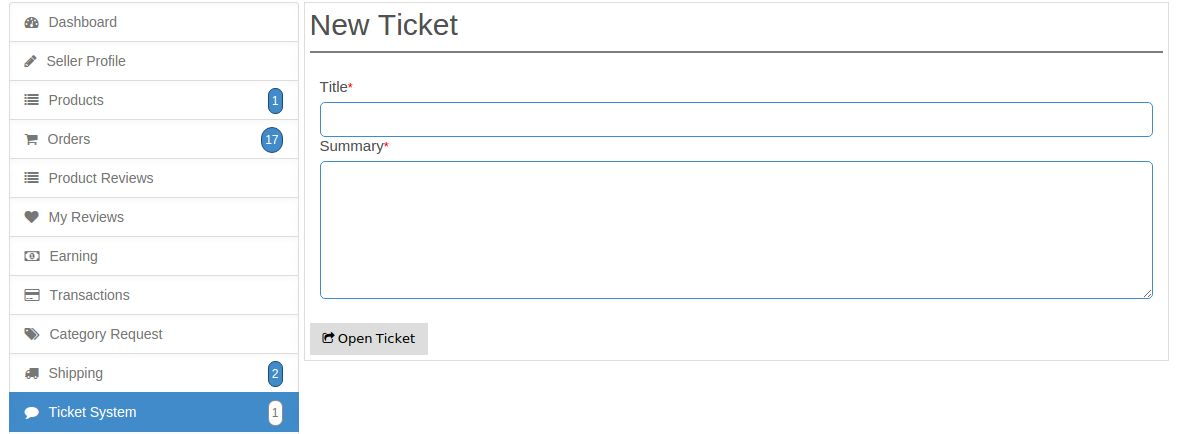
New Ticket: To create a new ticket click on New Ticket button and a form will come up with the following fields:
- Select Seller: Select the seller for which the ticket is raised.
- Title: Set the appropriate title for ticket.
- Summary: Enter the details about the query to the seller.
- Priority: Select the priority of the ticket.
When admin click on View link.

Front Office Implementation
On front office a sub menu Ticket System is added under seller menu.
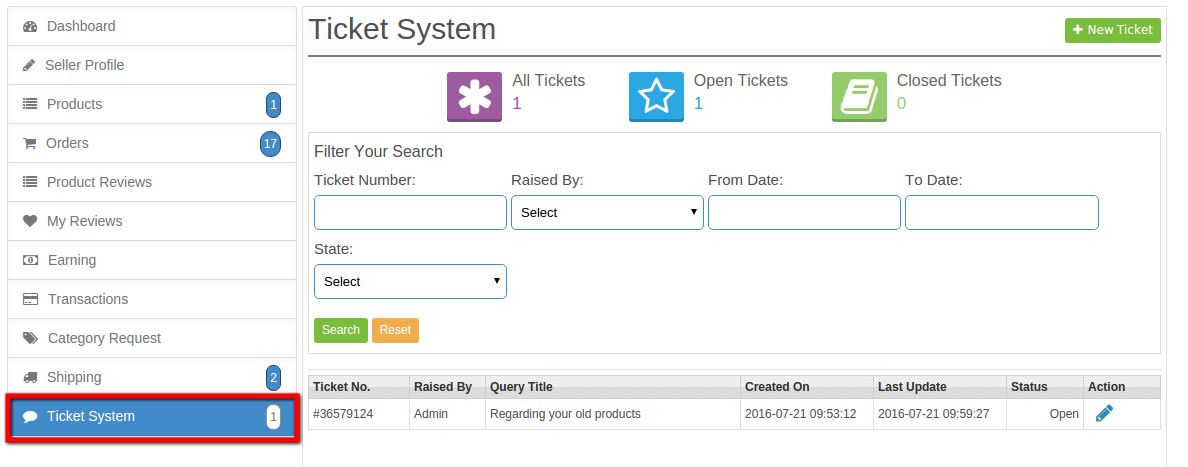
This tab contains the list of tickets generated by seller and admin to this seller.
Seller can raise a new ticket by Clicking on New Ticket Button.
Seller can view replies by click on Edit action button