1. Introduction
Newsletter Integrator is an OpenCart Plugin that lets you increase your mailing list by adding customers in your configured lists of email marketing services as configured in admin panel. You can choose to configure any of the services or multiple at the same time from ‘Mailchimp’, ‘Constant Contact’ and ‘iContact’.
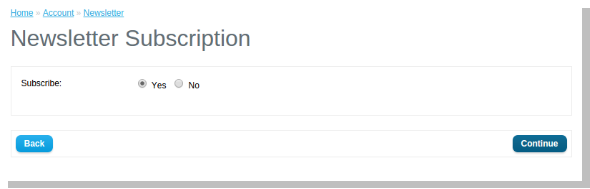
2. Front End
On the front end,when a customer chooses to subscribe to a newsletter in default OpenCart, the customer is automatically added top the lists configured in admin panel when clicked on continue.
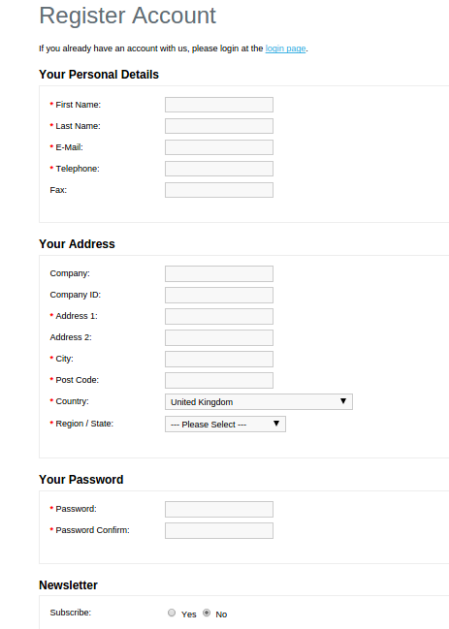
A customer will also be added to configured lists on registration if he/she choose the option subscribe to newsletter.
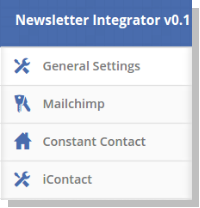
3. Admin Panel
The admin panel has 4 tabs for configuring this plug-in, as listed below:
1.General Settings
2.Mailchimp
3.Constant Contact
4.iContact
3. Admin Panel
The admin panel has 4 tabs for configuring this plug-in, as listed below:
1.General Settings
2.Mailchimp
3.Constant Contact
4.iContact
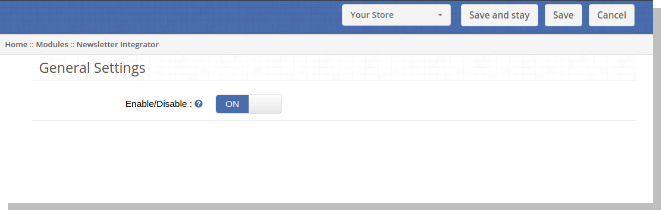
4. General Settings
General Settings tab has following options:
Enable/Disable(On/Off Switch):
This is the main switch to enable/disable the entire Module.
5. MailChimp Settings
In this tab, admin can choose from the lists in his/her MailChimp account where emails should be added. Initially a message will be displayed like No list exists for this API key!
- MailChimp API key: Admin needs to enter API key to fetch lists from his/her account. As soon as admin enters the key and clicks outside the text box, request is sent and lists (ifany) are fetched and displayed in a dropdown box.
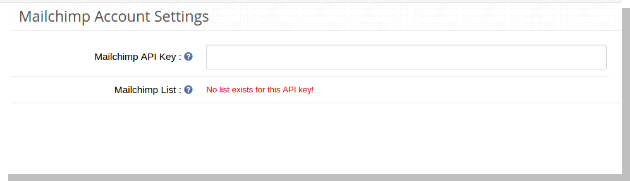
- MailChimp List: Choose from the lists displayed here.

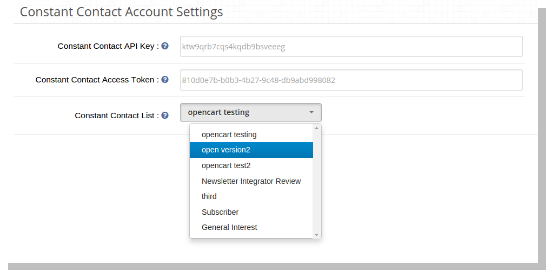
6. Constant Contact
In this tab, admin can choose from the lists in his/her Constant Contact account where emails should be added. Initially a message will be displayed like No list exists for the combination of Key and Token provided above!.
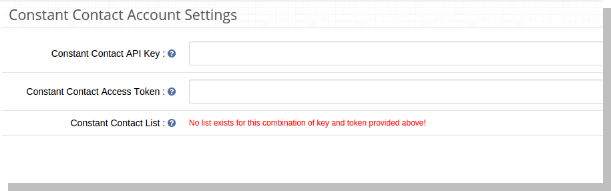
- Constant Contact API key: Admin needs to enter API key. As soon as admin enters the key and clicks outside the text box, request is sent and lists (ifany) are fetched and displayed in a dropdown box.
- Constant Contact Access Token: Admin needs to enter access token along with API Key. As soon as admin enters the token and clicks outside the textbox, request is sent and lists (ifany) are fetched and displayed in a dropdown box.
- Constant Contact List: Choose from the lists displayed here.
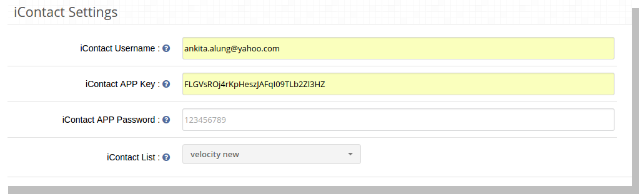
7. iContact
In this tab, admin can choose from the lists in his/her iContact account where emails should be added. Initially a message will be displayed like No list exists for this account!.
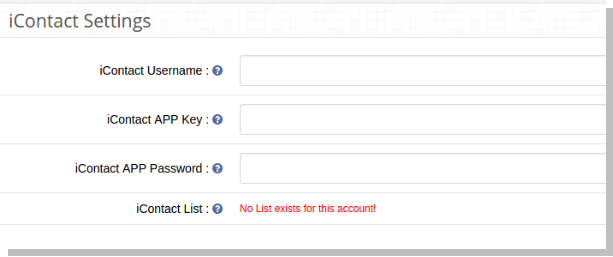
- iContact APP key: Admin needs to enter APP key. As soon as admin enters the key and clicks outside the text box, request is sent and lists (ifany) are fetched and displayed in a dropdown box.
- iContact APP Password: Admin needs to enter APP Password along with APP Key. As soon as admin enters the password and clicks outside the text box, request is sent and lists (ifany) are fetched and displayed in a dropdown box.
- iConstant Username: Admin needs to enter user name as well along with APP Password and APP Key. As soon as admin enters the username and clicks outside the text box, request is sent and lists (ifany) are fetched and displayed in a dropdown box.
- iConstant List: Choose from the lists displayed here.