
1.0 Introduction
Magento Exit Popup module is an extension by Knowband which when enabled shows a popup in the front-end of the website whenever the customer tries to leave the webpage. The features and functionalities of responsive pop-up can be changed from the admin panel of Magento exit pop-up extension. The admin can also set the terms and conditions offered by the Magento exit intent pop-up module as well as cookie life for the popup.
1.1 Merchant Benefits of Magento exit popup plugin:
- The Magento exit intent pop-up module can be installed and used with least effort and difficulty.
- The Magento exit intent pop-up extension monitors the mouse movement of the users and displays a subscription pop-up when they are about to exit the site.
- The look and feel of the front-end UI can be changed from the back-end of the Magento subscription pop-up module.
- The Magento exit intent subscription pop-up allows the admin to set the discounts being offered to the customers.
- The store admin can view the complete stats of the Magento exit intent pop-up.
- The customers get alluring discounts just when they intend to leave the site. Thus, the Magento exit pop-up extension can change their intention and motivate them to complete the transaction.
- The Magento newsletter subscription pop-up module can even increase the subscribers of the site.
- The Magento exit intent pop-up is one of the ways to reduce the cart abandonment and exit rate of the site.
- The easy customization options of the Magento exit pop-up makes it easier for the pop-ups to blend with the theme of the site.
- Set visibilty of exit intent popup among selected customer groups and geolocations.
- New attractive themes for exit-intent email subscription popup benefits e-merchants in getting increased user engagement for their store.
- Email Marketing services like Mailchimp, Klaviyo and Constant Contact boost the subscription rate of the store.
2.0 Installation
Follow the following steps for installing Magento Exit Popup Module:
- Download the Magento exit intent pop-up extension package.
- Unzip the package on your root folder of Magento setup via FTP manager (like Filezilla or WinSCP – download here).
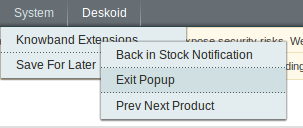
- In Admin Panel go to “System > Knowband Extensions > Exit Popup”.
That is all – Your system is ready.
User Manual
This User Manual Guide users through the Admin Module/Store Front settings and features of the Magento Exit Popup Module.
3.0 Admin Module
The Admin Module contains the 4 tabs for settings and view.
3.1 General Settings
The General Settings of Magento responsive pop-up module has following options:
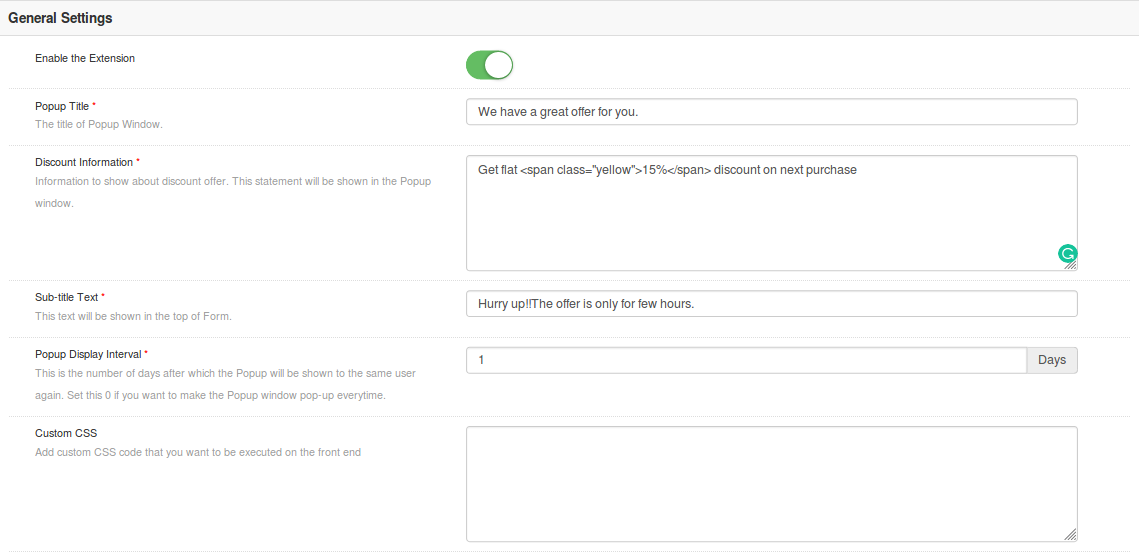

- Enable extension: Enables or Disables the Magento exit pop-up plugin by toggling this button.
- Popup Title: Set the title text that will be displayed on the subscription popup shown in front-end of the site.
- Discount Information: Set text on the popup to show the details about the discount.
- Sub-title Text: Admin can set the sub title text for the exit popup window.
- Popup Display Interval: Set the time interval(in days) after which the exit popup will be shown to the same user. Set this 0 if you want to make the Popup window pop-up every time.
- Custom CSS: Add custom CSS code that will reflect on front-end.
- CMS page for Conditions of use: Admin can select the CMS page to which the user/visitor is redirected as they click on Terms and Conditions provided on exit popup.
- Include jQuery: This option lets admin include jQuery for the front-end.
3.2 Display Settings
The display settings of Magento Exit Intent pop-up module offers the following configuration options:
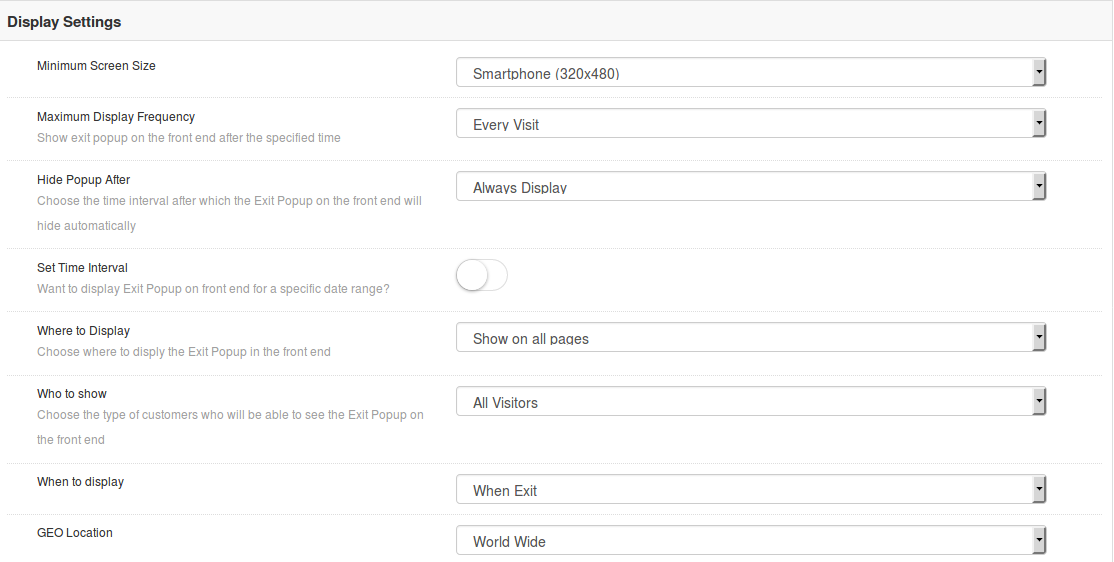
- Minimum Screen Size: This options sets the minimum screen size over which the exit popup will be shown like mobile and tablet devices.
- Maximum Display Frequency: This option shows exit popup on the front end after the specified time.
- Hide Popup After: You can choose the time interval after which the Exit Popup on the front end will hide automatically. You can set the time in seconds or select Always Display option.
- Set Time Interval: This option lets you set the visibility of Exit Popup on front end for a specific date range. You can choose start and end date for the display of popup.
- Where to Display: This option lets you choose where to display the Exit Popup in the front end.
- Who to Show: Select the customer group who will be able to see the Exit Popup on the front end
- When to Display: This option sets the exact instant of time when the popup displays: immediately, on exit, or after the user scroll downs the screen.
- Geo-location: Admin can set the geolocation for the visibility of exit popup. It can be set to all locations or to selected areas.
3.3 Look and Feel Settings
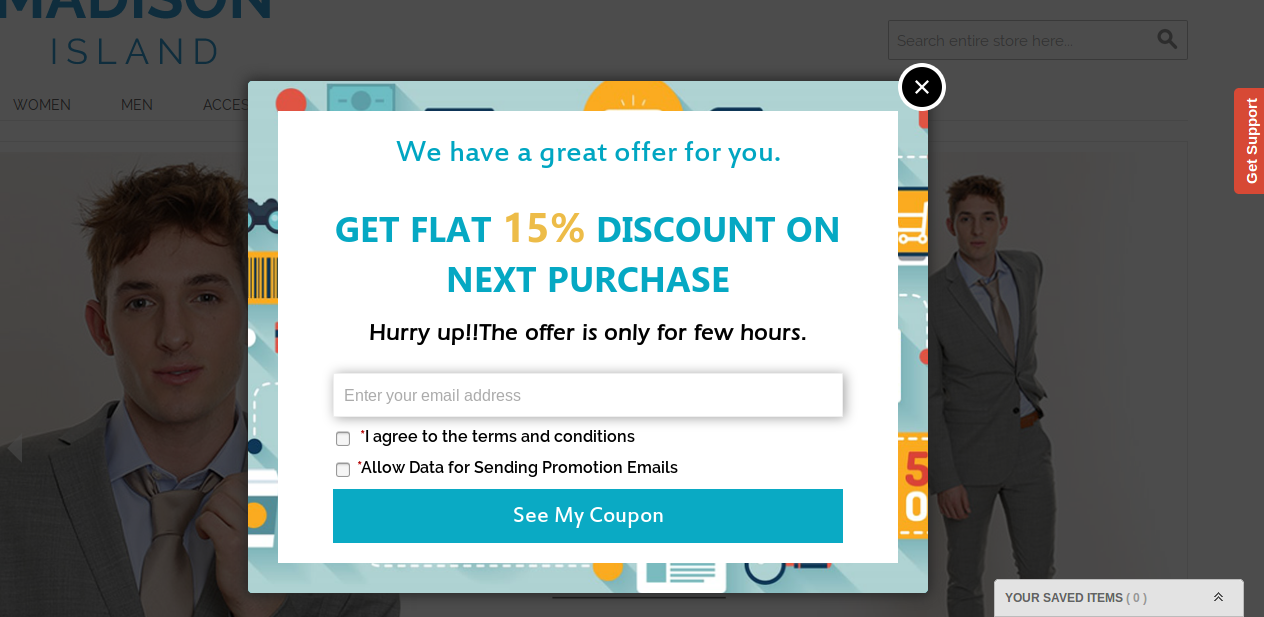
The Look & Feel tab of Magento exit pop-up module allows the admin to change the appearance of popup window. It has following theme options.
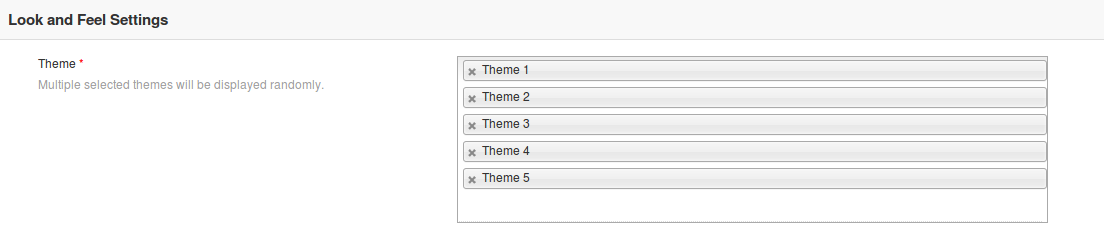
Admin need not to modify or style the title text and background color separately. Everything comes readymade with Magento Exit Pop-up Plugin. The plugin offers you different theme options out of which you can set a particular theme or you can choose multiple themes at a time. If you select multiple themes then the themes are displayed in the random order.
Theme 1
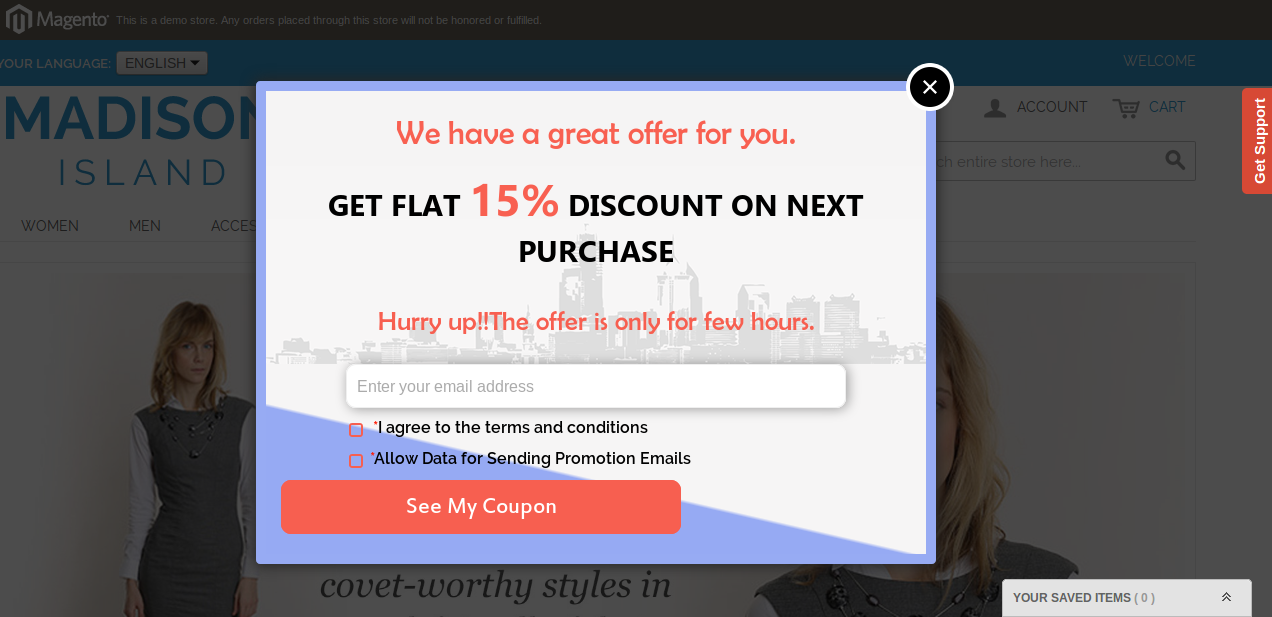
Theme 2

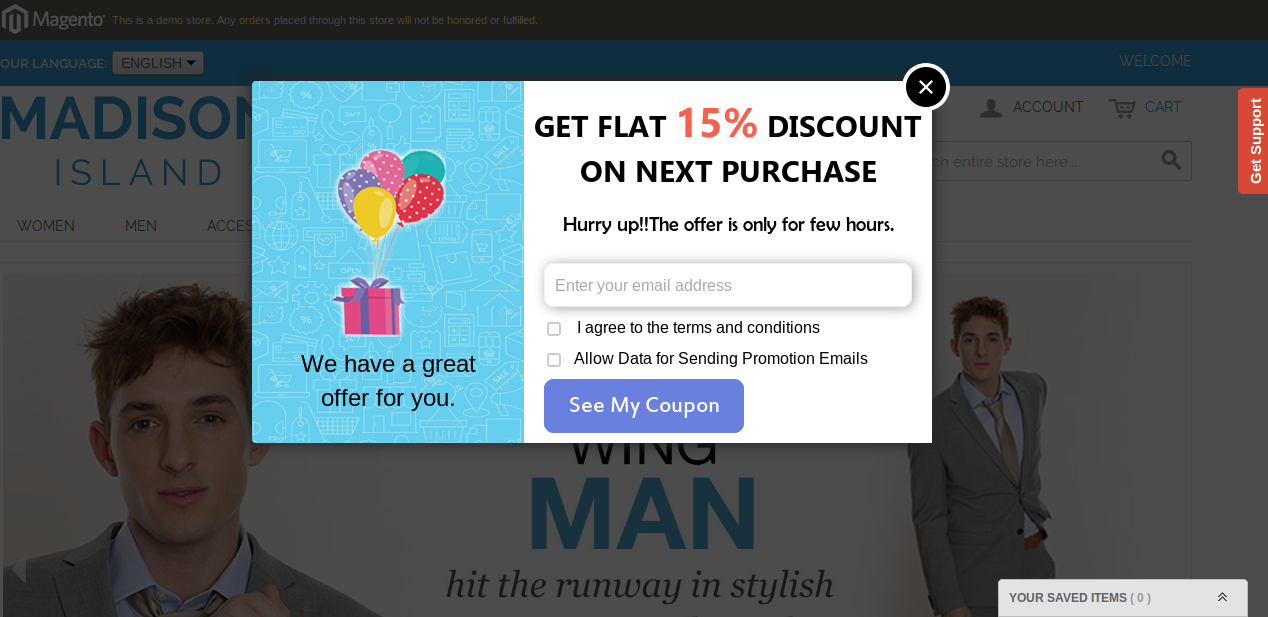
Theme 3
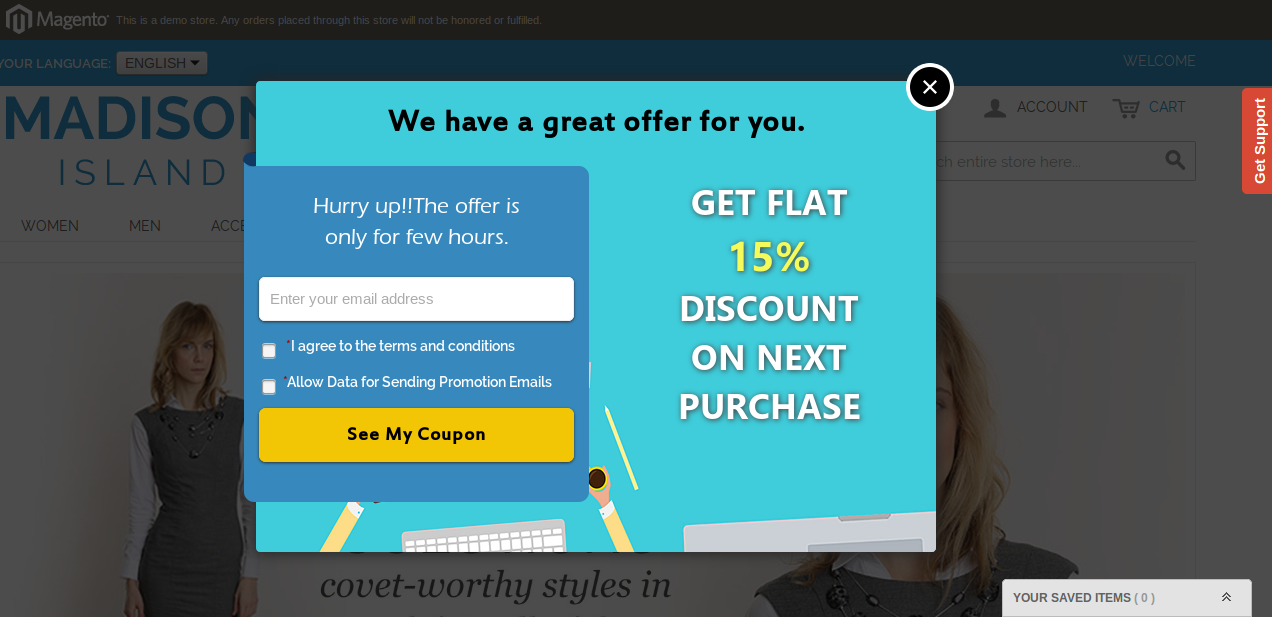
Theme 4
Theme 5
3.4. Discount Settings
The Discount settings tab of Magento exit pop-up extension has the following options:
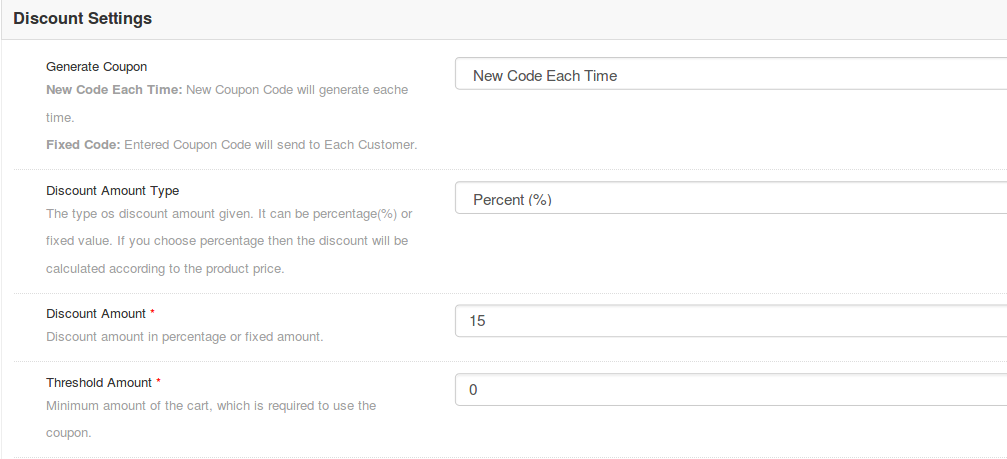
- Discount Amount Type: Using this option, we can set the type of discount given to the customer(s) using Exit Popup front end. There two options to choose. By default Fixed option is selected if Magento Exit intent pop-up module values are not saved yet. Percentage discount will deduct the total cart balance by given percentage. Another option is the Fixed amount. The fixed amount will be deducted from the cart.
- Discount Amount: This field is used to give the amount of discount for the generated coupon. The value validations work according to the selected option in Discount Amount Type.
- Threshold Amount: The Magento Exit pop-up module allows the admin to fix the minimum cart value required to avail the offer. This field is used to set the minimum required cart amount to use the coupon. The coupon will not work if the cart amount is less than Threshold Amount. By default, the value is set to ‘0’ which means there is no restriction at all.
3.5 Email Marketing Settings
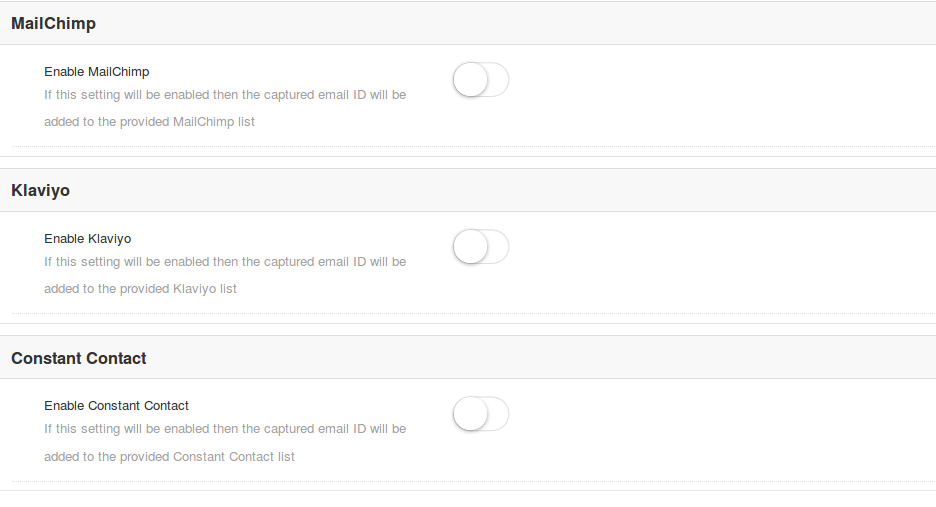 Magento Exit Pop-up Extension offers you three email marketing options as:
- MailChimp
- Klaviyo
- Constant Contact
Each of these marketing services can be separately configured, enabled and disabled. For configuring them, you just need to set the API keyof that connected account. Once configured, the customer email is automatically synced to the connected subscriber list.
3.6 Email Settings
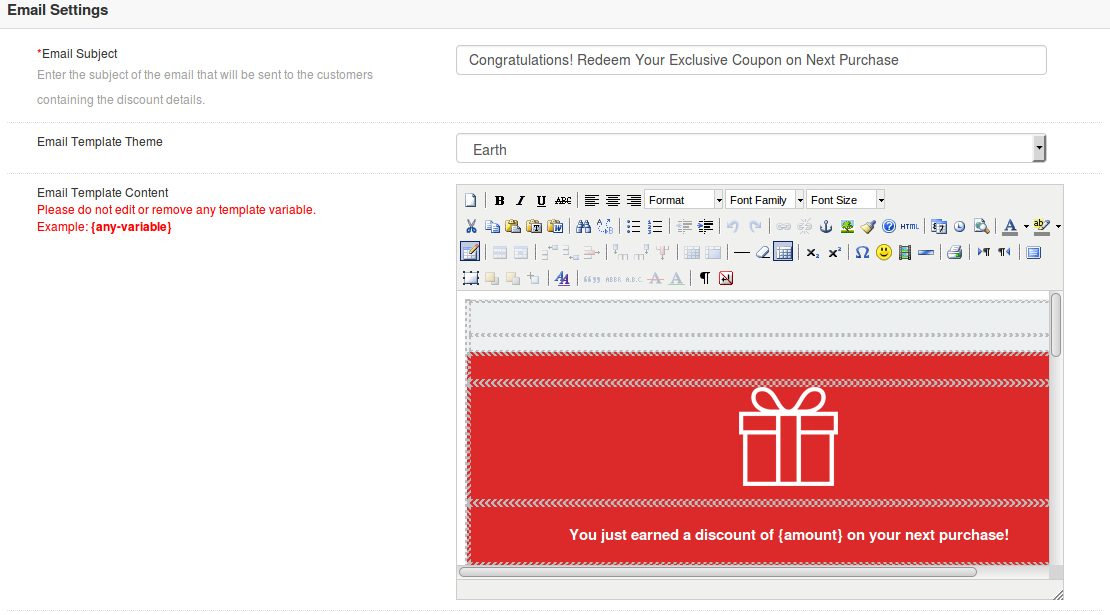
- Email Subject: This option sets the subject line for the email which is automatically sent to the discount winners stating the discount information they have won on the store.
- Email Template: You can set a desired template for your email to make it look appealing to users.
- Email Content: This specifies the body of the email. Here, you can give the rich text content of email along with images and required links.
3.7 Statistics
The Statistics feature tab of Magento Exit pop-up extension is to view all the details (in graphical form) about the number of visited customers, generated coupons, customers visiting again etc. There are two filters to filter the data which is getting displayed and one more button to reset all the filters. By default, all of the data is shown.
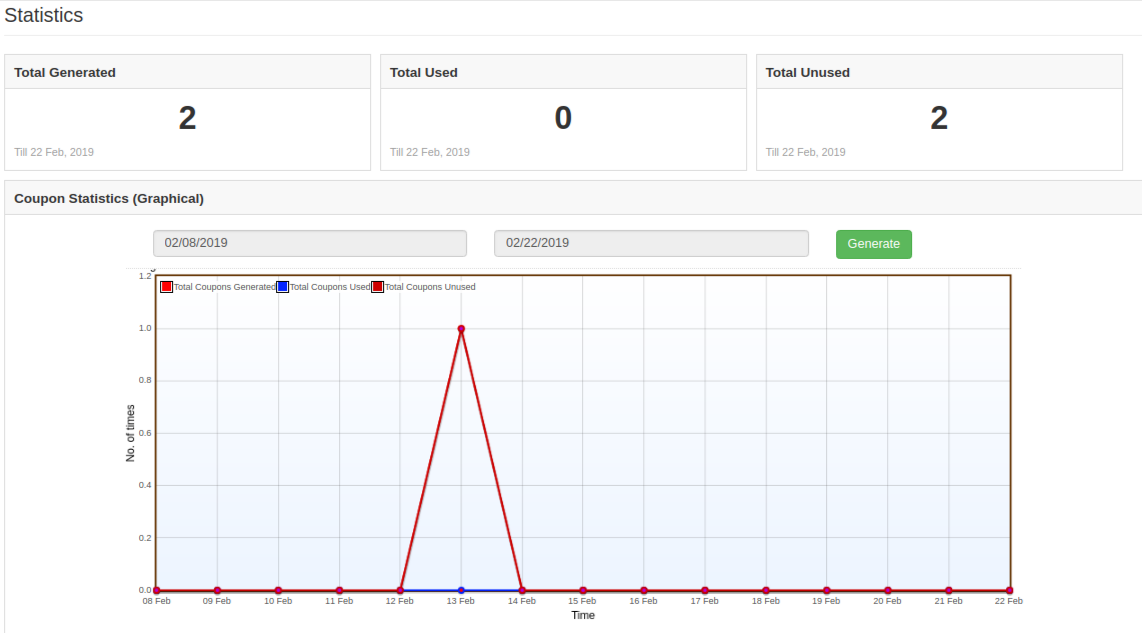
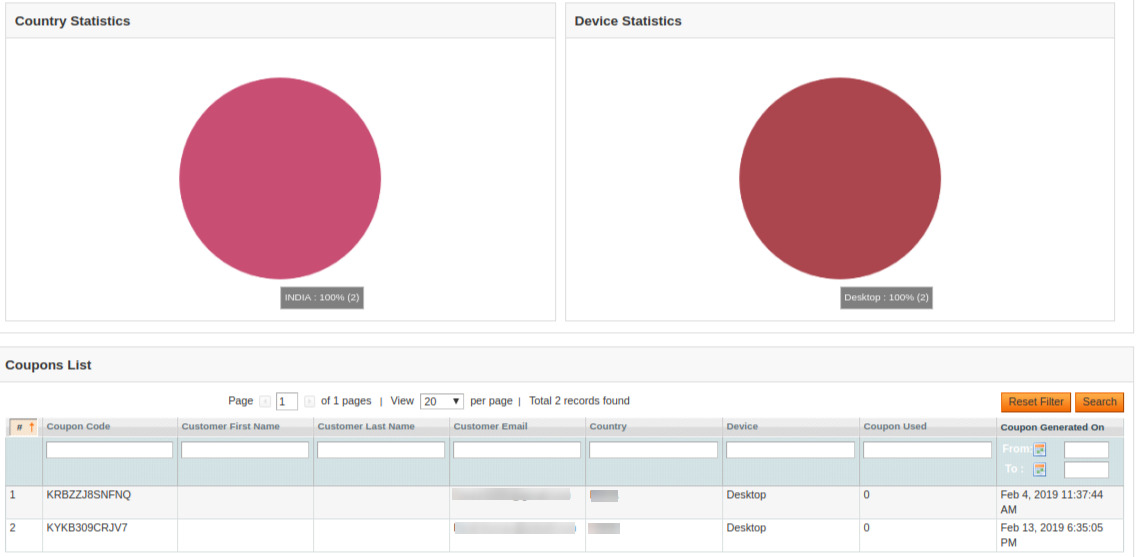
- Date Range Filter: In this filter, there are two datepickers and one filter button. From date and to date are given using datepicker and when the Filter button is clicked, all the data between those two dates is shown. If no date is provided in datepicker then the default date is taken. The default date is 1970-01-01 00:00:00 (YYYY-MM-DD Hours:Minutes:Seconds) and the data is processed according to this date.
- Month filter: This filter contains one button. When we click on this button, then all the data of current month is displayed starting from the first date of the current month upto the present date.
- Reset Filters: This option is used to reset all the filters and to show the default data. When this button is clicked, then all the filters are reset and the values inside datepickers are also removed.
There is one more division/component in the admin panel of Magento Exit pop-up. This division is displayed just below the header of the Exit Popup admin panel. This division is used to show total visitors, Used By, Used Again By and Total Coupons Generated.
Store Front
After enabling this Magento Exit pop-up plugin, the offer and subscription popup is shown in the front website whenever the customer tries to leave the webpage from the upper side.
The Magento Exit pop-up module at the front-end appears as follows:
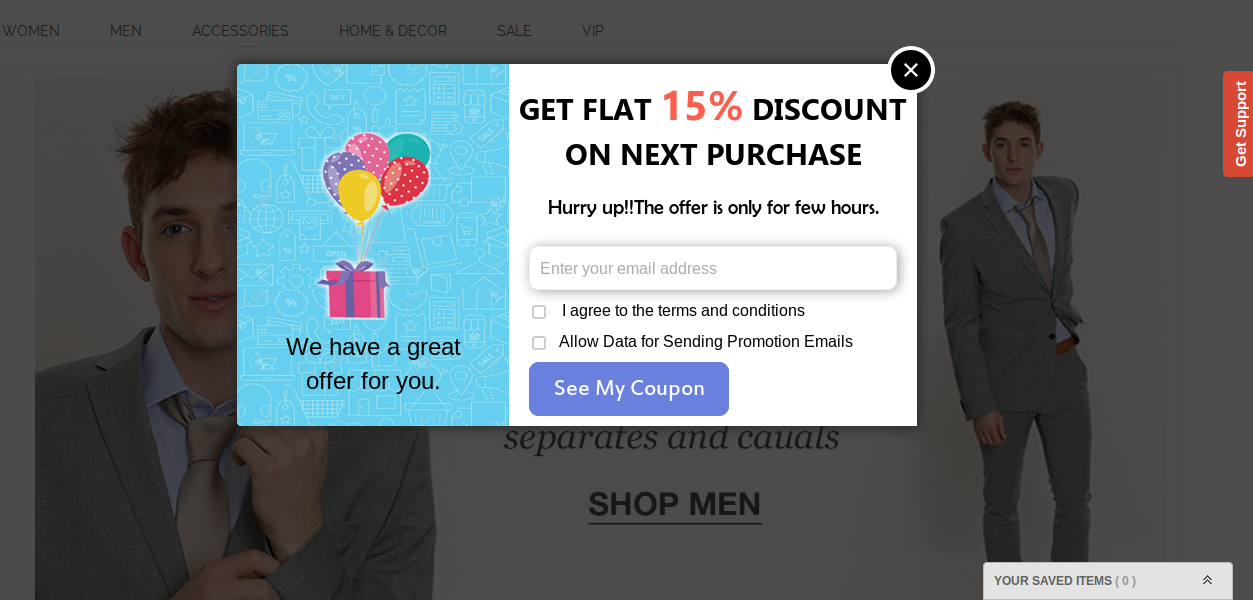
User has to enter the email id and click on the button.
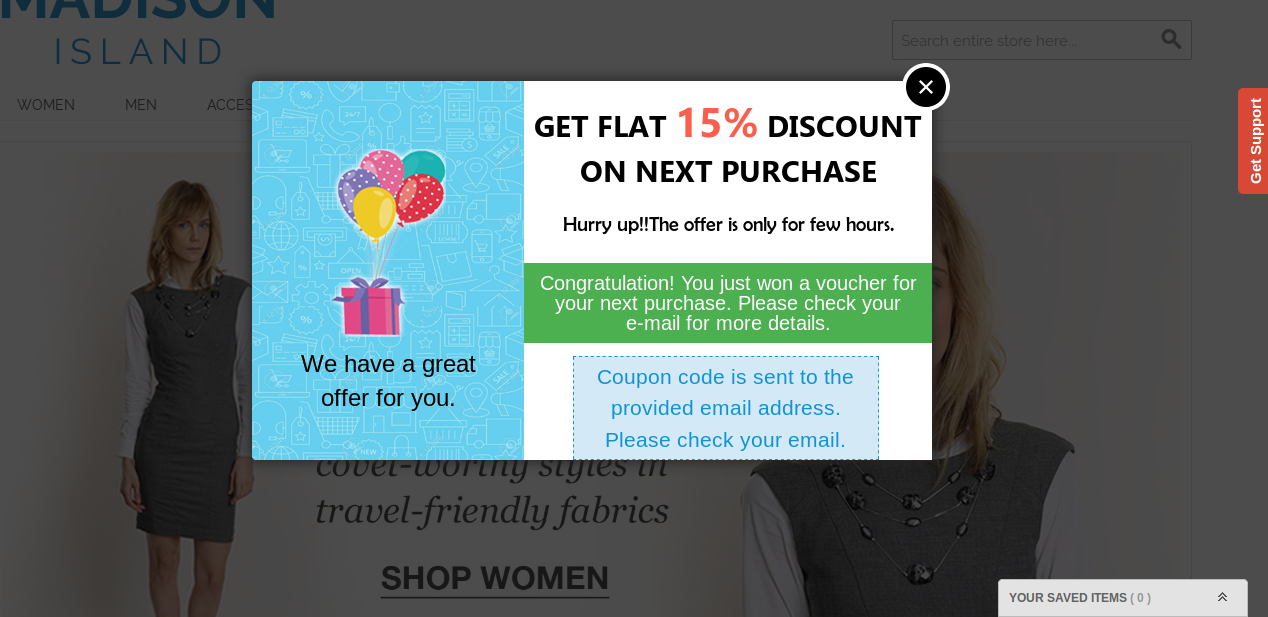
A coupon is generated and the message is shown in the popup window and an email is sent to the provided email id.
Disclaimer: In case the “Exit” popup does not display at the front, kindly clear the cache or delete the cookies. Sometimes cookies prevent the popup from displaying at front.
Watch Video: https://www.youtube.com/watch?v=O7q-7q9YXSM&feature=youtu.be
Related Stories:
