The most pressing question for an eCommerce is how many platforms should they start selling on? Obviously, if you are expanding then you need to start selling on different platforms like Amazon, ETSY, etc. Facebook is the most popular platform and a social network with the highest user base worldwide. Then why not start selling on Facebook?
Facebook introduced a Facebook shop for small businesses after the COVID crises and is flourishing! Recently, Facebook added a Facebook Page Shop feature to it which might rule the marketplace industry in the coming future for small businesses.
The new Facebook interface is clean and has a lot of white space in day and night mode. But, it is receiving a lot of criticism as the settings are quite difficult to navigate; also, many people are calling it a nightmare! To cope up with the competitors you must know how to use the latest version and must take the advantage of its popularity as an eCommerce business merchant.
It took me some effort in navigating and understanding the Facebook Page Shop functionality. Now, I am going to share everything about it that you need to know.
What is Facebook Page Shop?
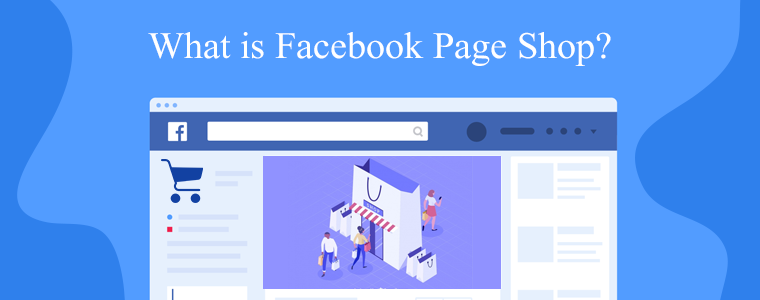
The Facebook page shop allows a business to sell their physical products through the Facebook marketplace platform by creating a shop on the business page. This shop features best serves merchants, retail, and e-commerce advertisers.
Facebook recommended it for companies selling clothes, accessories, home furnishings, and baby or children’s items. But a Facebook page store can also be used by other businesses to attract more users on Facebook.
It helps you to meet your prospective customers, create ties, and bind your goods to their network. In addition, the advantages of the different features provided by the Page Shop can be leveraged to help you grow your company and navigate shoppers to your website and drive further sales.
Who can create and add products on the Facebook Page Shop?
Any merchant who has a business page with Facebook and is the admin of that page can easily create or add a Facebook page shop.
The main requirements for selling on Facebook Page Shop are:
- You must sell a physical product
- You must agree to the Merchant terms and conditions of the Facebook
The merchant can add products in two ways:
- In your catalog, which is connected to your Page Shop and contains your goods
- On Your Page’s Shop tab
The step by step guide for adding the products is explained on the official Facebook Business Help Centre page.
The Product listing on the Facebook marketplace cannot get easier:
If you face issues in managing your existing Facebook marketplace and in enlisting the products then Knowband’s FB-store module can help. The Facebook store extension helps you integrate your PrestaShop and Magento 2 shops to Facebook Marketplace with ease.
You can start selling on the Facebook channel by directly linking your Shopify store.
Advantages of selling on a Page Shop
Depending on your location, Facebook Page Shop has various features. Some of the fringe benefits of selling on Facebook Page Shop and Facebook Marketplace are enlisted below:
- Add as many products as you like: First of all, you don’t need to upload a product list somewhere else, and there’s no limit to how many products you can add.
- Customize product inventory: You can arrange your items into various collections so that your customers can search your shop by category on the Facebook page.
- Communicate with customers: Customers can send questions to your page.
- Get Insights: For each of your items, you will see customer ratings and reviews, page clicks, and track the transactions.
If you are using a commerce manager then Facebook allows you to set up a checkout page. Isn’t it amazing! You don’t have to navigate your customers for payments but the customers can do the transactions directly on Facebook Shop.
Other irresistible functionalities offered:
To increase brand awareness and popularity a Facebook Page Shop should appear enticing and attractive to the users. To do that, you need to style it, stock it up, and put some extra effort into handling the customers. Once you achieved this, you can share the Facebook Page Shop link with your customers.
- The Facebook Page Shop is easy to customize and configure. Also, you can change the style of the page shop to make it look more attractive.
- The Commerce Manager by Facebook can help you set up the Facebook Page Shop. It gives you a personalized digital storefront to exhibit and sell the products on FB and IG.
- The products and collection of products can be added or removed from the Page Shop.
- After completing the store shopping setup, you can create a custom shopping audience. For instance, you can create one who has shopped already or who have items in their cart, etc.
- You can delete or hide the Facebook page shop in few simple steps.
The platform has a lot to offer but the important part is how you take advantage.
Wrap-Up:
The Facebook Shop has many tempting features to expand your small business and increase your customer base. You only need to have a business page and in a few simple steps, you can create the Facebook Page Shop on the world’s largest social media platform with the greatest user base. The thought is even more tantalizing!
If you want to take your eCommerce business to great heights then the Facebook Marketplace is the best choice for some of the businesses. And, if it is not the best one for you still it will help you grow. Create your Facebook Page Shop today and get to work.
Recommended Reads: