.jpg)
1.0 Introduction
Improve the search experience of your customers on your store. Incorporate Knowband’s Prestashop Image Search Addon and help your customers to search for a product using product image. This saves the time of your customers and improves their shopping experience as well. Through machine learning, the Image Search addon recognizes the image uploaded by a customer and displays relevant results.
1.1 Striking Features of Prestashop Image Search Addon
Prestashop Image Search Addon is highly customizable plugin with no technical changes involved. You can upload or add as many images for your eCommerce store and map them corresponding to products. Lets quickly check different features offered by this Prestashop Image Recognition System.
1. Prestashop Image Search module allows your customers to search products at your store using an image.
2. You can provide “Search Products by Image” option on search bar of website.
3. With Prestashop Image Search module, you can enable or disable Visual Same Search Button on the product pages.
4. You can enable or disable the automatic image sync feature to map images corresponding to products.
5. You can run the cron file to manually map the images to products. Once mapped, they will appear in image search results.
6. Prestashop Image Search Addon supports multi-lingual and multi-store compatibility.
7. You have an option to set threshold percentage ranging between 50 to 100. Based on this value, the matched search results are shown.
8. You can set the number of products which will be displayed on the search result page.
9. Prestashop Image Recognition System is simple to enable or disable from back-office interface.
10. The total details like Total Images, Total Mapped Images, Total Unmapped Images, Total Images yet to be Synced are shown at back-office of module.
1.2 Technology for Development
Language: PHP
Frame Work: Prestashop
2.0 Installation Guide for Prestashop Image Search Addon
You can follow these simple steps for installing the Prestashop Image Search module on your eCommerce store:
1. Firstly, download the addon package from the Knowband store.
2. You will get a zipped file containing the source code and user manual. Unzip the complete package in the root directory of your Prestashop store through FTP manager (like Filezilla or WinSCP – download here: https://filezilla-project.org/). You’ll find the files and folders as shown in the image below:

3. The Prestashop Image Search module is all set to be installed at your store. Go to the Store Admin and then to ‘Modules and Services’.
4. Click on the “Install” button just next to your module. It would show a pop-up for your confirmation. Click on “Proceed with the installation” option. This step will install the module and show notification – “Module(s) installed successfully”.
3.0 Admin Interface of Prestashop Image Recognition System
Once you have successfully installed Prestashop Image Search Addon on your store, you can configure the Image Search settings from the admin backend. The module settings are categorized under two tabs as shown below:
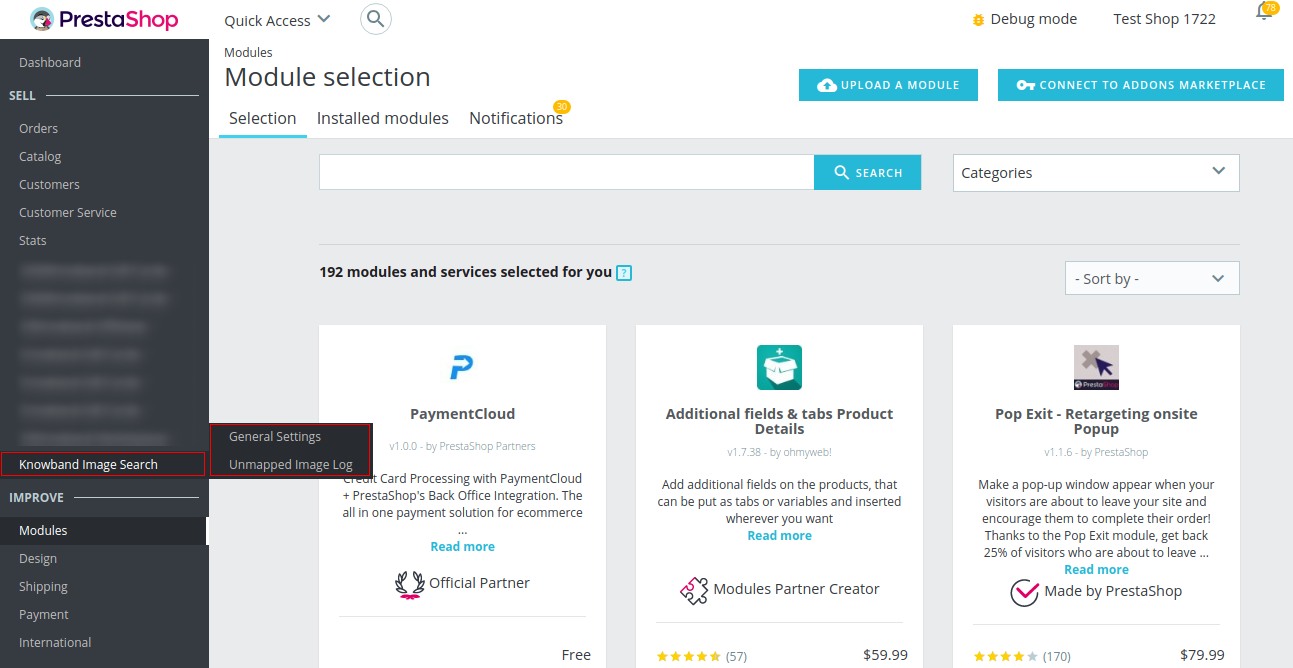
Here in this interface of Prestashop Image Search Addon, you will find two tabs as listed below.
1.General Settings
2.Unmapped Image Log
Each section of this Prestashop Image Search module has been discussed below.
3.1 General Settings
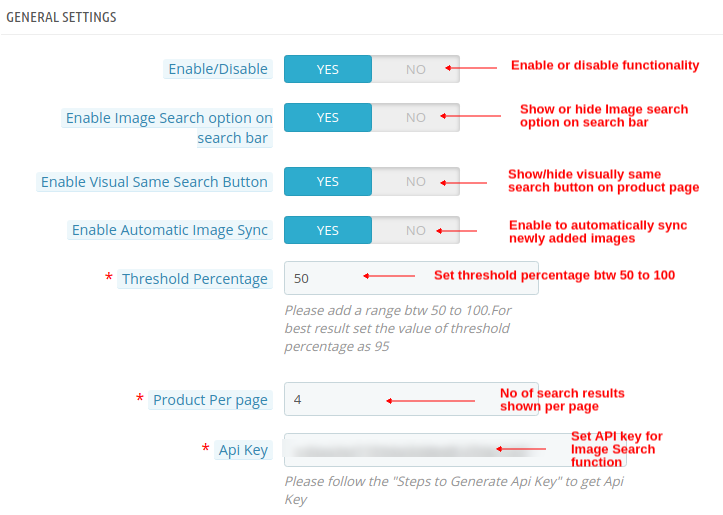
- Enable/Disable: Using this option, you can enable or disable the functionality of Prestashop Image Search module for your store.
- Enable Image Search Option on Search Bar: This option shows or hide the Image Search option on the Search Bar.
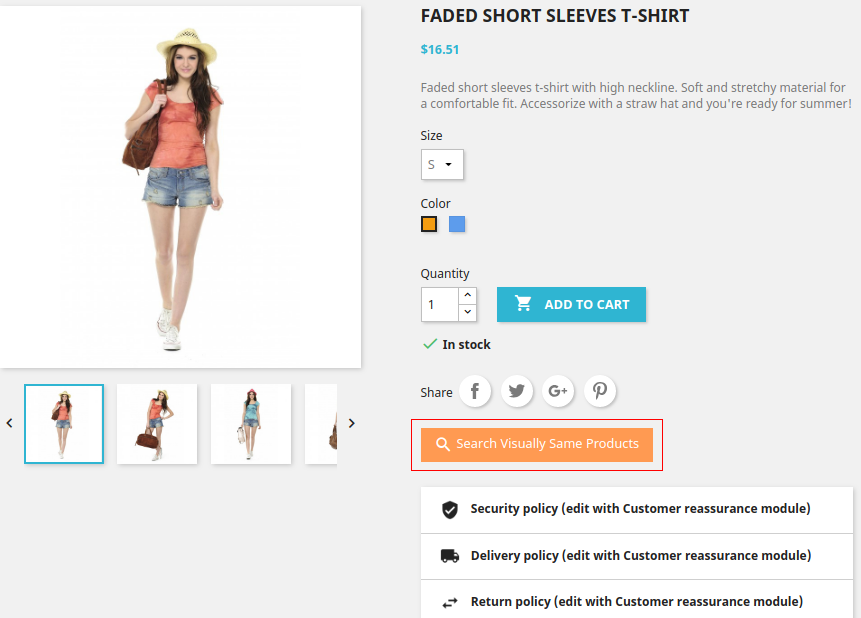
- Enable Visual Same Search Button: This option enables or disables the “Search Visually Same Products” button on the product page.
- Enable Automatic Image Sync: If this option is enabled, then it will automatically map all the newly added unmapped images. If this is disabled, you have to hit and run cron file manually in order to map the unmapped images.
- Threshold Percentage: Using this option, you can set a threshold percentage match value ranging between 50 to 100. Based on this value, module shows the image search results on the frontend. For best results, set the threshold value as 95.
- Product Per Page: With this option, you can set the number of products or search results which will be shown per page.
- API Key: This option will set the API key for Clarifai account. The steps to generate API key are provided at the back-office.
A) Total Images: This count is incremented as you will add new images to any product.
B) Total Mapped Images: This count indicates total mapped images either automatically or manually by running cron.
C) Total UnMapped Images: This count indicates total unmapped images due to some error like API not found or wrong API key.
D) Total Images Yet To Be Synced: The value indicates the images which were not mapped automatically or using cron file. Once you hit the cron file or enable the “Enable Automatic Image Sync” option, the count becomes zero.
3.2 Unmapped Image Log
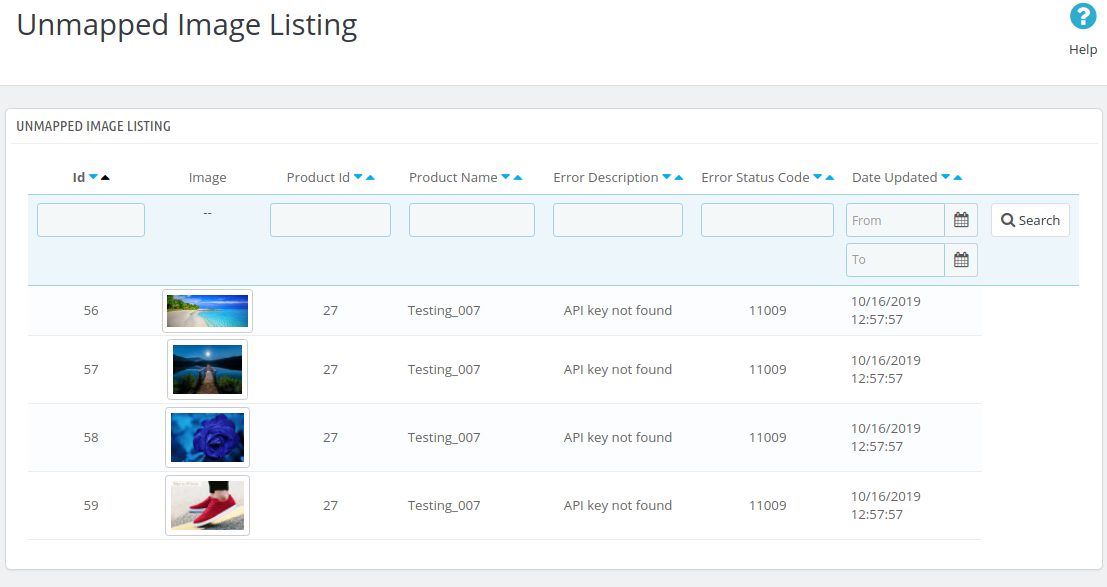
Under this tab of Prestashop Image Search module, you will find details of unmapped images. All the images that are unmapped because of wrong API key are listed along with details like Product ID, Product Name, Error Description, Error Status Code and Upload Date.
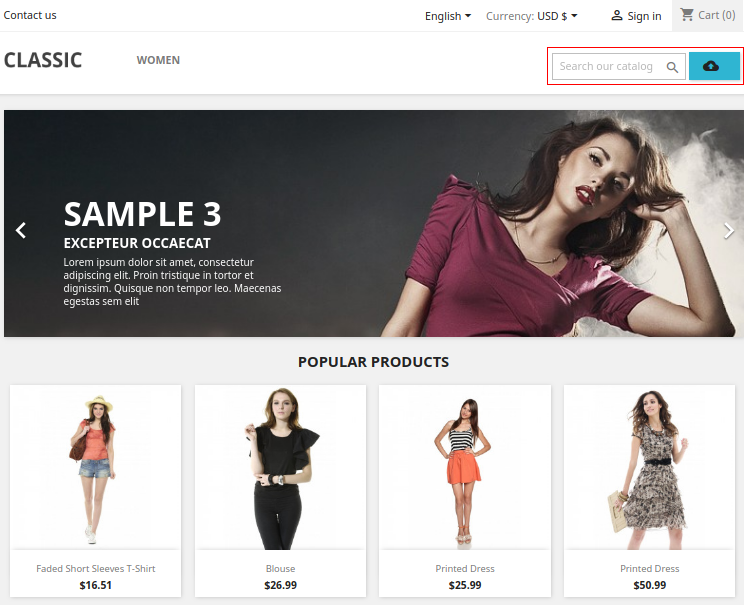
4.0 Front Interface of Prestashop Image Recognition System
A) Image Search Option at Front
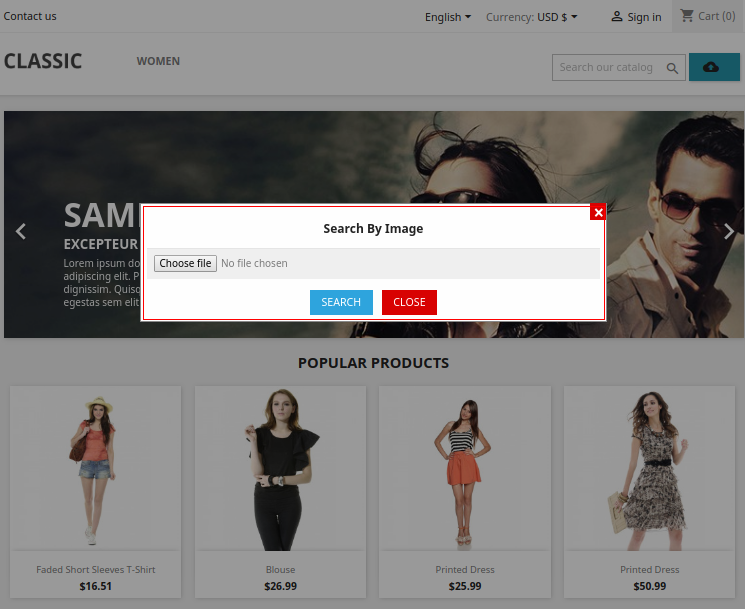
B) Choose file for “Search by Image” option
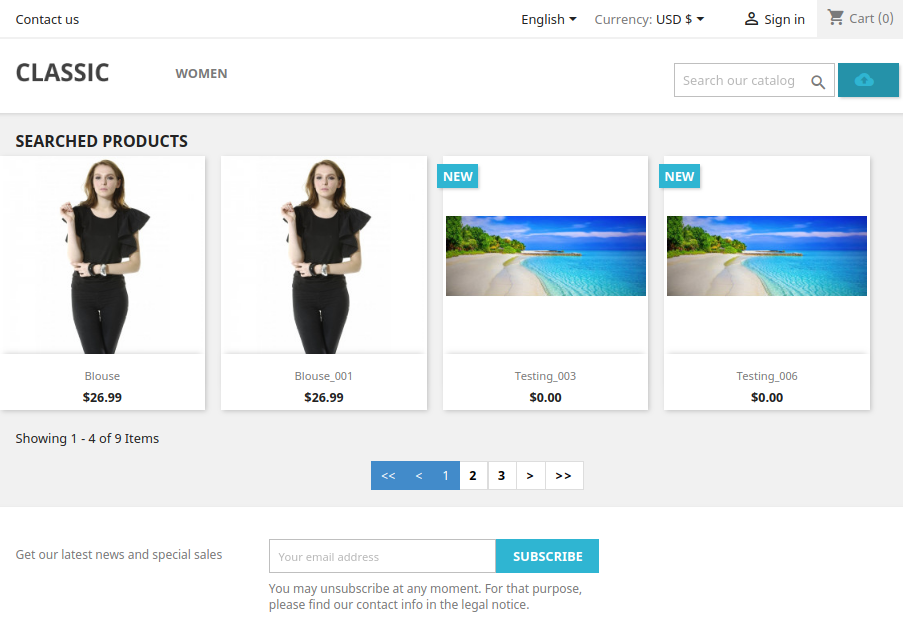
C) When relevant search results are found for the uploaded image.
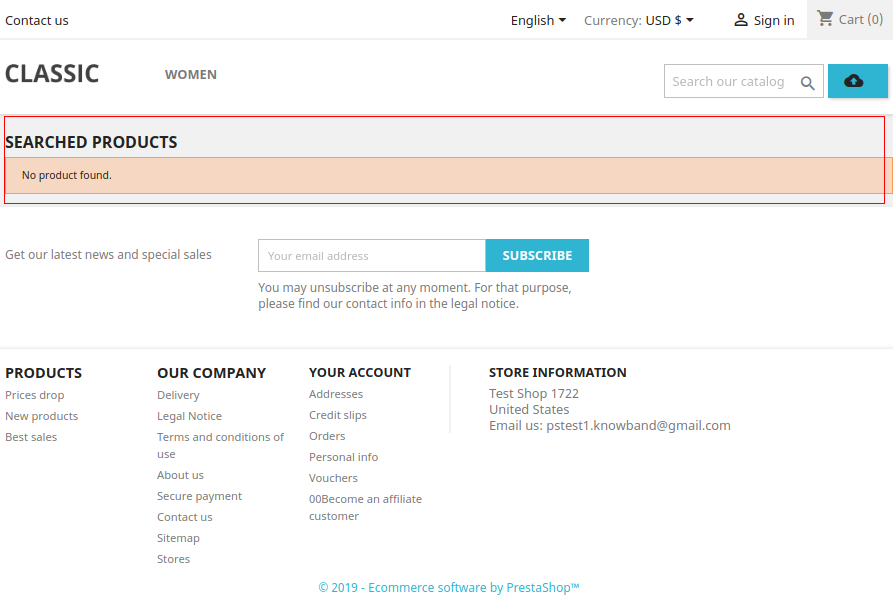
D) When no results are found for the uploaded image.
E) Image Search option on product page