In this encryption, we are going to use a secret key for encrypting the string. The algorithm used will be AES with CBC (Cipher Block Chaining) mode.
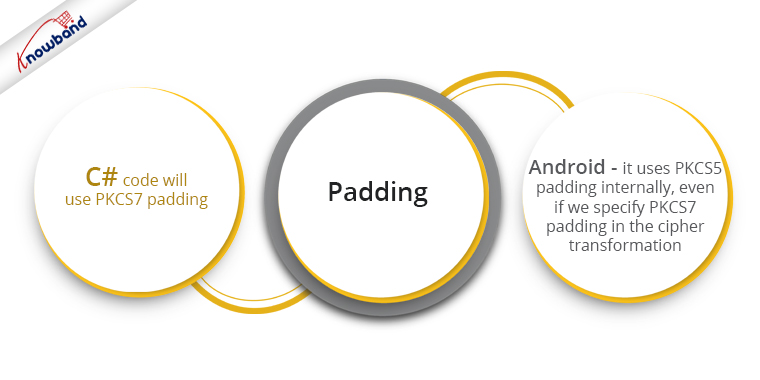
The C# code will use PKCS7 padding, as PKCS5 is not available there. In Android, it uses PKCS5 padding internally, even if we specify PKCS7 padding in the cipher transformation. So, we’re also specifying the PKCS5 padding mode. When tested, they both produce the same correct results.
In this encryption method, a single key is used for both the secret key and the salt.
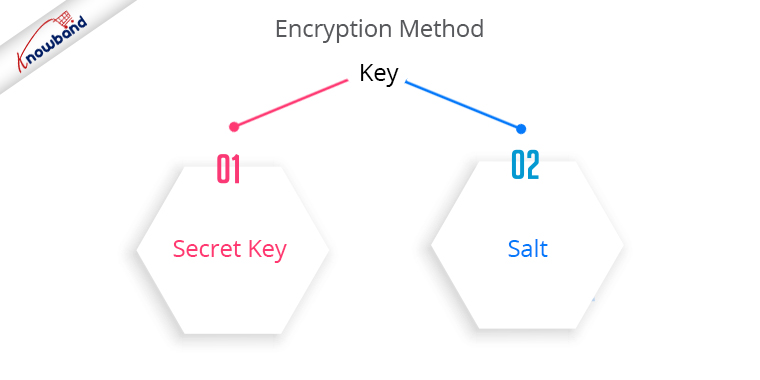
When using different keys for the secret key and salt, there was some difference between the Base64 encoded versions of the salt (or Initialization Vector). The Base64 encoded versions were created by Android and C# codes, and they were different from one another.
To overcome this, we’ve used a single key that will serve as both the secret key and the salt.
The code for the Android part is as follows:
public class EncryptionUtils {

   private final String characterEncoding = "UTF-8";
   private final String cipherTransformation = "AES/CBC/PKCS5Padding";
   private final String aesEncryptionAlgorithm = "AES";

   public String encrypt(String plainText, String key) throws UnsupportedEncodingException, InvalidKeyException, NoSuchAlgorithmException, NoSuchPaddingException, InvalidAlgorithmParameterException, IllegalBlockSizeException, BadPaddingException {
       byte [] plainTextbytes = plainText.getBytes(characterEncoding);
       byte [] keyBytes = getKeyBytes(key);
//        return Base64.encodeToString(encrypt(plainTextbytes,keyBytes, keyBytes), Base64.DEFAULT);
       return Base64.encodeToString(encrypt(plainTextbytes,keyBytes, keyBytes), Base64.NO_WRAP);
   }

   public String decrypt(String encryptedText, String key) throws KeyException, GeneralSecurityException, GeneralSecurityException, InvalidAlgorithmParameterException, IllegalBlockSizeException, BadPaddingException, IOException {
       byte [] cipheredBytes = Base64.decode(encryptedText, Base64.DEFAULT);
       byte[] keyBytes = getKeyBytes(key);
       return new String (decrypt(cipheredBytes, keyBytes, keyBytes), characterEncoding);
   }

   public  byte [] decrypt( byte[] cipherText, byte[] key, byte [] initialVector) throws NoSuchAlgorithmException, NoSuchPaddingException, InvalidKeyException, InvalidAlgorithmParameterException, IllegalBlockSizeException, BadPaddingException
   {
       Cipher cipher = Cipher.getInstance(cipherTransformation);
       SecretKeySpec secretKeySpecy = new SecretKeySpec(key, aesEncryptionAlgorithm);
       IvParameterSpec ivParameterSpec = new IvParameterSpec(initialVector);
       cipher.init(Cipher.DECRYPT_MODE, secretKeySpecy, ivParameterSpec);
       cipherText = cipher.doFinal(cipherText);
       return cipherText;
   }

   public byte[] encrypt(byte[] plainText, byte[] key, byte [] initialVector) throws NoSuchAlgorithmException, NoSuchPaddingException, InvalidKeyException, InvalidAlgorithmParameterException, IllegalBlockSizeException, BadPaddingException
   {
       Cipher cipher = Cipher.getInstance(cipherTransformation);
       SecretKeySpec secretKeySpec = new SecretKeySpec(key, aesEncryptionAlgorithm);
       IvParameterSpec ivParameterSpec = new IvParameterSpec(initialVector);
       cipher.init(Cipher.ENCRYPT_MODE, secretKeySpec, ivParameterSpec);
       plainText = cipher.doFinal(plainText);
       return plainText;
   }

   private byte[] getKeyBytes(String key) throws UnsupportedEncodingException{
       byte [] keyBytes= new byte[16];
       byte [] parameterKeyBytes= key.getBytes(characterEncoding);
       System .arraycopy(parameterKeyBytes, 0 , keyBytes, 0, Math.min(parameterKeyBytes.length, keyBytes.length));
       return keyBytes;
   }
}

<strong>Recommended Read: </strong><a href="https://www.knowband.com/blog/tips/copy-clipboard-javascript/">Copy to clipboard in JavaScript</a>
The code for the C# part is as follows:
// Encrypts plaintext using AES 128bit key and a Chain Block Cipher and returns a base64 encoded string
       public string Encrypt(String plainText, String key)
       {
           var plainBytes = Encoding.UTF8.GetBytes(plainText);
           return Convert.ToBase64String(Encrypt(plainBytes, GetRijndaelManaged(key)));
       }

       public string Decrypt(String encryptedText, String key)
       {
           var encryptedBytes = Convert.FromBase64String(encryptedText);
           return Encoding.UTF8.GetString(Decrypt(encryptedBytes, GetRijndaelManaged(key)));
       }

       public byte[] Encrypt(byte[] plainBytes, RijndaelManaged rijndaelManaged)
       {
           return rijndaelManaged.CreateEncryptor()
               .TransformFinalBlock(plainBytes, 0, plainBytes.Length);
       }

       public byte[] Decrypt(byte[] encryptedData, RijndaelManaged rijndaelManaged)
       {
           return rijndaelManaged.CreateDecryptor()
               .TransformFinalBlock(encryptedData, 0, encryptedData.Length);
       }

       public RijndaelManaged GetRijndaelManaged(String secretKey)
       {
           var keyBytes = new byte[16];
           var secretKeyBytes = Encoding.UTF8.GetBytes(secretKey);
           Array.Copy(secretKeyBytes, keyBytes, Math.Min(keyBytes.Length, secretKeyBytes.Length));
           return new RijndaelManaged
           {
               Mode = CipherMode.CBC,
               Padding = PaddingMode.PKCS7,
               KeySize = 128,
               BlockSize = 128,
               Key = keyBytes,
               IV = keyBytes
           };
       }
With the help of the above code, one can encrypt a string on one platform, and then decrypt it on the other platform, and vice-versa.
Recommended Read: How to see the code of ‘.ctp’ file as colourful as the ‘.php’ file in NetBeans