How to create your own HTML template using jQuery?

This article is all about creating HTML template using jQuery.

Let’s know about the jQuery

jQuery is a fast, small, and feature-rich JavaScript library. It makes things like HTML document traversal and manipulation, event handling, animation, and Ajax much simpler with an easy-to-use API that works across a multitude of browsers. With a combination of versatility and extensibility, jQuery has changed the way that millions of people write JavaScript.

Let’s know about the jQuery Template
jQuery Template gives us an option or support to display and manipulation of the content on the browser. By using the jQuery Templating we can render JSON string to the HTML elements. Let us consider a simple example, we can use jQuery Template to display some set of records that we have got from an Ajax’s request.

A basic example of jQuery templates

Now we create a simple page using jQuery templates. We will only use the jQuery plugin. In this example, we will show you how to create a template and render the content from the JSON.

Requirement

Let’s us understand the requirement first.

Suppose we have to create a webpage like KnowBand website to sell the modules for the e-commerce platform like Opencart, Prestashop etc. We have some e-commerce modules or plugin that we want to list on KnowBand site. So, on the listing page, we will show the module’s name, image, and price.

We will use the below JSON string to list the data:

[
	{
		"name": "Product tabs- PrestashopAddons",
		"image_url": "https:\/\/www.knowband.com\/image\/data\/Plugin%20Logo\/Product-Tabs-logo-1000-x-1000.jpg",
		"module_url": "https:\/\/www.knowband.com\/prestashop-product-tabs",
		"price": "$25"
	},
	{
		"name": "Prestashop Mobile App builder",
		"image_url": "https:\/\/www.knowband.com\/image\/data\/Plugin%20Logo\/Mobile-app-prestashop-plugin-500-X-500.jpg",
		"module_url": "https:\/\/www.knowband.com\/prestashop-mobile-app-builder",
		"price": "$30"
	},
	{
		"name": "Return Manager - Magento Extensions",
		"image_url": "https:\/\/www.knowband.com\/image\/data\/Plugin%20Logo\/return-manager.png",
		"module_url": "https:\/\/www.knowband.com\/magento-return-manager",
		"price": "$50"
	},
	{
		"name": "Web Push Notification - PrestashopAddons",
		"image_url": "https:\/\/www.knowband.com\/image\/data\/Plugin%20Logo\/Web-Push-Notification-plugin.jpg",
		"module_url": "https:\/\/www.knowband.com\/prestashop-web-push-notifications",
		"price": "$43"
	}
]
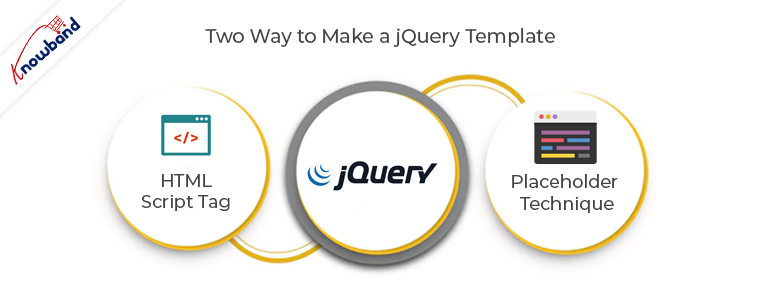
  1. By using the HTML Script Tag

    In this method, we will write HTML code in the script tag. The complete code is given below:

<html>
    <head>
            <link rel="stylesheet" href="https://maxcdn.bootstrapcdn.com/bootstrap/3.3.7/css/bootstrap.min.css&quot;>
            <script src="https://ajax.googleapis.com/ajax/libs/jquery/3.2.1/jquery.min.js&quot;&gt;&lt;/script>
        </head>
        <body>
            <div class="container">
                <script id="blog" type="template">
                    <div class="col-md-3">
                        <a href="{{module_url}}">
                            <div class="thumbnail">
                                <imgsrc="{{image_url}}" class="img-rounded img-responsive" width="100%"></img>
                                <div class="caption">
                                    <p class="lead">{{price}}</p>
                                    <p>{{name}}</p>
                                </div>
                            </div>
                        </a>
                    </div>
                </script>
            </div>
            <script>
            $(function () {
                varknoband_data = [
                        {
                            "name": "Product tabs- PrestashopAddons",
                            "image_url": "https:\/\/www.knowband.com\/image\/data\/Plugin%20Logo\/Product-Tabs-logo-1000-x-1000.jpg",
                            "module_url": "https:\/\/www.knowband.com\/prestashop-product-tabs",
                            "price": "$25"
                        },
                        {
                            "name": "Prestashop Mobile App builder",
                            "image_url": "https:\/\/www.knowband.com\/image\/data\/Plugin%20Logo\/Mobile-app-prestashop-plugin-500-X-500.jpg",
                            "module_url": "https:\/\/www.knowband.com\/prestashop-mobile-app-builder",
                            "price": "$30"
                        },
                        {
                            "name": "Return Manager - Magento Extensions",
                            "image_url": "https:\/\/www.knowband.com\/image\/data\/Plugin%20Logo\/return-manager.png",
                            "module_url": "https:\/\/www.knowband.com\/magento-return-manager",
                            "price": "$50"
                        },
                        {
                            "name": "Web Push Notification - PrestashopAddons",
                            "image_url": "https:\/\/www.knowband.com\/image\/data\/Plugin%20Logo\/Web-Push-Notification-plugin.jpg",
                            "module_url": "https:\/\/www.knowband.com\/prestashop-web-push-notifications",
                            "price": "$43"
                        }
                    ];
                var temp = $.trim($('#blog').html());
                $.each(knoband_data, function (index, obj) {
                    var x = temp.replace(/{{name}}/ig, obj.name);
                    x = x.replace(/{{image_url}}/ig, obj.image_url);
                    x = x.replace(/{{price}}/ig, obj.price);
                    x = x.replace(/{{module_url}}/ig, obj.module_url);
                    $('.container').append(x);
                });
            });
        </script>
        </body>
    </html>

We have created a thumbnail inside script tag i.e. #blog script tag and it was used as a template. In the above code, we have used {{ }} for wildcard variables.

Let’s understand actually what we have done in the above code:

var temp = $.trim($('#blog').html()); // It wil load all content of the #blog script tag in a temp variable.
var x = temp.replace(/{{name}}/ig, obj.name);       // Replaced the wildcard variable {{name}} with corresponding data from the JSON.
x = x.replace(/{{image_url}}/ig, obj.image_url);     // Replaced the wildcard variable {{image_url}} with corresponding data from the JSON.
x = x.replace(/{{price}}/ig, obj.price);                    // Replaced the wildcard variable {{price}} with corresponding data from the JSON.
x = x.replace(/{{module_url}}/ig, obj.module_url);  // Replaced the wildcard variable {{module_url}} with corresponding data from the JSON.
$('.container').append(x); // appended the content to the container div.
  1. By using the Placeholder technique

In this technique, we will append the content in the HTML after populating the data using the jQuery placeholder technique. The complete code is given below:

<html>
    <head>
        <link rel="stylesheet" href="https://maxcdn.bootstrapcdn.com/bootstrap/3.3.7/css/bootstrap.min.css&quot;>
        <script src="https://ajax.googleapis.com/ajax/libs/jquery/3.2.1/jquery.min.js&quot;&gt;&lt;/script>
    </head>
    <body>
        <div class="container"></div>
        <script>
         $(function() {
             varknoband_data = [
                        {
                            "name": "Product tabs- PrestashopAddons",
                            "image_url": "https:\/\/www.knowband.com\/image\/data\/Plugin%20Logo\/Product-Tabs-logo-1000-x-1000.jpg",
                            "module_url": "https:\/\/www.knowband.com\/prestashop-product-tabs",
                            "price": "$25"
                        },
                        {
                            "name": "Prestashop Mobile App builder",
                            "image_url": "https:\/\/www.knowband.com\/image\/data\/Plugin%20Logo\/Mobile-app-prestashop-plugin-500-X-500.jpg",
                            "module_url": "https:\/\/www.knowband.com\/prestashop-mobile-app-builder",
                            "price": "$30"
                        },
                        {
                            "name": "Return Manager - Magento Extensions",
                            "image_url": "https:\/\/www.knowband.com\/image\/data\/Plugin%20Logo\/return-manager.png",
                            "module_url": "https:\/\/www.knowband.com\/magento-return-manager",
                            "price": "$50"
                        },
                        {
                            "name": "Web Push Notification - PrestashopAddons",
                            "image_url": "https:\/\/www.knowband.com\/image\/data\/Plugin%20Logo\/Web-Push-Notification-plugin.jpg",
                            "module_url": "https:\/\/www.knowband.com\/prestashop-web-push-notifications",
                            "price": "$43"
                        }
                    ];
             $.each(knoband_data, function(index, obj) {
                $('.container').append(
                    `<div class="col-md-3">
                        <a href="${obj.module_url}">
                            <div class="thumbnail">
                                <imgsrc="${obj.image_url}" class="img-rounded img-responsive" width="100%"></img>
                                <div class="caption">
                                    <p class="lead">${obj.price}</p>
                                    <p>${obj.name}</p>
                                </div>
                            </div>
                        </a>
                    </div>`
                );
            });
         });
        </script>
    </body>
</html>

In the above example, we have used ` (back-tick) as template literal and ${ } as a placeholder. When we compare method 1 with method 2 we can easily say template literal and placeholder makes our task easier. In this example, we have written the template code in a loop and replaced our placeholders with its corresponding data.

Summary

To learn more about jQuery Templates, I recommend that you look at the documentation for jQuery Templates at the official jQuery website.

For any queries, please reach us at support@knowband.com. We also provide custom development of all sorts. You can also find the best eCommerce modules for Prestashop, Opencart, Magento and Magento 2 here.

We also recommend our most popular One page supercheckout module as a must-have module for all eCommerce stores. Know more:


 

How to Read the File in PHP Language?

Objective

After reading this blog, you will be able to read files in PHP language. In the blog, you will get enough information about different ways used in PHP to read a file.

Let’s Learn About the File Reading Method in the PHP

PHP provides various type of methods to read the file as follow:

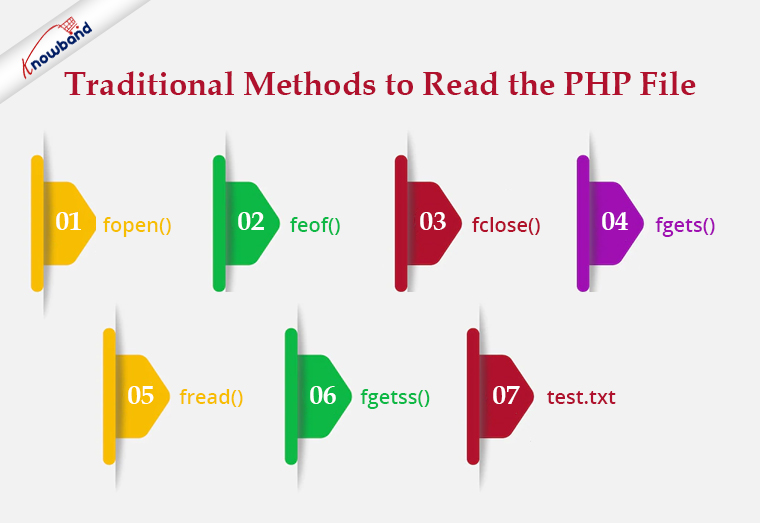
Traditional Methods

In this type of method to read a file, we have to follow 3 steps.

  1. Open the file.
  2. Read the file.
  3. Close the file.

Let’s see some traditional methods:

Recommended Read: Export PHP data to the .xls file

fopen():

To read a file we need to open a file using fopen(). In fopen(), we have to pass to 2 parameters i.e. first is the file path and the next one is filed open mode. To read a file we will use “r” as file open mode, “r” denotes “read mode”.

$file = fopen("test.txt", "r") or die("Unable to open file!");

feof()

This method checks whether you have already read to the end of the file. This returns true till the last line of the file gets read and once we cross the last line it returns false. We use this method in a loop to read a file from the first line to the last line.


$file = fopen("test.txt", "r") or die("Unable to open file!");

while(!feof($file)) {

//your processing

}

fclose()

We use this method to close a file after reading the file. After closing a file we will no longer be able to read that file.

$file = fopen("test.txt", "r") or die("Unable to open file!");

while(!feof($file)) {

//your processing

}

fclose($file);

fgets()

We use this method to read a file line by line. It collects a single line of data from your file and returns it as a string. And from there either you can print the line or you can process the same as per your requirement.

&amp;lt;?php

$file = fopen("test.txt", "r") or die("Unable to open file!");

while(!feof($file)) {

echo fgets($file) . "&amp;lt;br&amp;gt;";

}

fclose($file);

?&amp;gt;

<strong>Recommended Read:</strong><a href="https://www.knowband.com/blog/tips/generate-qr-code-using-php/">Generate QR Code Using PHP</a>

fread()

We use this method if we want to read a file in a limited size. We have to pass a size limit in bytes in this method and then this method read the file up to a given size limit and ignores the rest part of the file.

If we want to read a file up to4,096 bytes (4 KB), we will write the code as –

$file = fopen("test.txt", "r") or die("Unable to open file!");

$data = fread($file, 4096);

Note: No matter what number you specify, fread will not read more than 8,192 bytes (8 KB). Assuming that the file is no bigger than 8 KB, the code below should read the entire file into a string.

<?php

$file = fopen("test.txt", "r") or die("Unable to open file!");

$data = fread($file, filesize("test.txt"));

fclose($file);

?>

fgetss()

This function is similar to the fgets() functionbut strips away any HTML or PHP tags it finds, leaving only plain text.

Code:

<?php

$file_handle = fopen("test.txt”, "r");

while (!feof($file_handle)) {

echo fgetss($file_handle);

}

fclose($file_handle);

?>

test.txt

<html>

<head>

<title></title>

</head>

<body>

<div class="editor-content" style="text-align: left">

<p>Knowband is one of the leading name as an e-commerce plugin development and marketing firm.</p>

<p> </p>

<p>Our team of highly skilled and experienced IT professionals.</p>

</div>

</body>

</html>

Output:

Knowband is one of the leading names of an e-commerce plugin development and marketing firm. Our team of highly skilled and experienced IT professionals.

Recommended Read: How to Integrate Google reCAPTCHA with PHP?

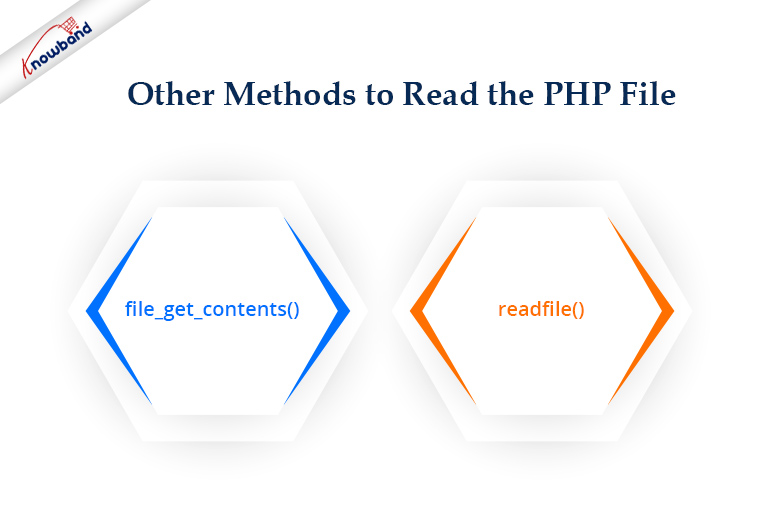
Other Methods

PHP also provides various other methods for file handling that we can use for different purposes.

file_get_contents()

This method can be used to collect all the data from a file as a string. For example, how can we collect all the data from our webpage? You have seen the fgets() example using a loop. But how we you make this more straightforward? We can easily do the same with the file_get_contents(). We do not need to open or close a file to read. On failure, file_get_contents() will return false.

<?php

$file= file_get_contents("https://www.knowband.com/");

echo $file;

?>

readfile()

The readfile function dumps the entire contents of a file or Web page to the default output buffer. By default, this command prints an error message if it fails. To avoid this behavior we use @readfile()

Let’s see the difference between readfile&& @readfile.

Let’s try to open the wrong file by readfile:

<?php

$file= readfile("wrong_test.txt");

if(!$file){

echo 'File not found.';

} else{

echo $file;

}

?>

Output

( ! ) Warning: readfile(wrong_test.txt): failed to open stream: No such file or directory
Call Stack

File not found.

Now replace readfile with @readfile and we will get the output as:

File not found.

Recommended Read:  Auto Loading in PHP

Good Practice!

If we are a programmer then we should always keep in mind our code can handle the error or condition. There might be a chance the file that we are going to read was moved from the path or permission for the file has been changed and hence you are unable to get the content. So good practice says before reading a file we should check if the file exists and the file has read permission.

<?php

$file = "test.txt";

if (file_exists($file) && is_readable($file)) {

$f = fopen($file, "r");

# Processing

fclose($f);

}

?>

Summary

If have any PHP eCommerce application like PrestaShop, OpenCart, Magneto, etc. you can use the codes to reading the file as per your requirements.

For all aspects related to eCommerce, we also offer custom development. Additionally, the top modules for Prestashop, Opencart, Magento, and Magento 2 are also available. A few of the top modules that Knowband offers are One Page SuperCheckout, Multi-Vendor Marketplace, Mobile App Builder, Spin and Win Module, Abandonded Cart and so on.  If you have any questions, contact us at support@knowband.com.