1.0 Introduction
Prestashop Facebook Post Feed is an addon which provides a feature to advertise your Facebook Page on your store by adding Facebook window (Notification bar) in the left or right. Users can click on this bar and see the summary of added Facebook Page. Users can also like and comment on the same. This advertisement helps to share information/updates about the store and can increase the conversions.
1.1 Features of the Prestashop Facebook feed addon
The feature-packed module includes:
- The Prestashop addon is fully customizable and can be activated or deactivated from the back end.
- The Facebook feed addon by Knowband allows you to show the Facebook posts of your page on their website along with the Like button.
- Without having any knowledge about coding, the admin can install and configure the module effortlessly.
- The Prestashop Facebook Post Feed plugin is multi-lingual and multi-currency taking your business to a wider reach.
- The addon lets your followers your posts, like them and follow your news as well as notification without actually going on FB. Hence, it generates more traffic and sales in the store.
- The admin can change the background color and the color of the notification bar in accordance with the theme of the store.
- The Facebook Post Feed is an easy way to promote your business by sharing the news, posts, and other notifications while the customers find an easy way to like them by hitting the ‘Like’ button.
- The store admin can preview the changes made in the back end and see how they’ll look on the front end.
2.0 Steps For Installation
After purchasing Prestashop facebook wall feed module from Knowband, you will get the following files as listed below:
1. Compressed File in ZIP format (contains source code of the module)
2. User Manual
Follow the following steps to install the Prestashop addon:
- Copy all the files and folders of the unzipped folder into your store “modules” directory on the path – Root Directory/modules/.
- Now, the Prestashop facebook feed module is ready to be installed in your store and you can find that in Store Admin -> Modules and Services. It would be shown as below –
- Click on “Install” button to install the module. It would show a pop-up for your confirmation. Click on “Proceed with the installation” option. This step will install the module and show notification – “Module(s) installed successfully”.
3.0 How to configure module?
Admin can setup or configure Prestashop Facebook Post Feed module through Admin Panel of store by following steps given below –
- Go to Store Admin -> Modules and Services
- Find “Facebook Post Feed” and click “configure” button given corresponding to the module.
- It would open a new page as shown below –
There are following sections available to configure this Facebook feed module –
- General Settings
- Window Settings
Each section is explained below –
3.1 General Settings
This section allows admin to enable/disable Prestashop Facebook Post Feed module with some other general settings like column selection, background color, and the details on the button (the like icon, share icon and post icon).
You have to follow steps given below to configure General Settings –
- Go to the Module and Services -> Module and Services
- It would list all the modules of the store. Find ‘Facebook Post Feed’ in modules list.
- Now click on ‘Configure’ button given corresponding to the ‘Facebook Post Feed’ module.
- It would redirect the Store Owner or Admin to a new page as shown below –
- Update the values of given fields corresponding to ‘General Settings’ as per need.
- Now click on ‘Save’ and it would validate and save the provided values.
- That’s it.
This section contains following options –
- Enable/Disable: Initially, this will be “OFF”. Admin can enable/disable add-on functionality by turning this “ON/OFF”.
- Select the column: This is a drop down box in which the admin can select that the page button which he has selected should appear in the left column or the right column of the store.
3.Details on the button: Here, admin can select icons to display on Facebook Button. Choices can be Like Icon, Share Icon and Post Icon.
4.Background Color: This is a color picker in which admin can decide what should be background color of the button appearing on the screen.
3.2 Window Settings
This section allows admin to update the settings for the Facebook window being shown on the storefront.
You have to follow steps given below to configure Window Settings –
- Go to the Module and Services -> Module and Services
- It would list all the modules of the store. Find ‘Facebook Post Feed’ in modules list.
- Now click on ‘Configure’ button given corresponding to the ‘Facebook Post Feed’ module.
- It would redirect Store Owner or Admin to a new page. Click on “Window Settings” and it would open a new section as shown below –
- Update the values of given fields corresponding to ‘Window Settings’ as per need.
- Now click on ‘Save’ and it would validate and save the provided values.
That’s it.
This section contains following options –
- Enter the page link: Here, the admin has to enter the page link to show posts of that page on the window added by the module on the storefront. By default, Facebook Page will be shown.
- Facebook window UI: Here, admin can decide what should be the UI of the window which is appearing on the screen. This option allows admin to include the following options:
a) Adapt to plugin container width
b) Show friends faces
c) Use small header
d) Show page posts
e) Use cover photo
4.Store Front Appearance
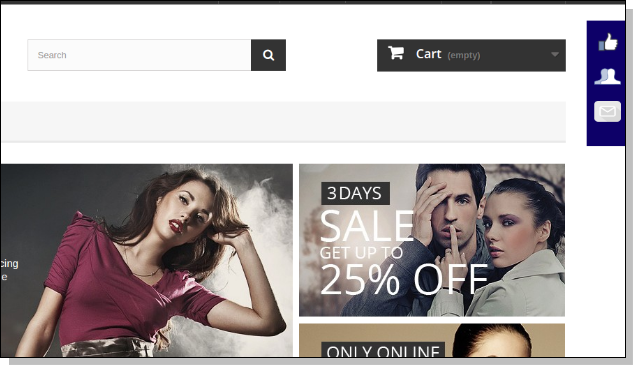
After enabling Prestashop facebook wall feed, a button starts to appear on every page of the shop and the appearance of the button is according to the settings done in the back end of the module.
The module at the front-end appears as follows –
Recommendations
Refresh home page of your store every time you enable/disable plugin. If the Prestashop Facebook Post Feed plugin is not working after installation then please check permissions on modules folder. The folder should be writable. Please make the folder permission to 755.
We hope that we have covered all the concerns regarding the installation and product guide of this PrestaShop Addon. You should also check our blog on How to simplify your checkout process of PrestaShop store.