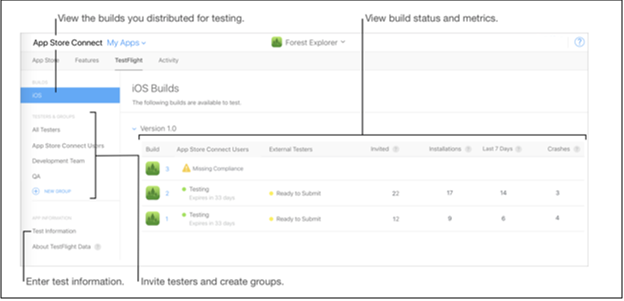
Now that you have created an iOS app and are ready to embark on its journey, let’s discuss the process of app publishing. The motive behind app distribution is to distribute iOS app with the right audience. Well, when it comes to app publishing, the obvious option which comes to our mind is the Apple App Store. No one can deny that the user reach of iOS store is exceptional and the services offered by it has their own perks.
Important Update in the eCommerce iOS Mobile App Builder New Versions
- Now, store owners can easily manage the navigation menu based on their business needs.
- Translation text can be updated and managed from the backend of the mobile app builder, making localisation simple and flexible.
- The mobile app now supports video banners, helping you present promotions and content in a more engaging way.
- Now users can sign in directly from the home screen for faster access.
Store owners can now upgrade to the latest version of Knowband Mobile App Builder to experience these enhancements.
Apple App Store Distribution:
The most common platform for iOS app distribution is Apple App Store. It makes your app available to every Apple user and it even helps in monetizing the app by setting in-app purchase and assigning a purchase price.
Publishing your app on the iOS store takes your app to a huge customer base. Although being an intuitive platform for the developers, the app approval process can be a bit tricky. There might be a huge delay in the approval process sometimes. In few cases, it even takes months for the apps to get an approval.
The approval process makes sure that your app follows proper guidelines. If your app has any performance issues, buggy or spammed, it will surely be rejected. You can also find the reasons behind app rejection by Apple App Store.


In case the app approval process is getting troublesome for you, then, there are various other alternatives to share iOS app. Some of the alternatives of sharing iOS app on Apple App store are discussed below:
1. Ad- hoc deployment:
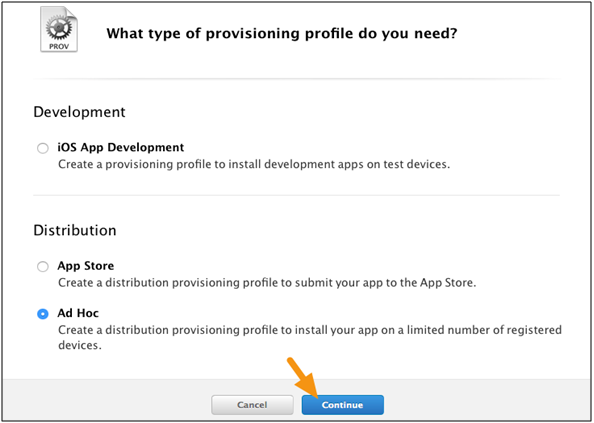
Apple provides an Ad-hoc app deployment option for the developers who want to distribute iOS app for the private beta or a temporary distribution. In this process, the app developer has to deliver the app binary to each user through e-mail or download URL. To make sure that the binary work on user’s device, developer require to add the UDID of each device and register them to Apple Member Center. App binary won’t run on any regular device until it is registered in the ways discussed above. Your ad hoc profile guarantees that test versions of your app are not copied and distributed as per your approval.
Export your application through Xcode option. Once the app binary has been exported, it can be distributed with MDM (Mobile device management). But you still need to add the UDID of each device. There is no alternative to that. After that just install the app on the device.
There are few important points which you need to know before going for this deployment option:
- It requires an Apple Developer Account which costs around $99 per year.
- This distribution process is limited to 100 iPhones, 100 iPad, and 100 iPods touch installations. Also, a developer needs to acquire the UDID of each device to share iOS app.
- Whenever a new UDID is being added, you need to create a new version of your application. They can be added only till yearly subscription.
Pros of Ad- hoc deployment:
- The iOS store’s approval process for your app is not required.
- Your app listing will not be visible to the public and they can’t purchase or install it.

Cons of Ad- hoc deployment:
- The number of devices is limited to 100 which can be replaced only once during yearly membership.
- The UDID (Unique Device ID) of each device must be manually registered with your provisioning profile.
- The Apple developer profile is valid only for one year. After that, you need to rebuild your app with a new profile.
2. Enterprise In-House App Deployment:
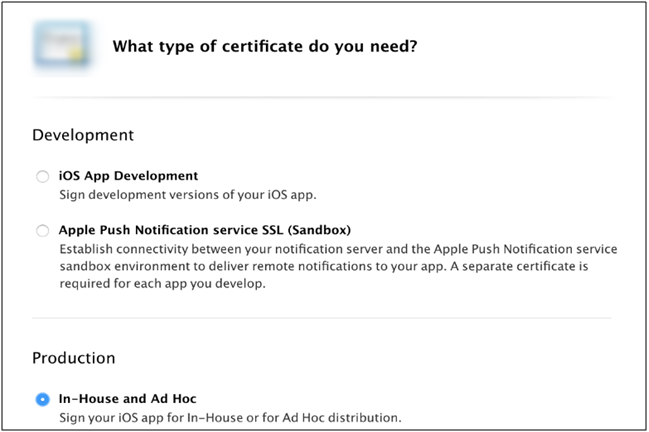
This app distribution method came to counter the ad-hoc distribution process. Like ad-hoc, here, you don’t need to add UDID of every device. In case you have created an app and want to share iOS app internally with the staff, then, this technique will save you from the extra effort of registering UDID of every device.
Enterprise deployment comes into cause when an app is exported through Xcode and you aim to install it on any device without submission to iOS store or registering device UDID’s. Your app can be distributed through e-mail, URL or MDM.
There are few important points which you need to know before going for this deployment option:
- Enterprise app distribution requires an Apple Enterprise Developer Account which costs around $299 per year.
- There is no limit to the devices, but the devices must be owned by the organizations.
Pros of Enterprise In-house App Deployment:

- The approval process of your app by iOS regulators isn’t required.
- Your app won’t be available on the Apple Store. The public can’t purchase or install it.
- All the users in the enterprise can use the account to share the iOS app.
Cons of Enterprise In-house App Deployment:

- This program is only intended for employees within the small organizations.
- The organization is fully responsible for app distribution and updates, whether done manually by email or through an MDM.
- Cost is higher for the Enterprise Developer Account at $299 per year as compared to normal account at $99 per year.
3. B2B VPP App Deployment Method:
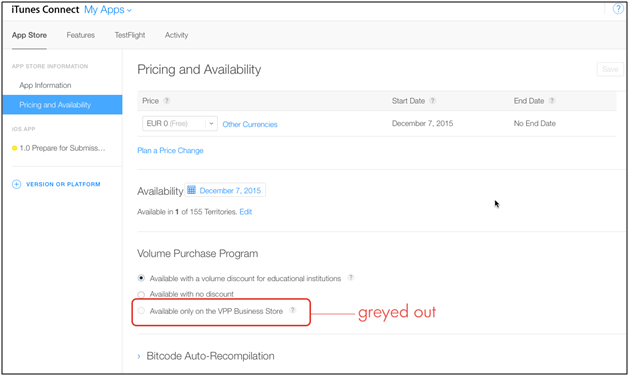
Apple’s Volume Purchase Program allows you to have a private app store for your personal business. You can build internal app binaries for every device which has joined your organization. You even have the option to share iOS app with other businesses.
This process does have an approval process, but it is flexible as your app is not available for the general audience. VPP being a private store, app distribution is handled by the program. This process is mostly used with MDM service.
Pros of B2B VPP App Deployment Method:
- You will get a private app store for your business.
- The app can be installed and used by every device joining the program.
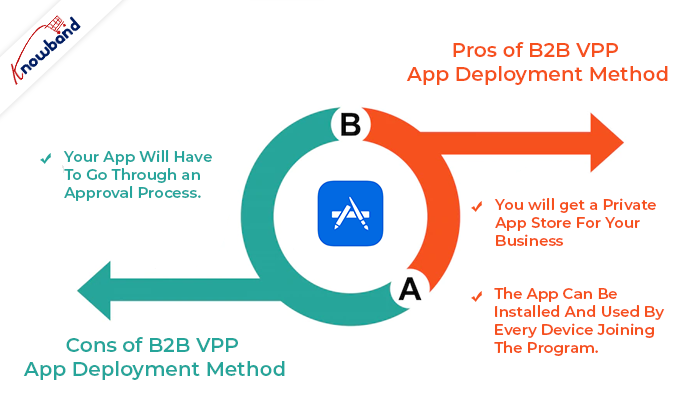
Cons of B2B VPP App Deployment Method:
- Your app will have to go through an approval process.
Knowband also provides No Code Mobile App Builder and iOS App Maker for Prestashop, Opencart, Magento, Magento 2, and Woocommerce.

Prestashop Android and iOS Mobile App Builder Addon
Get the mobile app created for your store in a few hours with Knowband’s Android and iOS App Maker for Prestashop.
Conclusion
Choosing the right program to use is as important as the actual app deployment plan. These processes may seem daunting, but with the right approach and proper planning success of your app is ensured. Abide by the rules and guidelines mentioned above and your app will be published without undergoing through any approval process.
Apart from that, at Knowband with 13+ years of web and app development, we provide 100+ plugins for major eCommerce platforms Magento 2, Prestashop, WooCommerce, and Opencart. We provide web and app development services on various frameworks and technologies, you can get in touch with the technical support team at our official email address support@knowband.com.

Related Articles:
1. What to do if your app was declined on Apple App Store?
2. Mastering Xcode: Tips for Faster iOS App Development by Knowband!