Steps for Installation of Magento One Page checkout Lite Extension
Required Materials:
- All files used by the extension.
- FTP access to your website.
The connect manager is a useful tool for installing extensions, but prefer hands-on method when it comes to installations. It feels more comfortable when you are personally in control of the process.
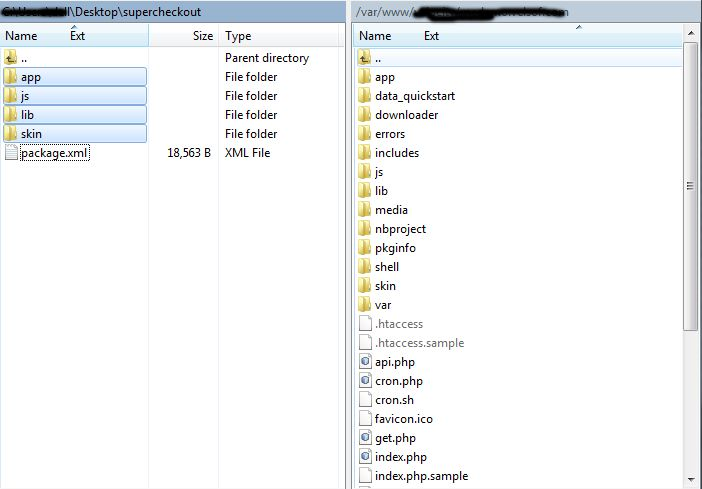
Do you see an app-code directory there, what about app-etc-modules? If you dont see these directory paths and files contained within them chances are that the extension download was faulty. Take a look at the package.xml file, this is the blueprint used by Magento Connect to arrange the files in the proper places. You may need to use this to ensure that everything is as it should be. Once you have reviewed the extension files you are ready to perform the last step. Using your ftp client, drag all of the files onto the store root of the Magento instance. Depending on the number of files in the extension, this may take a few moments.
Now go to the admin console and click Flush Cache Storage. This is the requirement for any extension that adds pages to the admin console. Logging out and back in is also required to ensure that everything loads properly. If you cannot clear the cache via the admin console for any reason, you will need to clear the cache manually via your FTP client (see the first FAQ question for assistance). That is the final step. Congratulations on a successful installation.
Troubleshooting and FAQs
I loaded all files onto my Magento store, and now get a white screen for some or all of the admin console.
This is a fairly common problem, and 99% of the time it is cache related. If you can get to it, go to System->Cache Management and click Flush Cache Storage. This will ensure that everything cached by Magento is deleted and will to be regenerated. Log out and back in to complete the process.
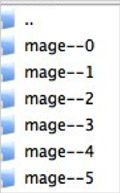
If you are completely cut off from the admin console, navigate to the var-cache directory of your website. You should see a series of directories named mage*. Delete all of these directories (DO NOT DELETE var-cache). This is the equivalent of flushing the cache storage from the admin console.
I am receiving a Magento error when accessing certain pages. How can I debug this?
This question really deserves a blog post all to itself, but a good start would be to go into the errors directory of your store. Locate the local.xml.sample file and rename it local.xml. The next time you see the error detailed information will be provided explaining where the error took place. Dont forget to change this back when you are finished troubleshooting!
I have a critical error with my webstore and need to turn off an extension I cannot access the admin console. What do I do?
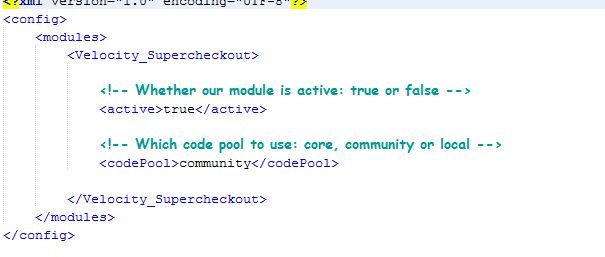
Go to the app-etc-modules directory and open the file that goes with your extension. The naming convention is generally DeveloperName_ExtensionName.xml. In this case it would be Velsof_Supercheckout.xml.
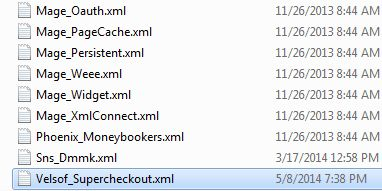
Look for the active tags in the file, change the value from true to false and save your changes. This tells Magento that the extension is disabled and not to run any code associated to it. Deleting the Magento cache is recommended (and most likely required) for this change to take effect.
General Settings
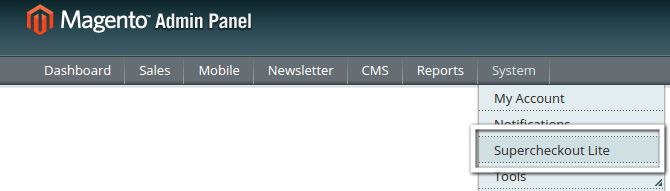
1. To excess Magento Checkout Extension, Click on supercheckout option appearing as a sub menu in navigation menu under System main menu as shown below.
2. On clicking sub menu Free Supercheckout the module for plugin will open. It contains navigational bar at the top, menu at the left and main content in the center as shown below.
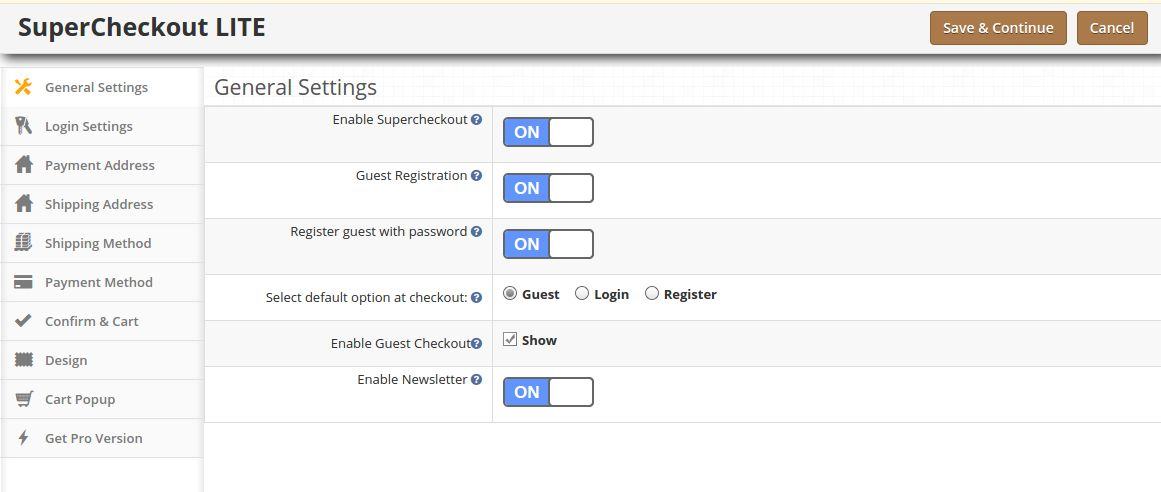
3. To enable the plugin, switch the enable button from OFF to ON which is just to the right of Enable/Disable label.
4. To enable guest registration, switch the button from OFF to ON which is just to the right of Register Guest Automatically label. Enabling this would result in registering the guest to your store and an automatically generated password would be mailed to that user.
5. To enable registration, switch the button from OFF to ON which is just to the right of Register Guest With Password label. On enabling this password and confirm password fields will appear so that customer can register from the checkout page itself.
6. To change the default option from Guest, Login or Register in Login section of checkout page, select an option from given radio button. The selected option will be set as chosen option by default.
7. To enable or disable guest checkout by the user check/uncheck the checkbox which is just to the right of Display Guest label.
Login Tab( Not in Free Version )
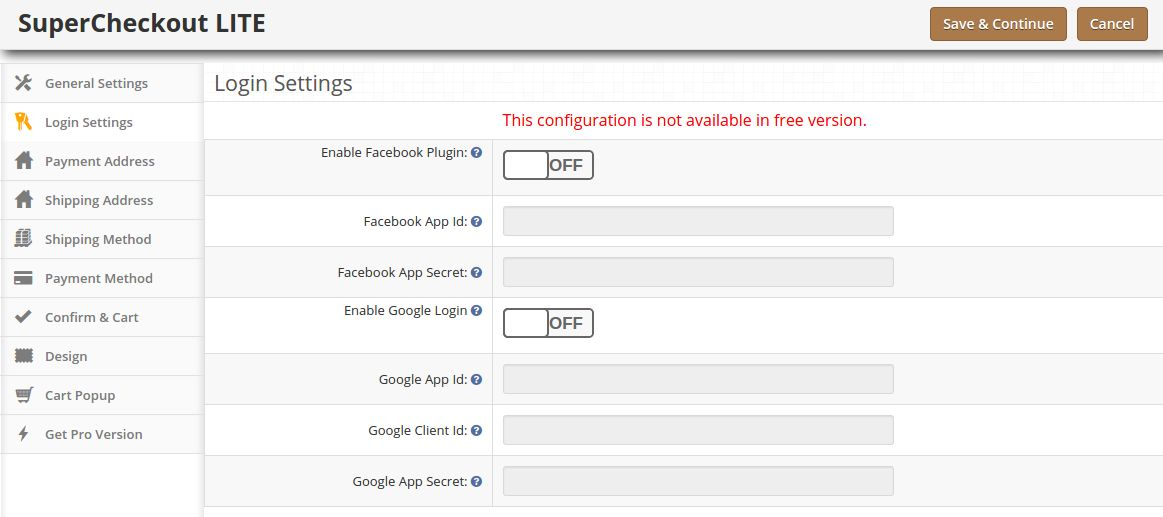
1. This tab basically contains setting to enable /disable Facebook and Google registration & login as shown below.
2. To enable Facebook Registration & Login switch the button from OFF to ON which is just to the right of Enable Facebook Login label. But before you do that do get Facebook APP ID and APP SECRET from https://developers.facebook.com.
3. Enter the APP ID and APP SECRET in their respective fields and save. You will find Facebook login button on your checkout page.
4. To enable Google Registration & Login switch the button from OFF to ON which is just to the right of Enable Google Login label. But before you do that do get Google APP ID, CLIENT ID and APP SECRET from https://code.google.com/apis/console. For detailed instructions to get the
APP ID, download the Facebook & Google Setup guide from oepncart accout.
5. Enter the APP ID, CLIENT ID and APP SECRET in their respective fields and save. You will find Google login button on your checkout page.
Payment Address Tab
1. This tab contains setting for the fields which is to be shown in Payment or Billing Address section in checkout page as shown below.
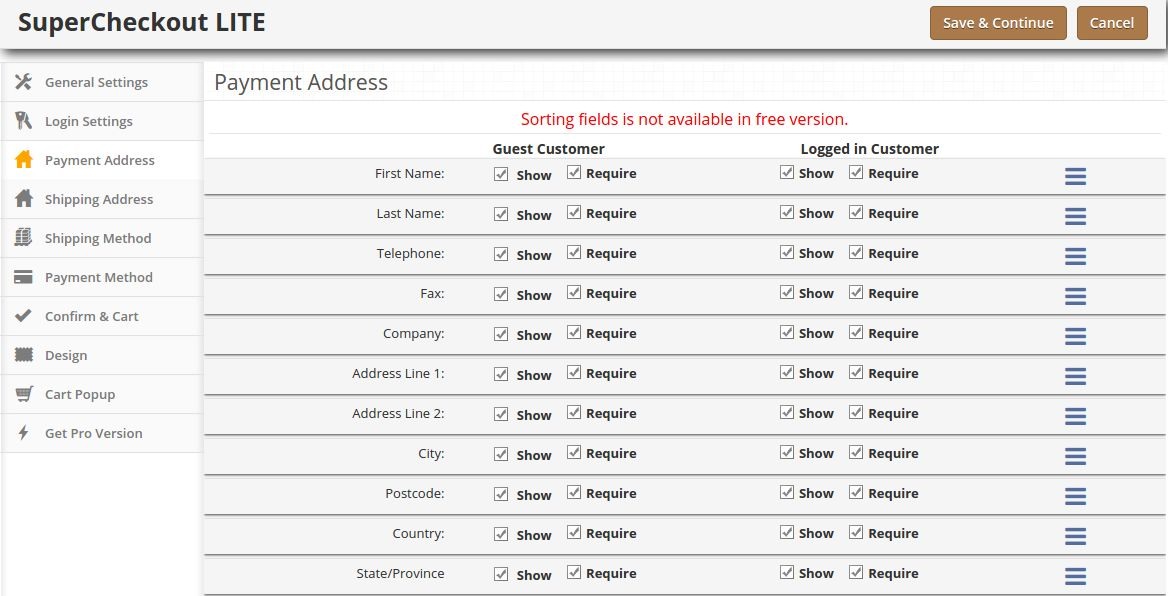
2. It consists of two sections. The one in the left is for Guest Customers and the right one for registered customers.
3. To make a field display/hide in the checkout page check the checkbox just to the left of Show label.
4. To make a field as mandatory (required field) check the checkbox just to the left of Require Label.
NOTE: The rearrangement of fields is not available in free version.
5. The fields can also be rearranged according to the requirement. To rearrange just move the cursor to the drag icon and drag & drop the field wherever it is required as shown below.
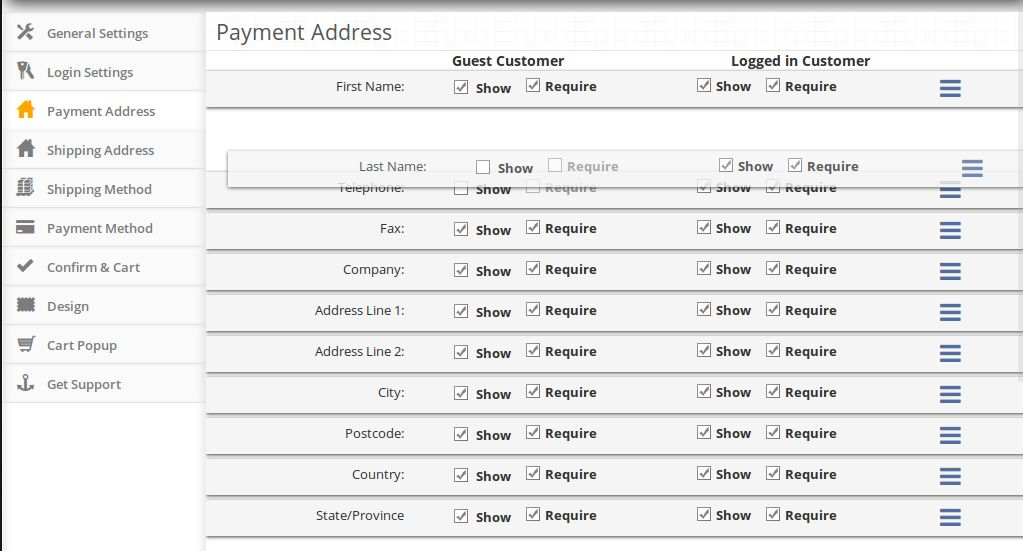
6. On saving, the fields will be rearranged as per the changes.
Shipping Address Tab
1. This tab contains setting for the fields which is to be shown in Shipping Address section in checkout page as shown below.
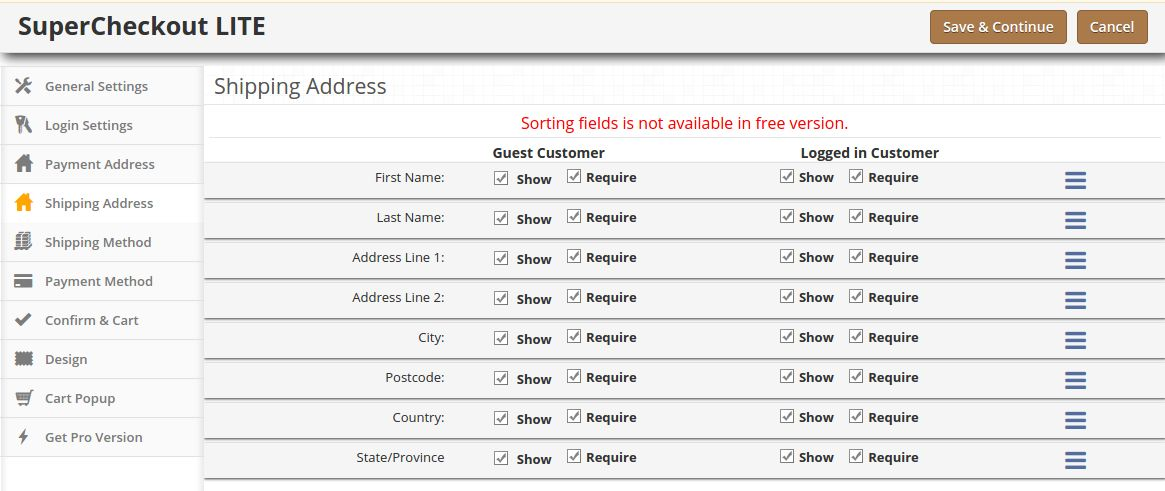
2. It consists of two sections. The one in the left if for Guest Customers and the right one for registered customers.
3. To make a field display/hide in the checkout page check the checkbox just to the left of Show label.
4. To make a field as mandatory (required field) check the checkbox just to the left of Require Label.
NOTE: The rearrangement of fields is not available in free version.
5. The fields can also be rearranged according to the requirement. To rearrange just move the cursor to the drag icon and drag & drop the field wherever it is required which is same as payment
address.
Shipping Method Tab (Not available in free version)
1. This tab contains settings for shipping method which is shown in checkout page. It basically contains settings for enabling/disabling and setting the default shipping method as shown below:

2. To Enable/Disable the shipping methods from the checkout page switch the button from ON to OFF or vice-versa. This will disable the shipping method block from checkout page. But you should select a default shipping method (if any installed) to apply shipping charges to the order.
3. To get a default shipping method selected in the checkout page select the default shipping method from the dropdown. If the selected shipping method is not installed it will automatically select from installed shipping method.
Payment Method Tab (Not available in free version)
1. This tab contains settings for payment methods shown in checkout page like enabling/disabling or selecting a default method.
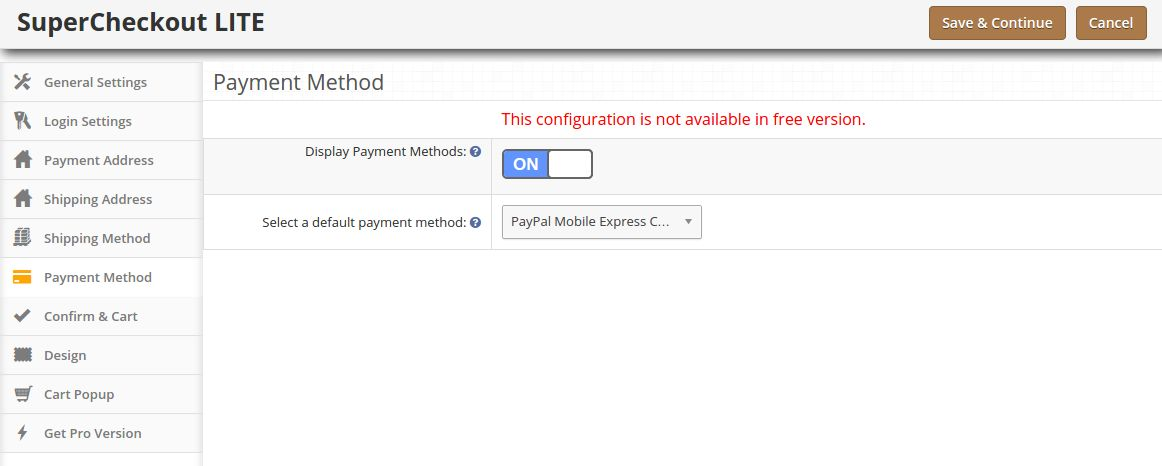
2. To Enable/Disable the payment methods from the checkout page switch the button from ON to OFF or vice-versa. This will disable the payment method block from checkout page. But you should select default payment method (if any installed) to get a payment method in the checkout page.
Confirm Tab and Cart
1. This tab contains setting for the cart and confirming the order as shown below:
2. Its divide in two section
a. Cart
b. Confirm
Cart
NOTE: These configuration is not available in free version.
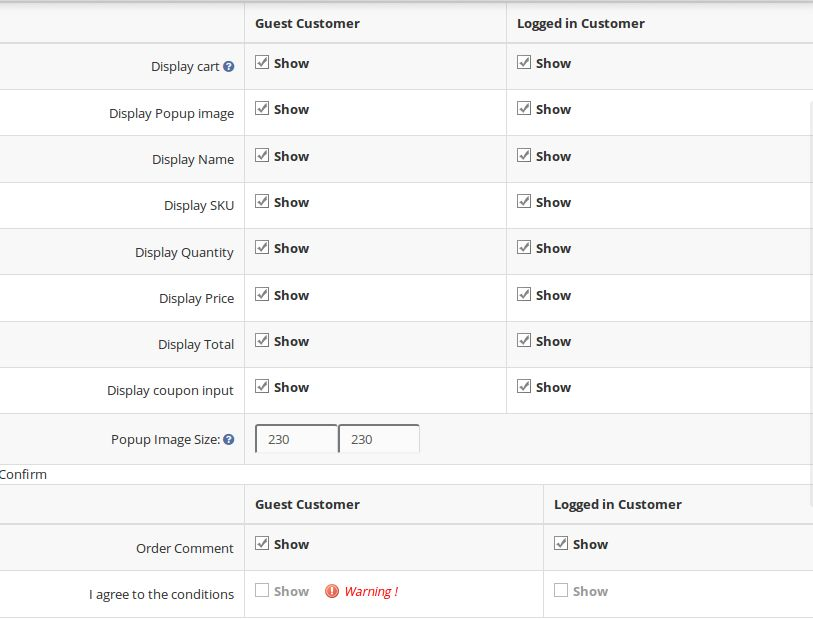
1. This tab is again divided into two sections, the left one is for Guest Customers and Right one for Registered or Logged in customers.
2. To Display/Hide cart from the checkout page check uncheck the checkbox present in front of Display Cart label.
3. To enable/ disable any column in the cart check/uncheck the checkbox in front of that respective column.
4. To enable/disable the popup images for the product check/uncheck the checkbox in front of that respective column.
5. To change the size of popup for images Enter the width and height of the popup in textbox in front of Pop Image Size label.
6. Coupon and Voucher options can also be disabled or enable by checking/unchecking the checkbox in front of that respective field.
Confirm
1. This tab is again divided into two sections, the left one is for Guest Customers and Right one for Registered or Logged in customers.
2. To enable the comment box for the order by customer check the checkbox in front of that Leave a comment for the order label & to disable uncheck the same checkbox.
3. To enable agree to the term or any other information saved in the admin for the store check/uncheck the checkbox in front of I agree to the conditions label.
Design Tab (Not available in free version)
1. This tab contains the settings for the design of checkout page in the catalog.
2. To change the width of any column adjust the slider present at the top as shown below :
![]()
3. Block of different steps can also be rearranged from one column to the other or in the same column as shown below:
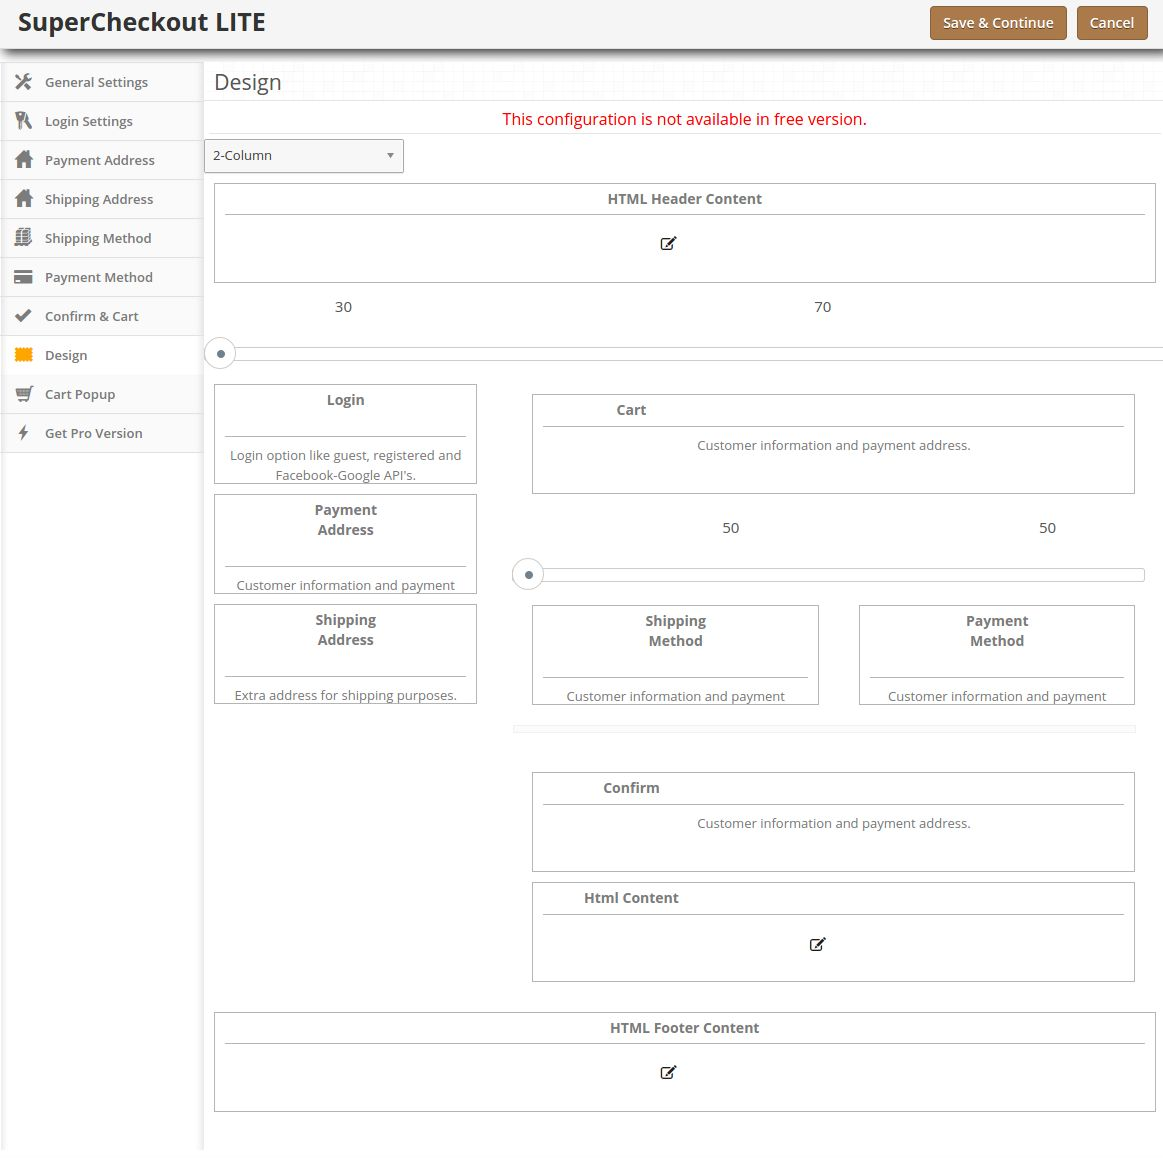
4. On saving, the block will be rearranged in the checkout page as per the changes.
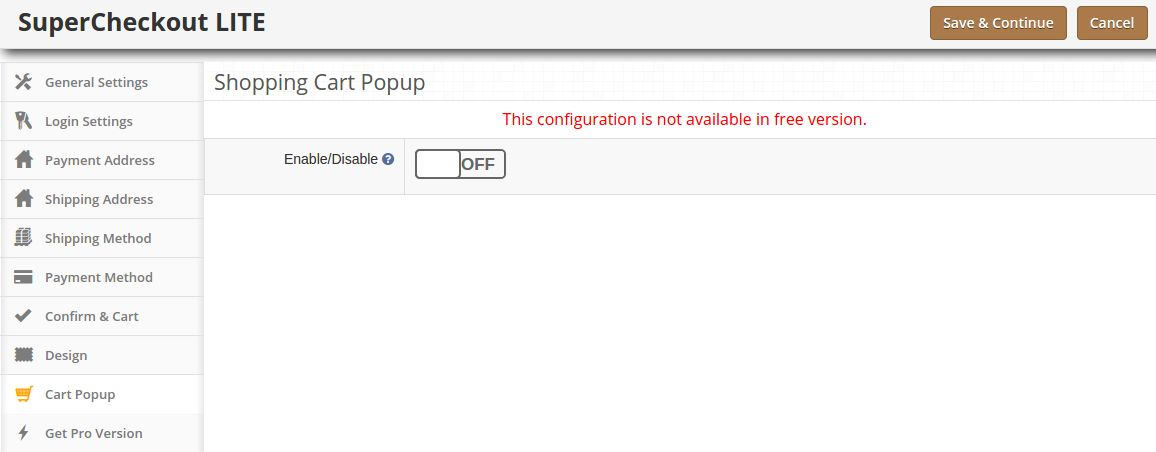
Cart Popup Tab (Not available in free version)
1. This tab contains the settings for pop up cart that appear on adding any product to the cart.
2. To enable the popup cart, switch the enable button from OFF to ON which is just to the right of Enable/Disable label as shown below:
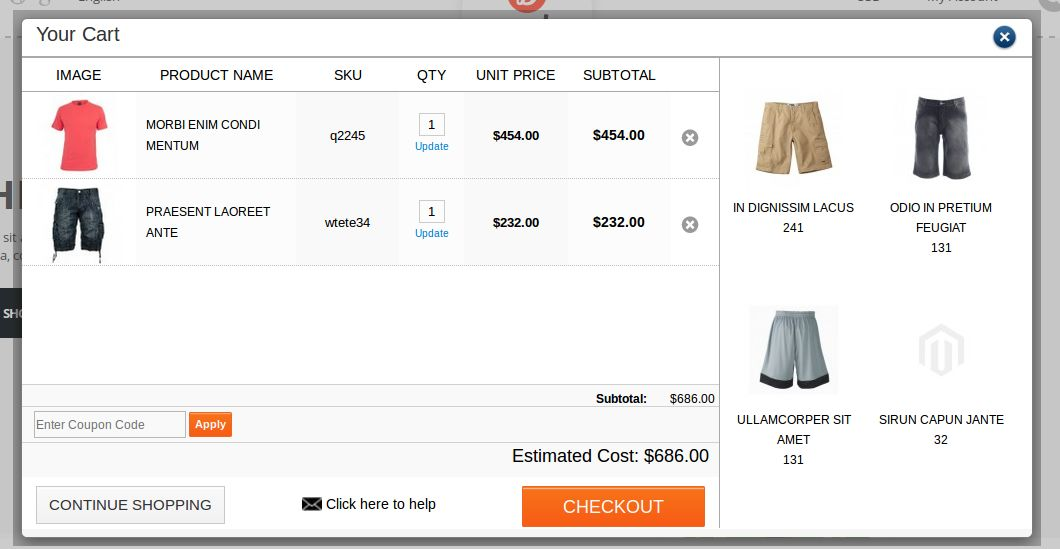
3.Cart popup is divide in two section as shown below, left section shows the cart details while right section can be used for promotion.
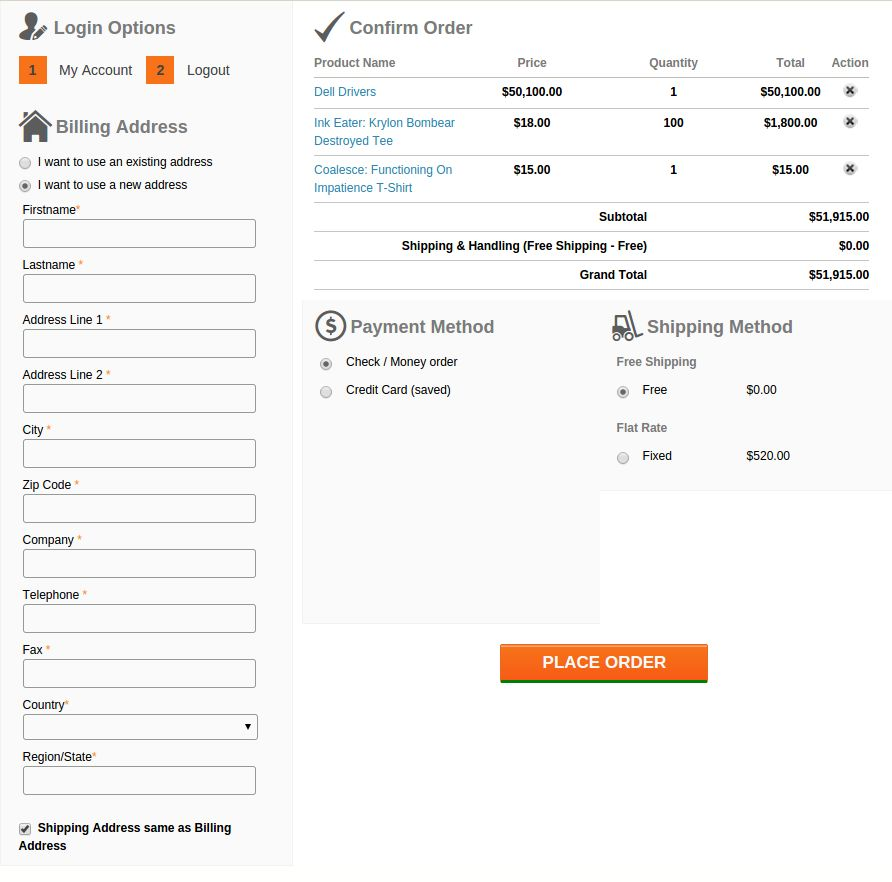
Screen Shot
This is supercheckout page which will be shown to customer.
Hope that we have covered all the concerned regarding the installation of Magento Extension. If you have some worries about the Magento One Page Checkout check our blog HERE.
Related Stories:

how hide billing agreement from onepage checkout..