How to install OpenCart Landing Page Creator plugin on your server
1. Folder structure of the Landing Page Creator plug-in folder.

2. Open the upload folder and you will find the following folder structure:

You must have VQMOD installed for this plug-in to work. IfVQMOD is not installed please download and install from theURL below:
https://code.google.com/p/vqmod/
3. Select all the folder and drag and drop them to the root directory of your OpenCart store through FTP.
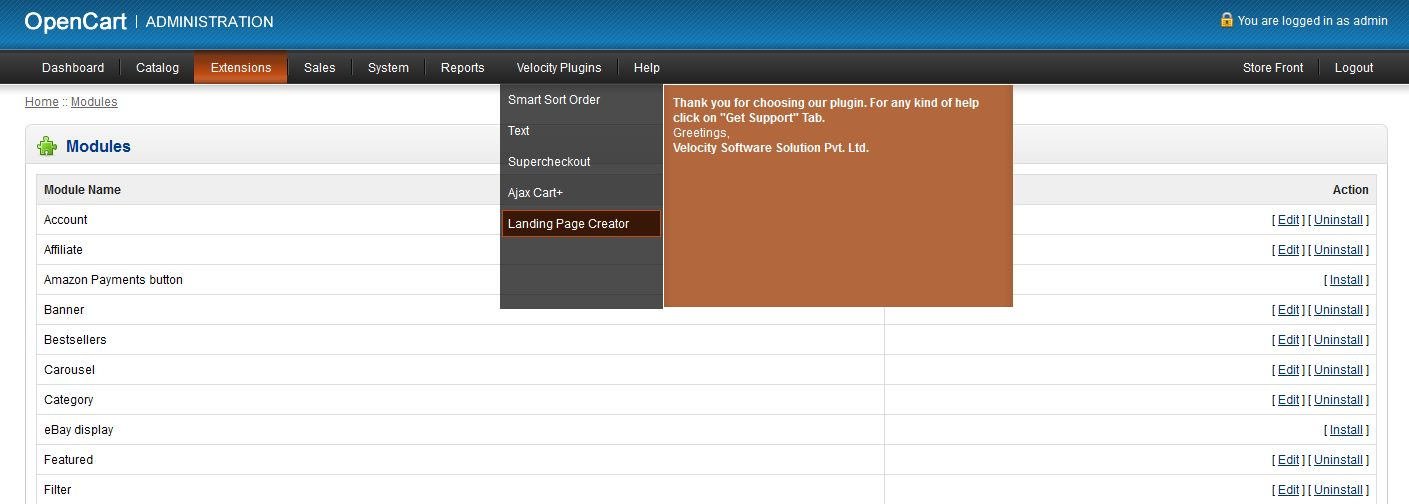
4. You will be able find the plug-in ready to be installed in the Modules in your OpenCart store as shown below.

5. You will also get another module Text ready to be installed in the Modules in your OpenCart store as shown below.

6. Click on the Install link to install the plug-in. This will also add a dropdown option in your menubar which will list all plug-ins by Velocity installed on your store for fast navigation. This dropdown also has a message box, using which we can inform you about new launched plug-in ornew update.
7. Delete the Vqcache files from the vqmod/vqcache folder.
8. To access Text module click on edit button in module section as shown below:

9. On clicking edit button the module for plug-in will open. It contains navigational bar at top, menu at left and main content at center as shown below.
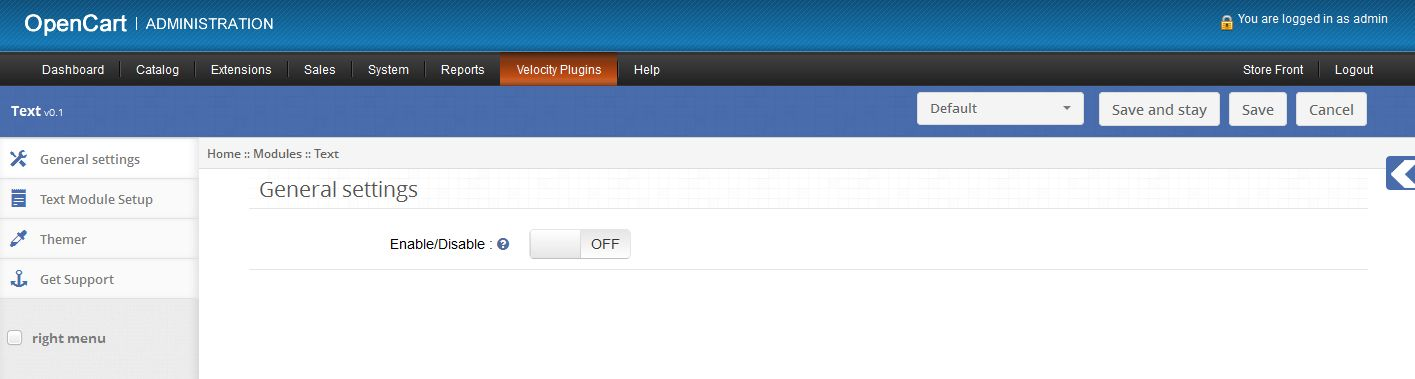
1. General Settings
1.To enable/disable module, Switch the enable button OFF to ON / ON to OFF this is just to the right of Enable/Disable label.
2. Text Module Setup tab
1. Here admin can set text to display on front end in any layout.
2. Click on plus button in front of Add Module tab to add a module and set properties of the module.
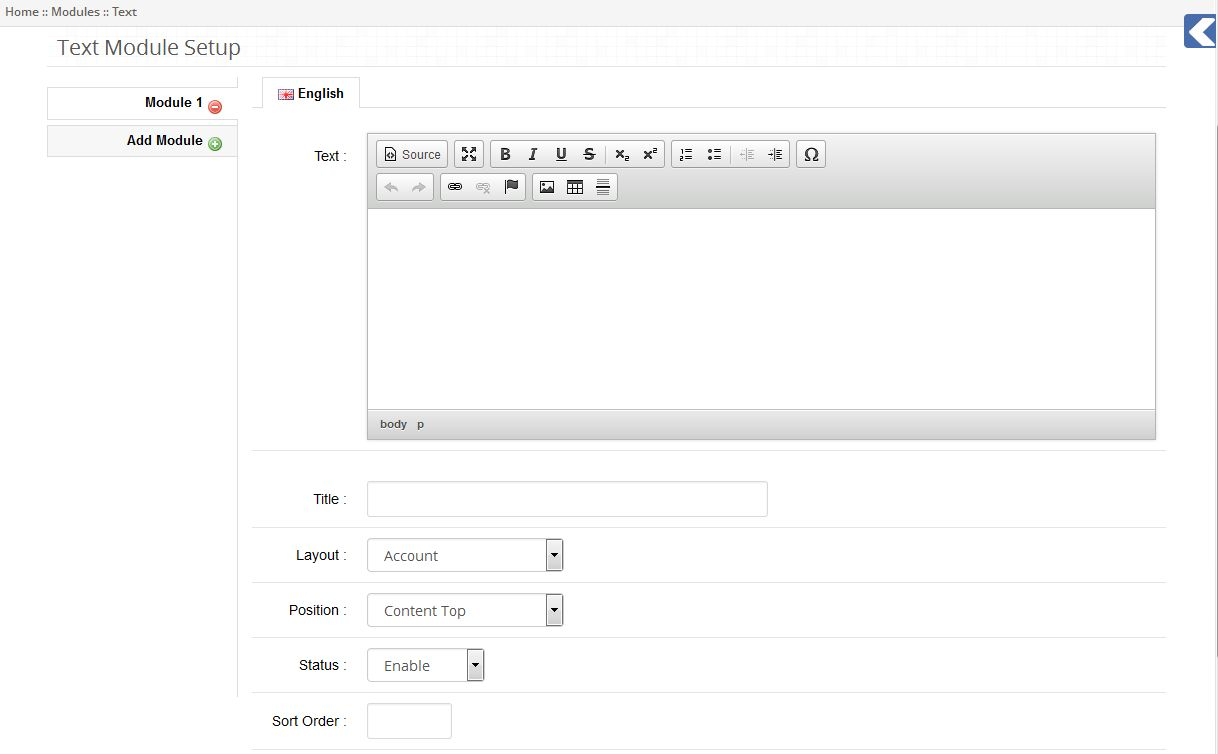
3. Admin can write the text in text editor. Text written in text editor will be displayed in front end.
4. Admin should give any title to this module. This title will be used to select module in Landing Page Creator plug-in.
5. Admin can select the layout where he/she wants to display text.
6. To show text in any landing page select layout Landing Page.
7. Admin can select the position of text on web page by selecting particular position and sort order.
8. Admin can also enable/disable this module by selecting status of the module.
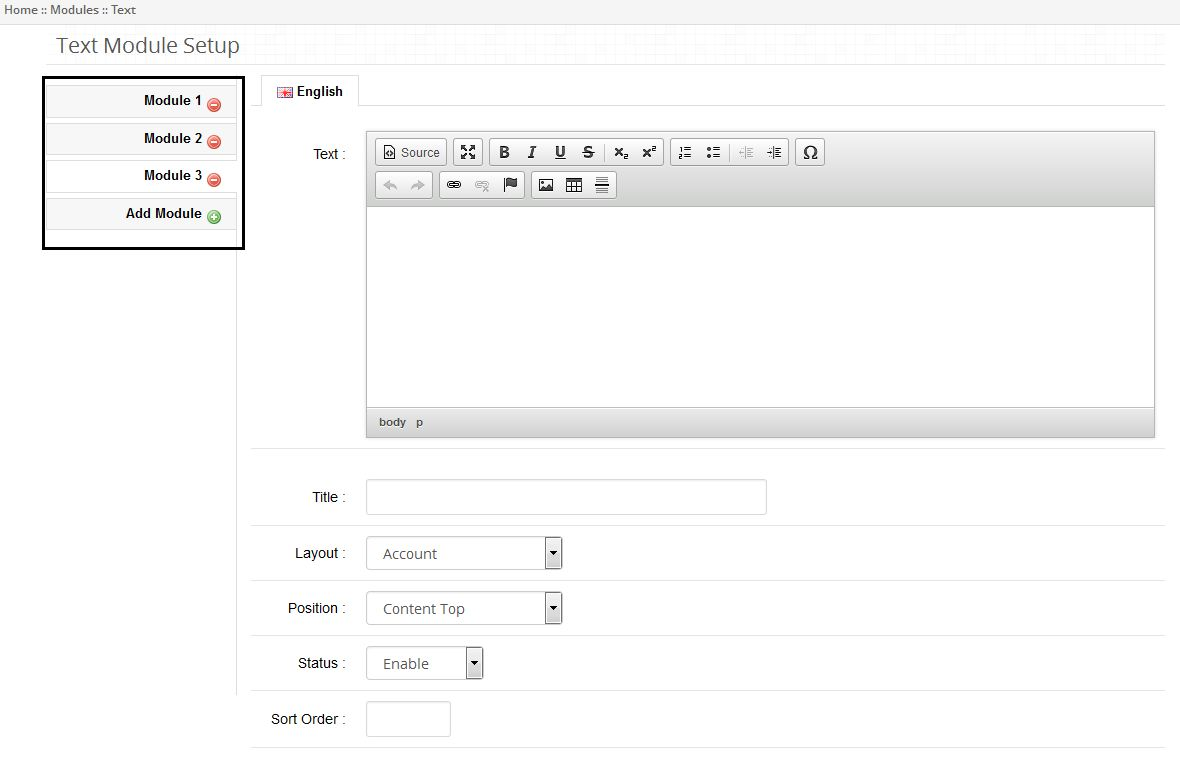
9. Admin can add such multiple modules to show on front end by clicking plus button in front of Add Module tab.
10.Admin can remove a particular module by clicking on minus button in front of Module name in vertical tabs.
1. Installation
2. To access Velocity Banner module click on edit button in module section as shown below:

3. On clicking edit button the module for plug-in will open. It contains navigational bar at top, menu at left and main content at center as shown below.
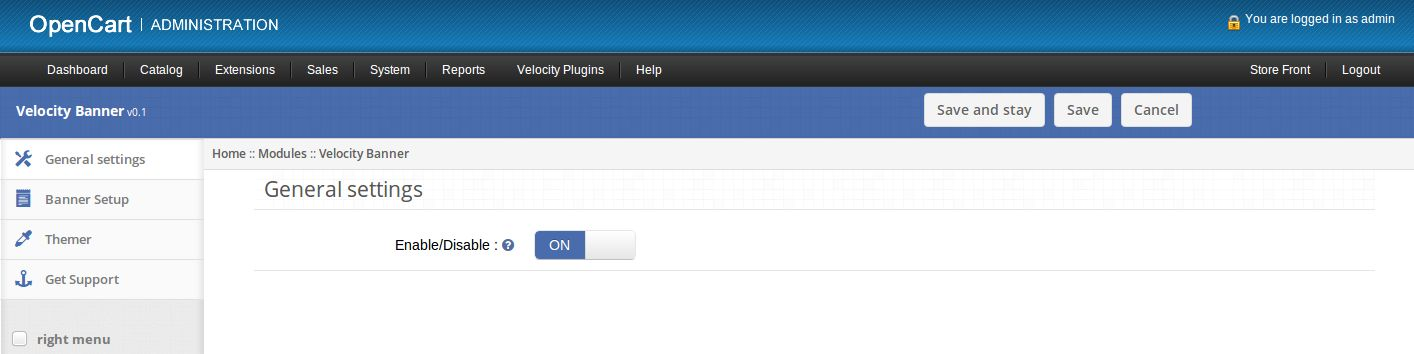
2. General Settings
1.To enable/disable module, Switch the enable button OFF to ON / ON to OFF this is just to the right of Enable/Disable label.
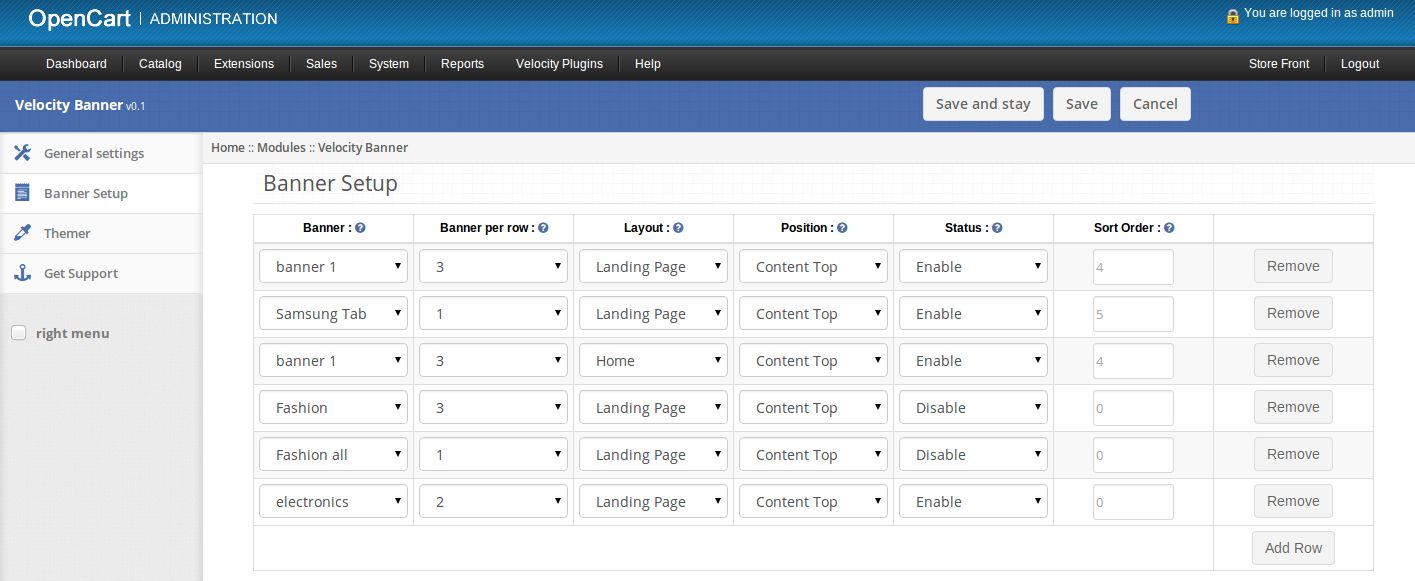
3. Banner Setup tab
1.Here admin can select banners and number of sub banners to show in one row on front end in any layout.
2. Click on Add Row button to add a new banner and set its properties.
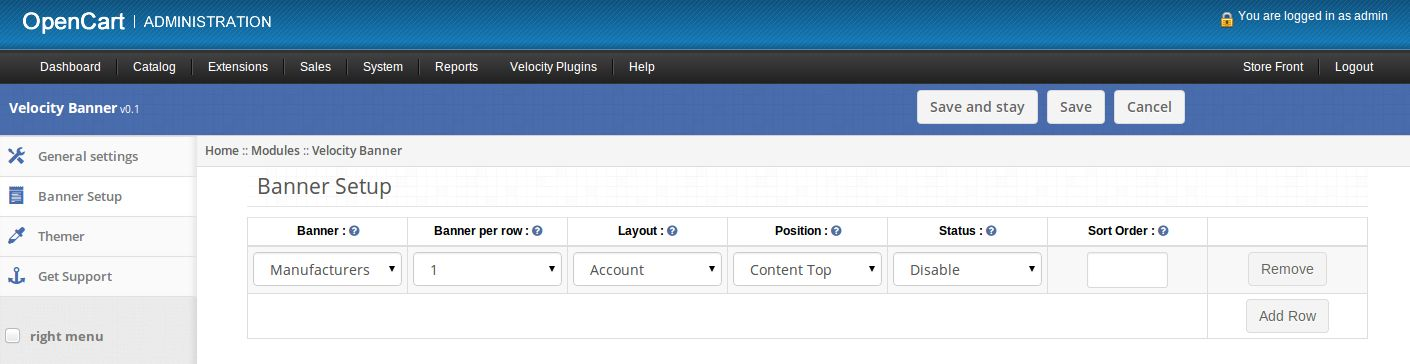
3. Banner: Select a banner from drop down to show it on front end.
4. Banners per row: Select the number of sub banners to show on front end.Admin can set sub banner from System -> Design -> Banners.
5.Layout: Select a layout for showing banners on front end. Select layout as Landing Page to show banners on landing page.
6. Position: Select a position of web page where you wish to show banners.
7. Status: Enable or Disable banners.
8. Sort Order: Set sort order of banners along with position to banners on a particular section of webpage.
1. Installation
1. To access Landing Page Creator plug-in click on edit button in module section as shown below:

2. On clicking edit button the module for plug-in will open. It contains navigational bar at top, menu at left and main content at center as shown below.
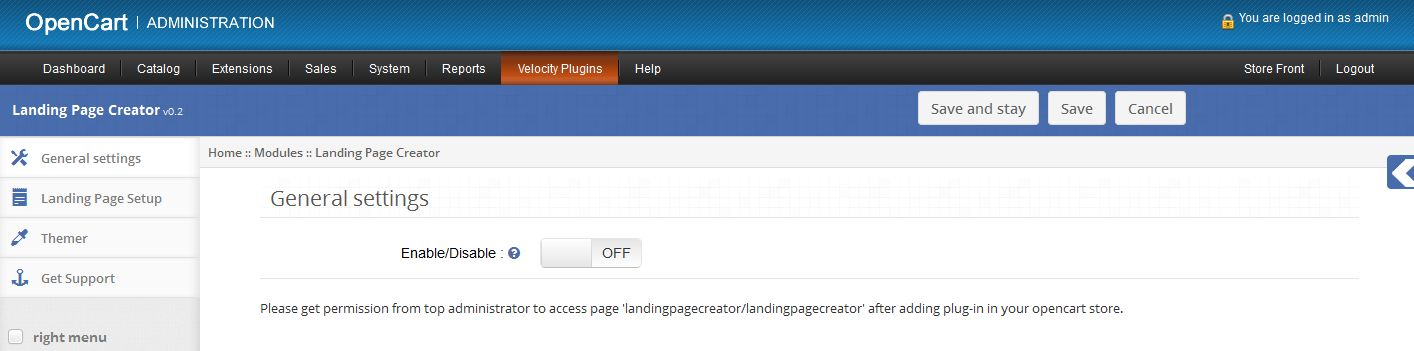
2. General Settings
1. To enable/disable plug-in, Switch the enable button OFF to ON / ON to OFF this is just to the right of Enable/Disable label.
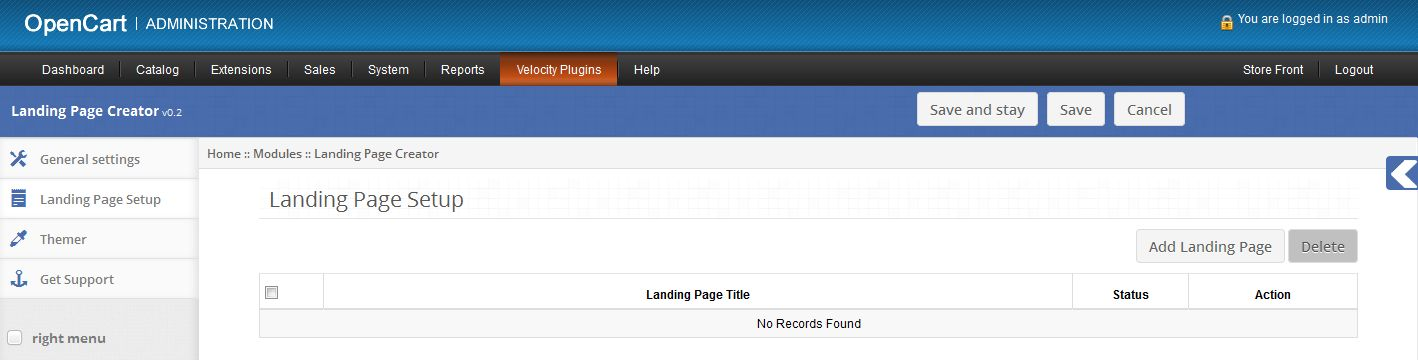
3. Landing Page Setup tab
1. Here admin can see list the list of already created landing pages for the selected store.
2. If there are no existing landing pages then this tab will look as shown in following image.
3. If there are some existing landing pages then this tab will look as shown in following image.

4. Landing Page Title will show the title of landing pages.
5. Admin can edit any page by clicking Edit link provided in front of every landing page.
6. Admin can view landing pages from front end by clicking View link provided in front of every landing page. Plug-in and status of landing page both should be enabled to view page on front end otherwise Page not Found message will appear.
7. Admin can delete landing paging pages by checking check boxes of pages and click delete button.
8. Admin can create a new page by clicking Add Landing Page button. On clicking this button a form to add new landing page will appear.
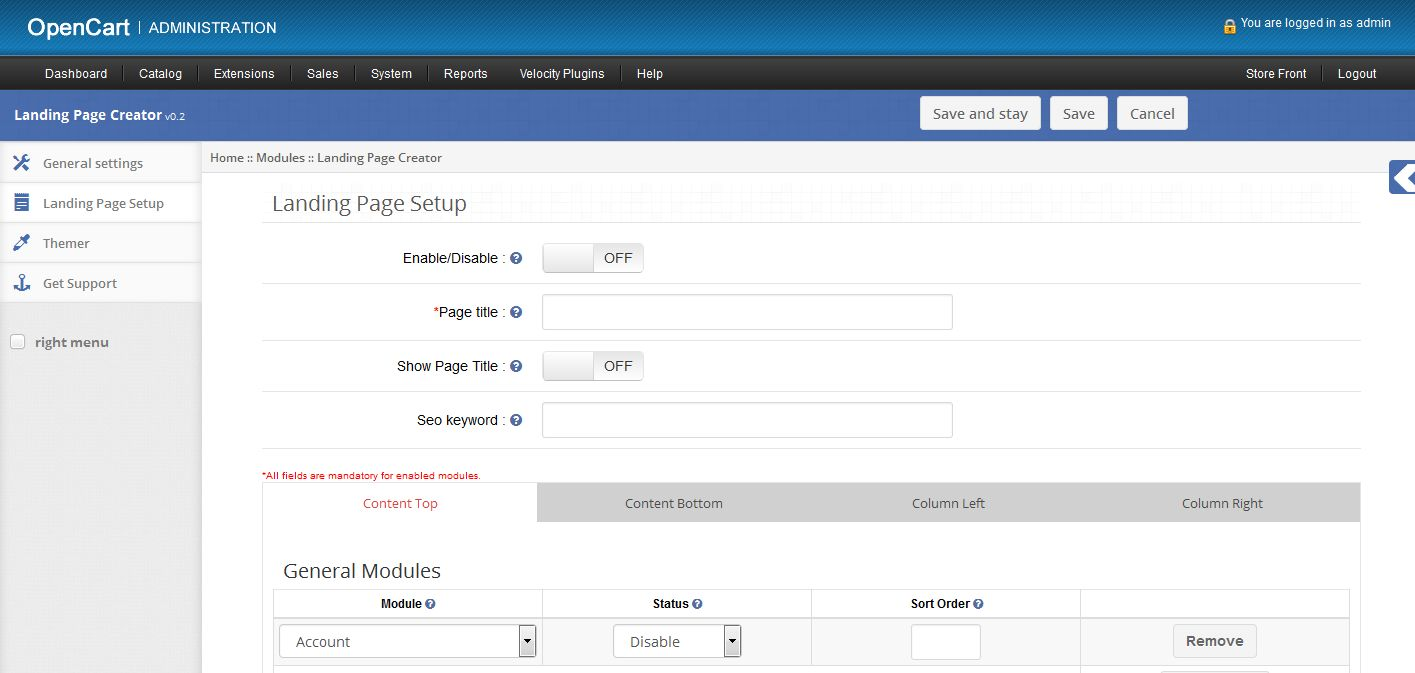
9. Enable/Disable: Admin can enable or disable a particular landing page by switching it OFF to ON/ON to OFF.
10. Page title: Admin can set title of landing page. This is mandatory field.
11. Show Page Title: Admin can choose to show or hide title of page on front end.
12. Seo text: Admin can set seo url for a particular landing page.
13. Admin can call different installed modules for different positions of webpage from the tabs shown in following image.
14. To call a module in Content Top Position, admin should use Content Top tab. Similarly use other tabs for other positions.
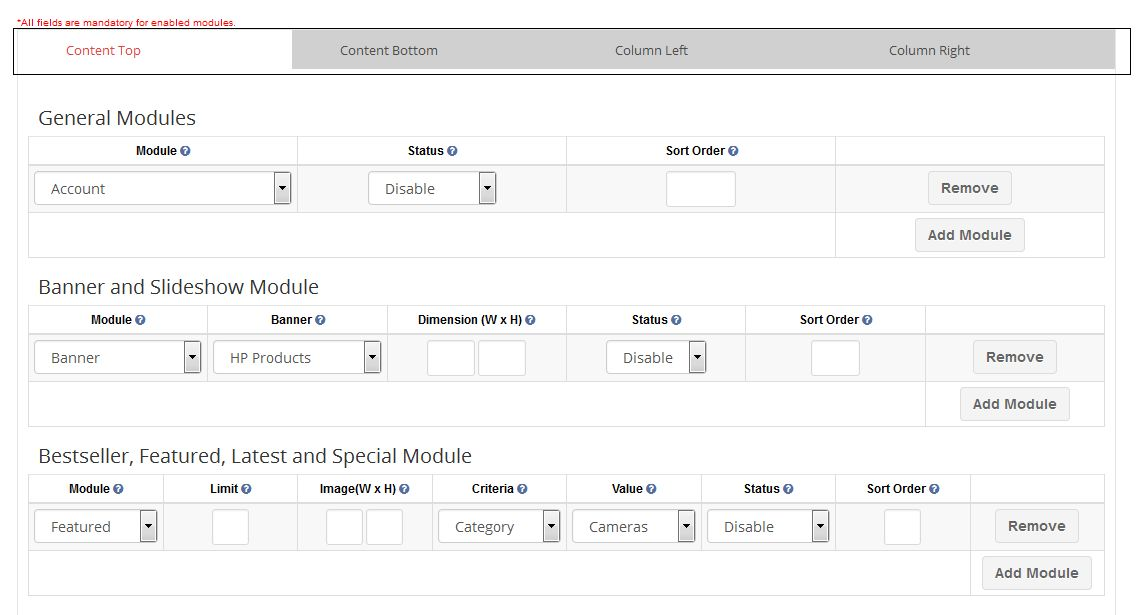
15. Each tab contains a table to call modules in their respective positions.
16. Select a module from Module column set its status as Enable and provide a sort order to call a module in a landing page.
17. Click Add Module button to add another module.
18. Click Remove button to remove a particular module.
19. If any module is not appearing in the drop down of Module column then please install and enable that plug-in in your OpenCart store.
20. Content Top and Content Bottom tab contain another table to call Banner and Slideshow modules on landing page. This table will appear when at least one of Banner and Slideshow modules are installed.
21. Admin should select Banner/Slideshow module from Module column, select a banner from Banner column, set dimensions of banner/slideshow, set status and sort order to call Banner or Slideshow module.
22. To call a module one of Bestseller, Featured, Latest and Special there is another table. Fill all the fields of that table and call those modules on front end.
23. Admin can select criteria and value to show products from a particular category or manufacturer in modules of Bestseller, Featured, Latest and Special.
24. Admin can also show products by providing keywords. Multiple keywords can be entered using comma(,) as separator.
25. To call carousel module there is another table in Content Top and Content Bottom tabs.
26. To call carousel module select banner and set values for limit, scroll, image dimensions and sort order.
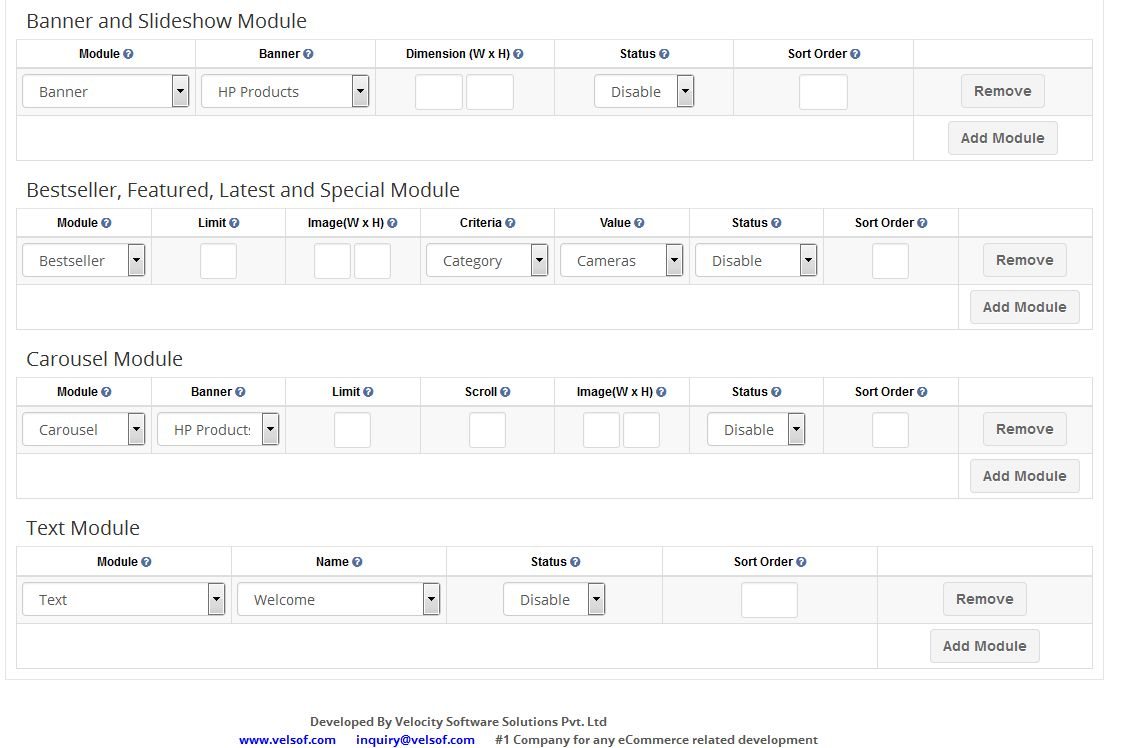
27. There is another table to add text module in all the tabs. If this table is not appearing then install Text module and create some modules with layout Landing Page and status enabled for current store.
28. To call a text module select the title of module in Name column and set sort order.
29. Save the data by clicking Save or Save and Stay button.
30. After creating a landing page admin can view the page by clicking view link given in front of landing page in landing page setup tab.
31. Admin should set up a link to landing page in front end according to his choice.
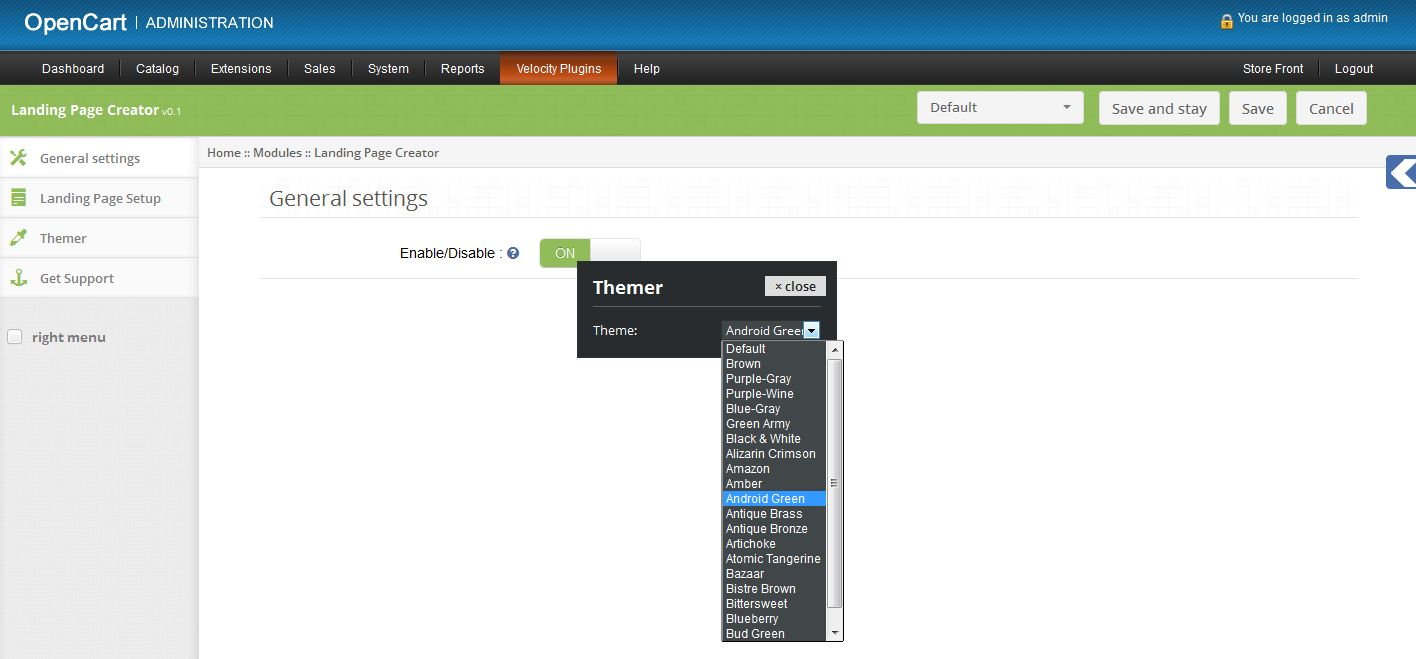
Themer tab
1. By clicking on themer tab, you will have an option to change the theme of Smart Sort Order admin panel.
Get Support
1. By clicking on Get Support tab, you will be redirected to our support website, where you can contact our support for help. Use this tab in case you some query/issue or found some bug.
Description
If admin wishes to show bestseller products of a particular category (say Desktops) then admin should select criteria as Category and Value as Desktop for Bestseller module.

If admin wishes to show bestseller products of a particular manufacturer (say Canon) then admin should select criteria as Category and Value as Desktop for Bestseller module.

If admin wishes to show bestseller products from products whose name contain words like Apple, Macbook etc then admin should select criteria as Keyword and Value as Apple, Macbook (keywords will fetch products only on basis of product names.) for Bestseller module. Multiple keywords can be entered using comma(,) as separator.

Select criteria and value similarly for Latest, Special and Featured modules.
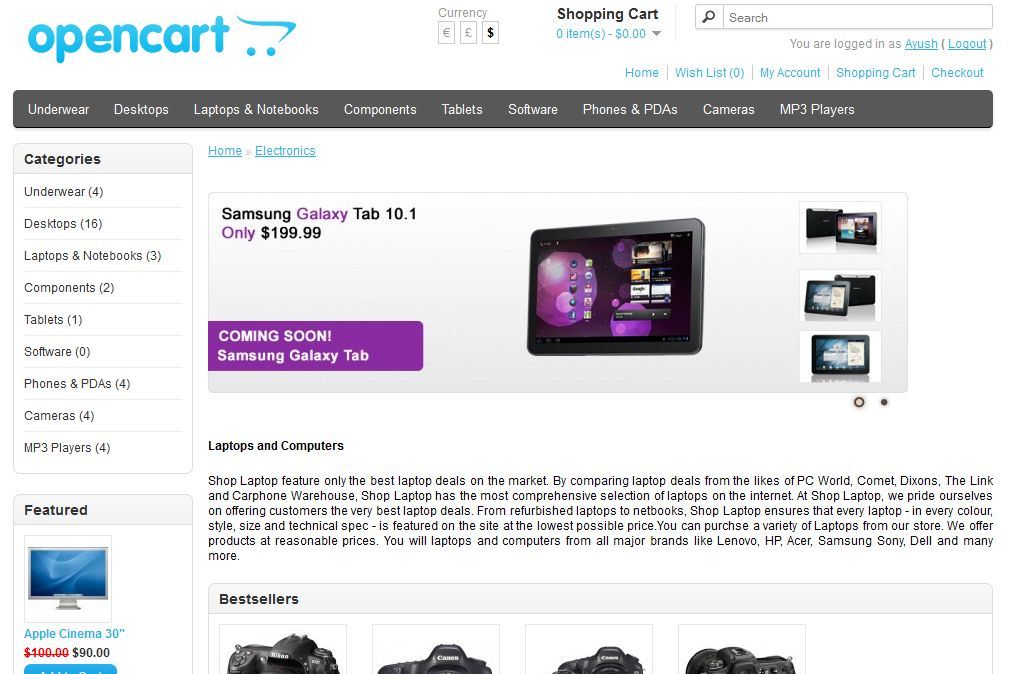
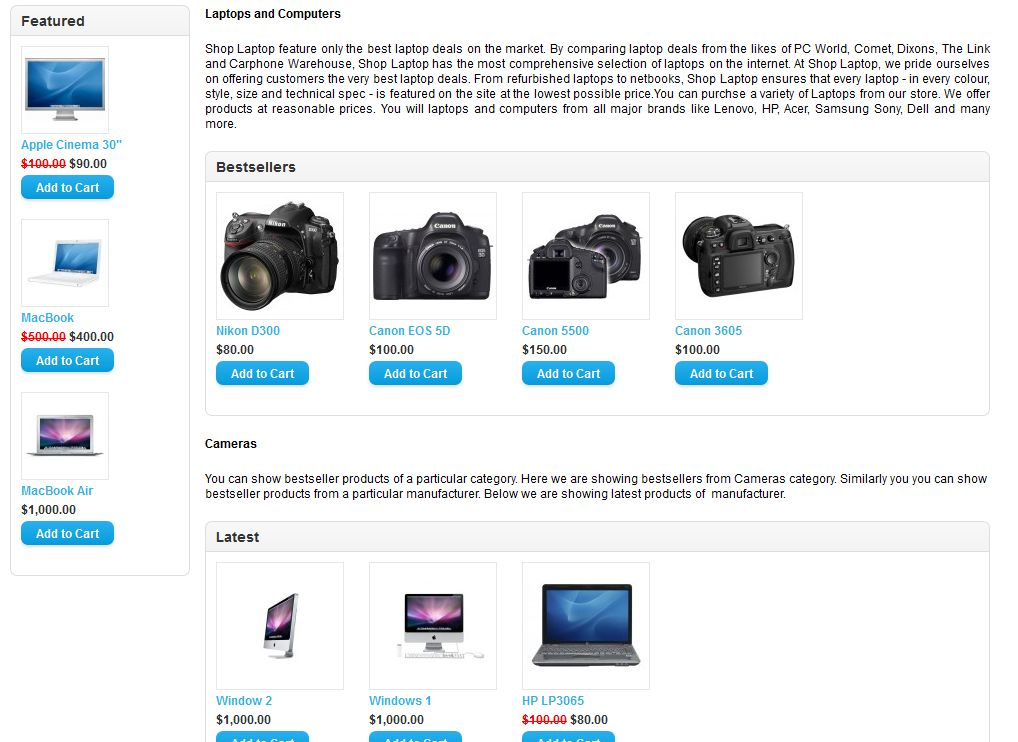
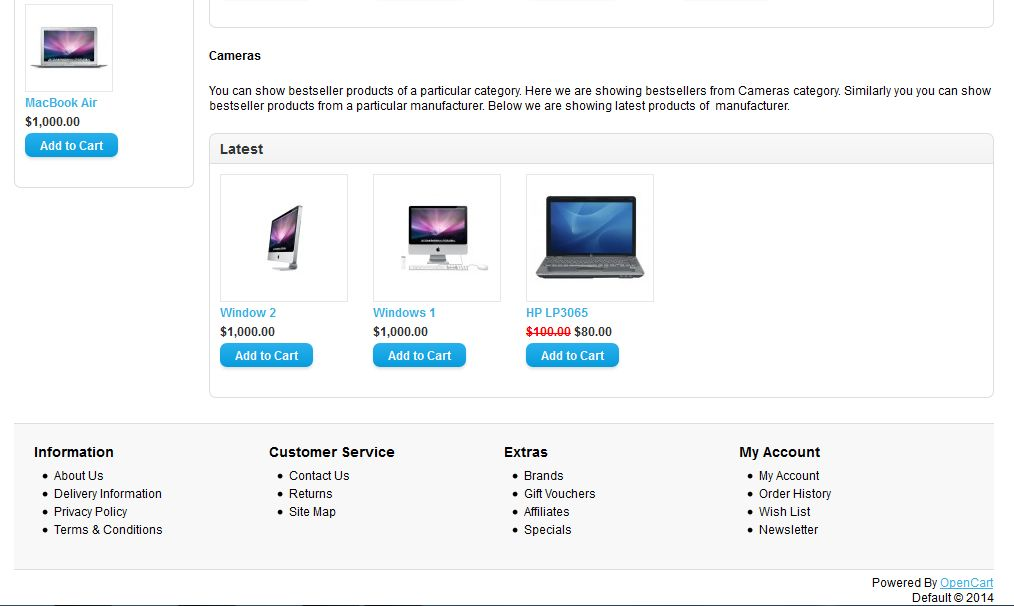
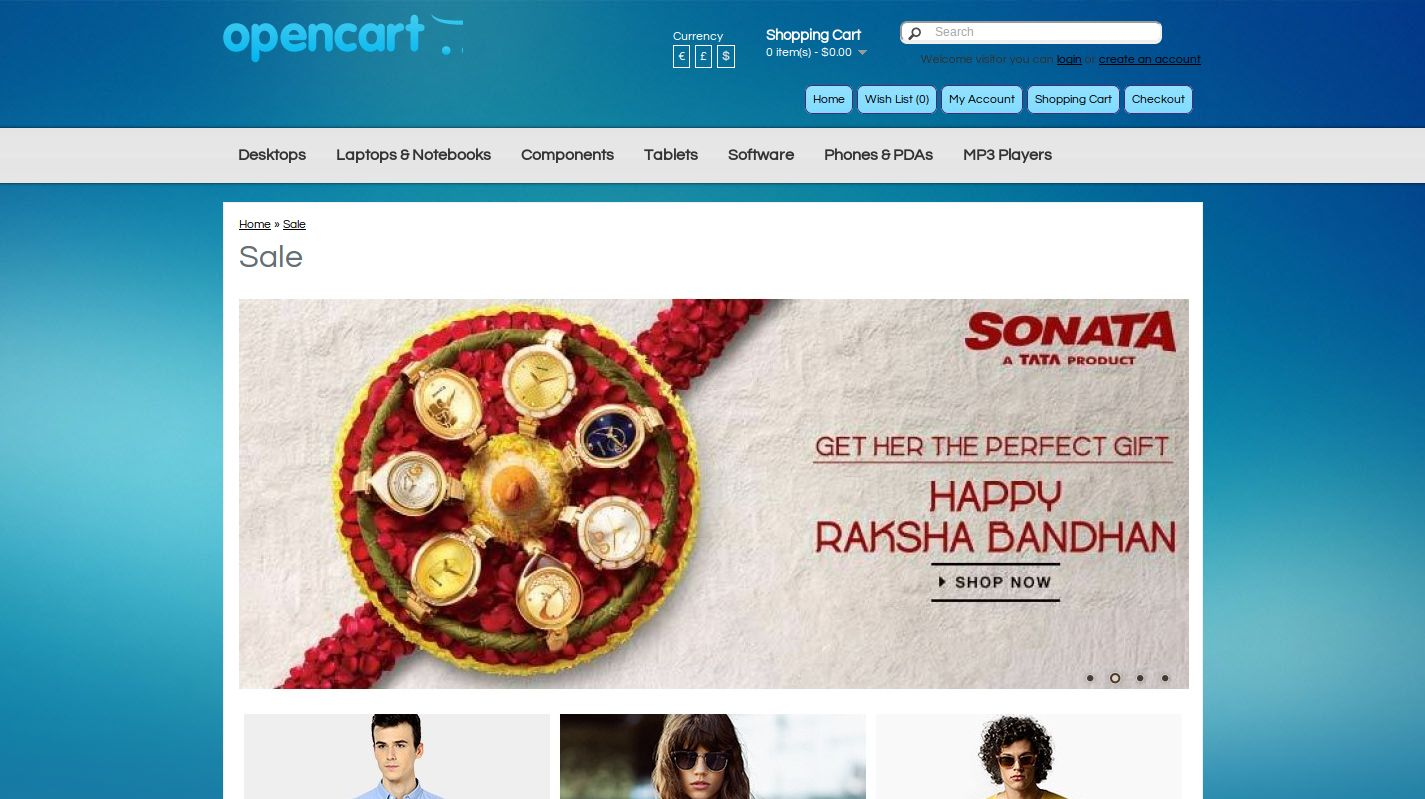
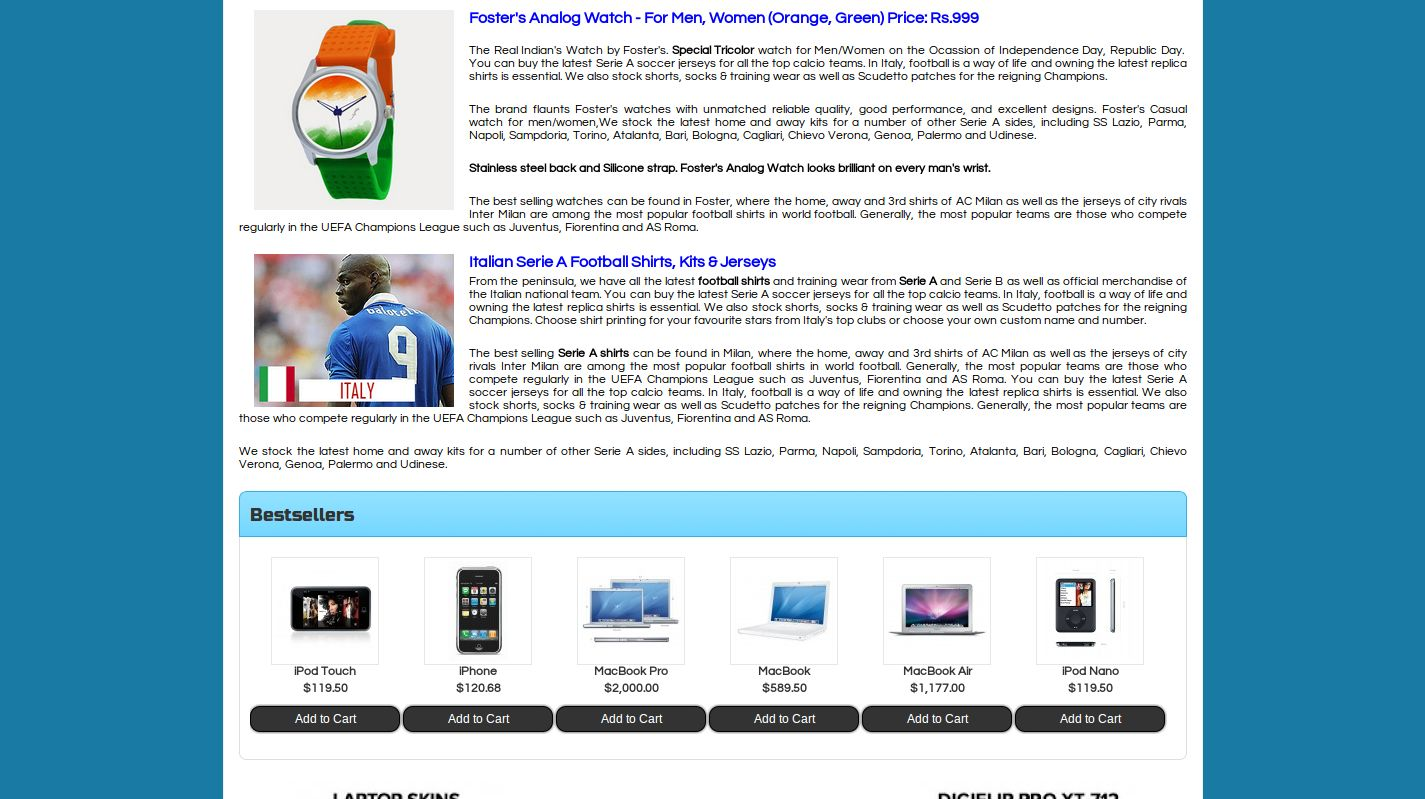
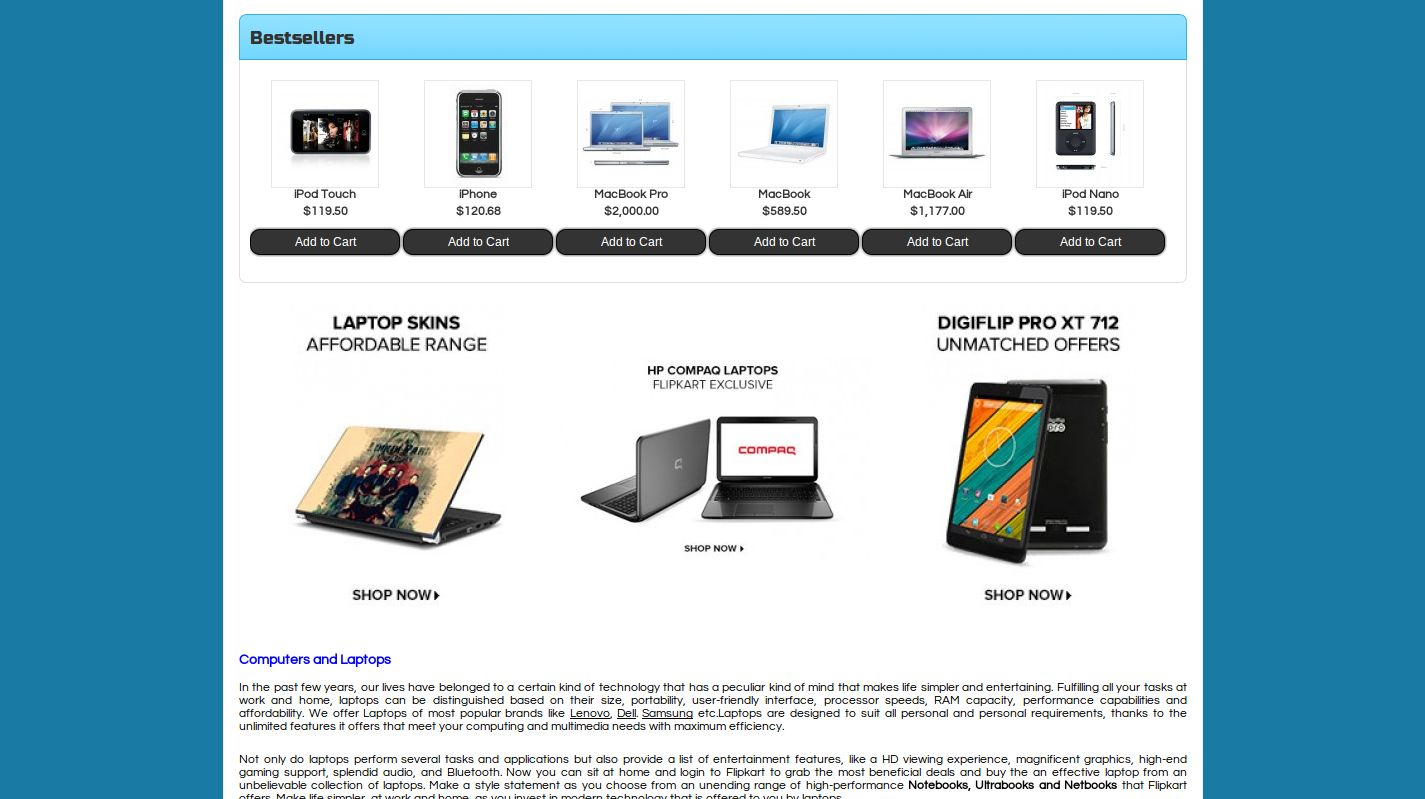
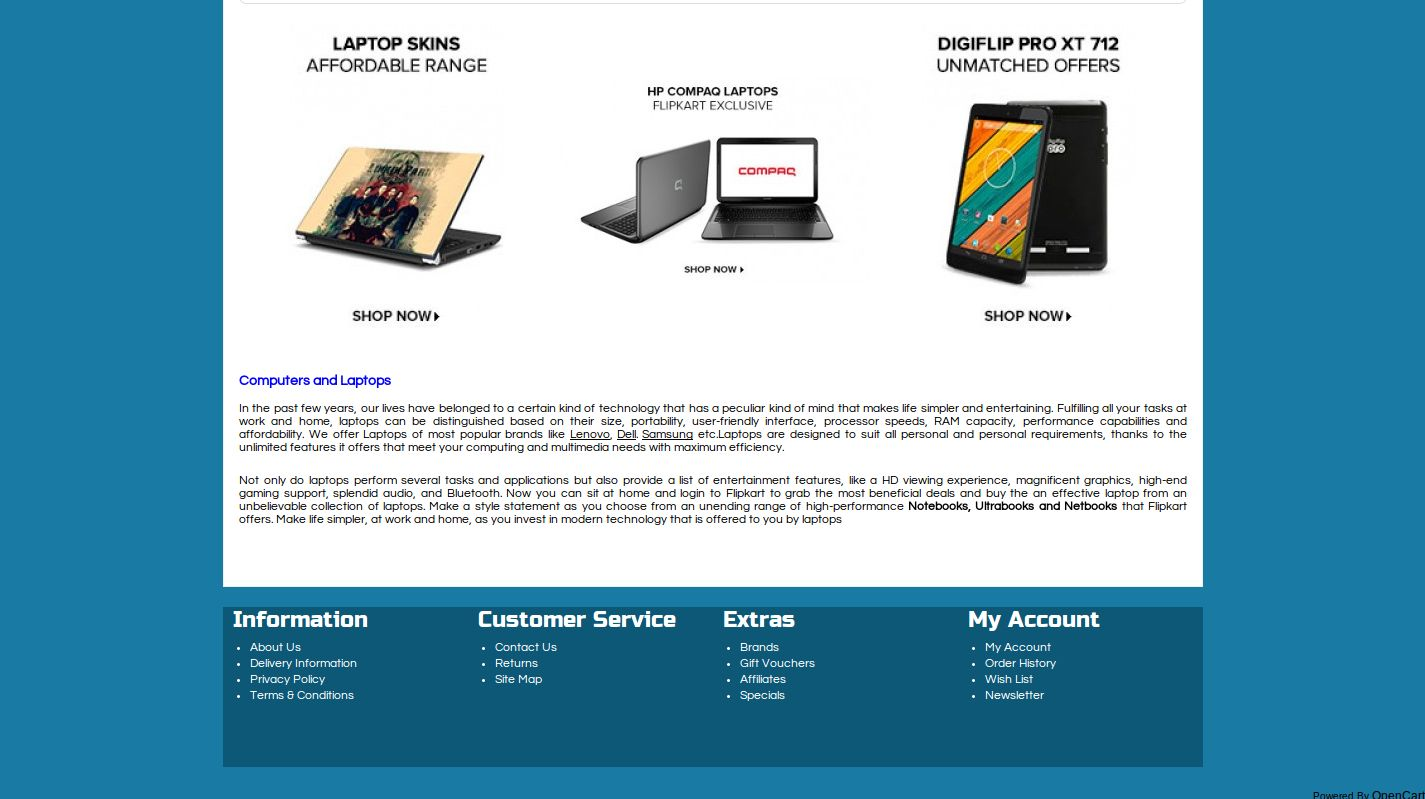
Screen shots
A sample landing page by calling different modules.

Recommendations
1. Set Seo Url setting to on in store settings and rename htaccess.txt file to .htaccess to use seo text ofplug-in.
2. Top administrator should give permissions to access page landingpagecreator/landingpagecreatorafter moving the plug-in to root folder of your store.
3. To call Text module in landing page, first create it from edit page of Text module and set layout as Landing page.
4. Give unique titles to all modules in Text module. These titles are used for selecting particular text module in landing page creator.
5. Set featured products from featured modules before calling this module on landing page.
